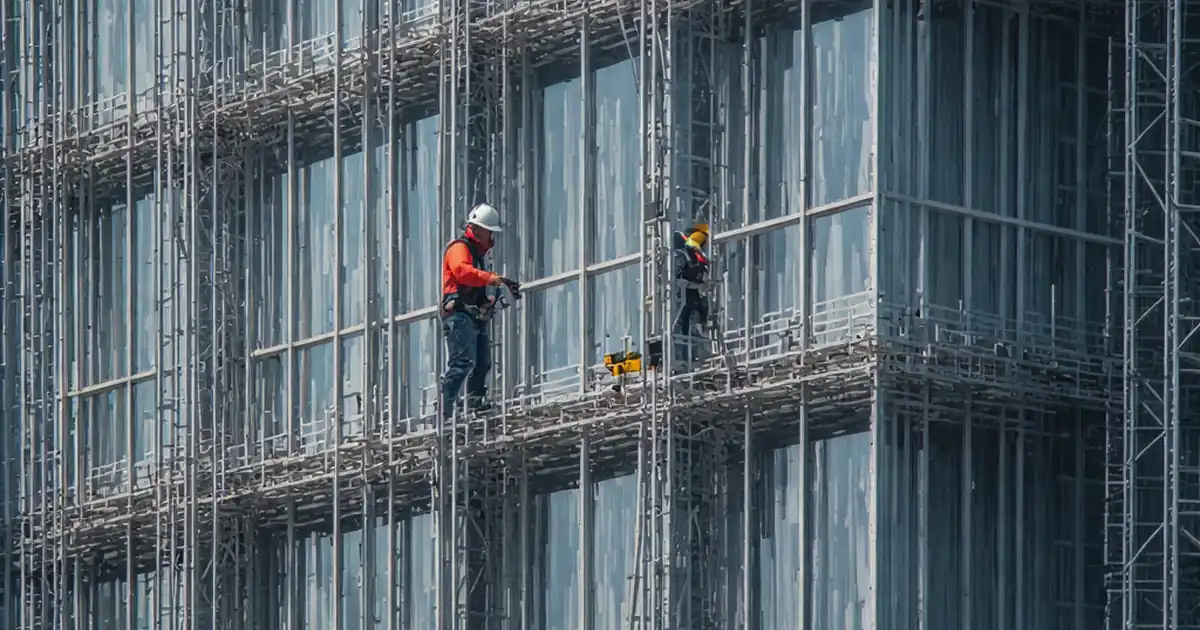
Inspect Curtain Wall Glazing Installation Before External Sealing
Definition: Inspect curtain wall glazing installation before external sealing ensures frames, glass, joints, and interfaces are verified by site engineers prior to sealant application, preventing leaks, movement restraint, and costly rework.
- Confirm alignment, joint geometry, drainage, and substrate readiness before sealing.
- Reduce leak risk by verifying materials, compatibility, and clean bond lines.
- Use gauges, lasers, and photos to evidence tolerances and conditions.
- Interactive, commentable, export, QR code for traceable approvals.
Inspect curtain wall glazing installation before external sealing is a critical quality gate that confirms glazing units, frames, and interfaces are ready for sealant. This pre-seal inspection, also called a curtain wall glazing pre-seal check or pre-sealant verification, focuses on alignment, joint geometry, water management paths, and substrate cleanliness and compatibility. By isolating the step before external silicone sealing, teams prevent adhesion failures, clogged weeps, pinched gaskets, and restrained movement, while verifying thermal breaks and air/vapour continuity. The outcome is predictable weather performance, durable seals, and efficient installation sequencing without rework. This checklist limits scope to exterior glazing and framing readiness; it excludes actual sealant installation and post-seal water testing. Capture evidence such as torque readings, lot numbers, photos of bond lines, and verified dimensions. Launch interactive mode to tick items, add comments for snags, and export to PDF or Excel with a QR code for authenticated sign-off.
- Verify glazing alignment, joint width uniformity, drainage paths, and substrate cleanliness before sealant, using lasers, feeler gauges, moisture meters, and photos. Early findings prevent leaks, movement restraint, and coating contamination.
- Confirm materials and compatibility: gaskets seated, setting blocks located, backer rods and tapes sized correctly, and approved reports on file. Record batch numbers and supplier data to maintain traceability through sealing and commissioning.
- Check interfaces and structure: torqued anchors, continuous thermal breaks, end dams, and air/vapour connections. Document tolerances, torque values, and continuity with marked photos and sign-offs by the responsible engineer.
- Interactive online checklist with tick, comment, and export features secured by QR code.
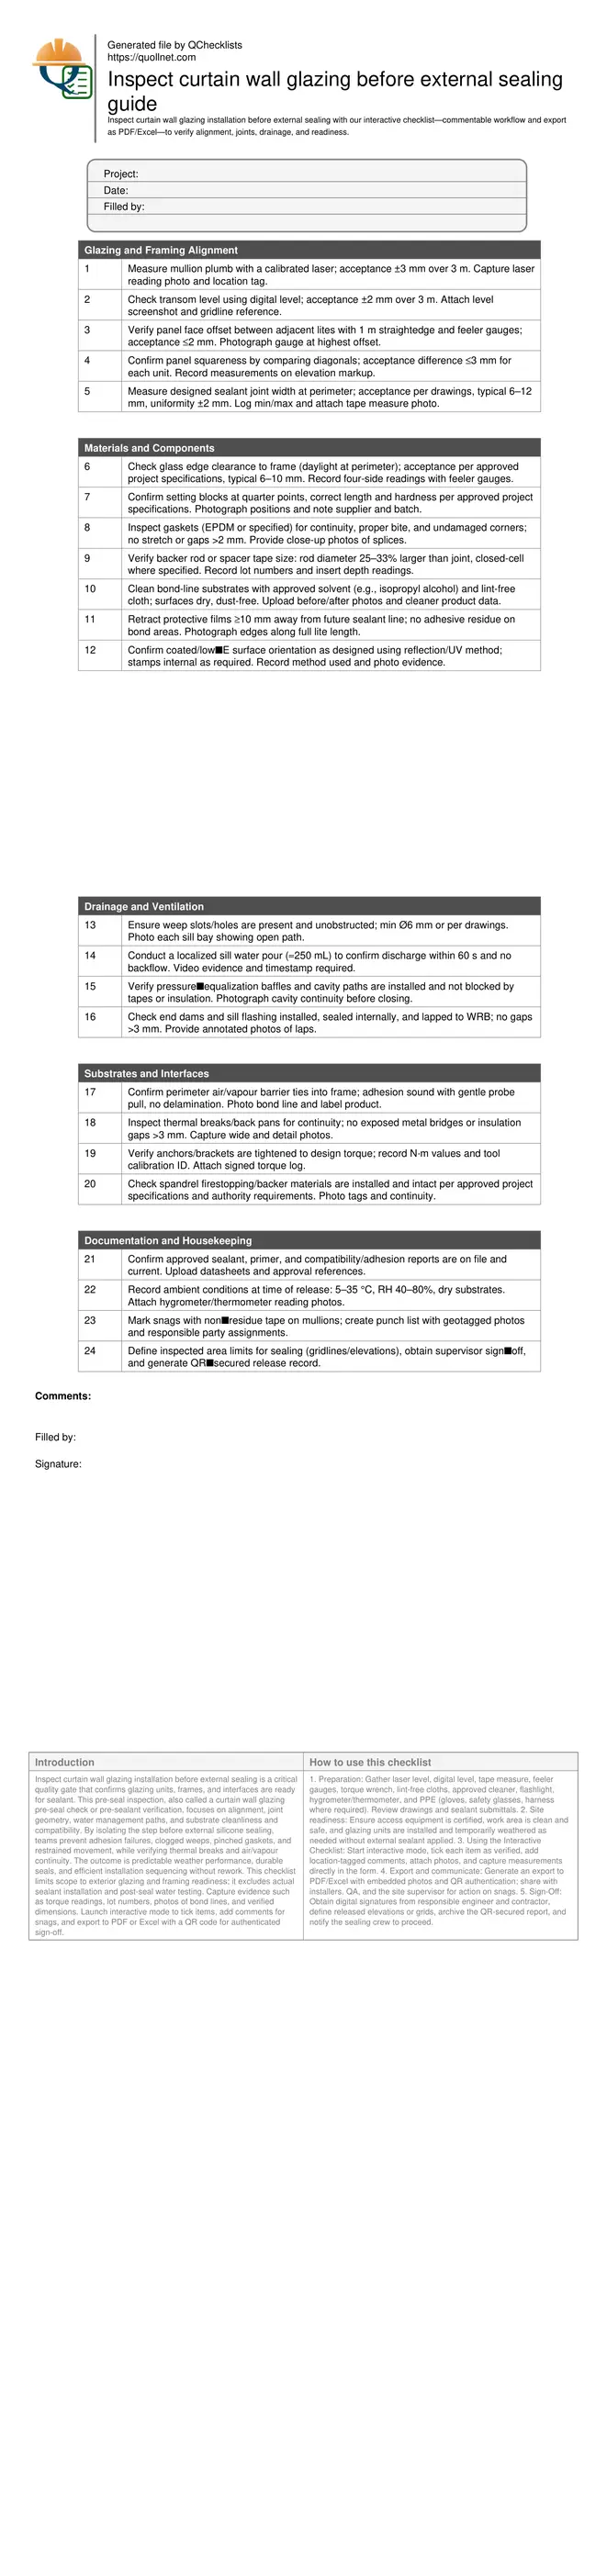
Glazing and Framing Alignment
Materials and Components
Drainage and Ventilation
Substrates and Interfaces
Documentation and Housekeeping
Why a Pre-Seal Glazing Inspection Protects Performance
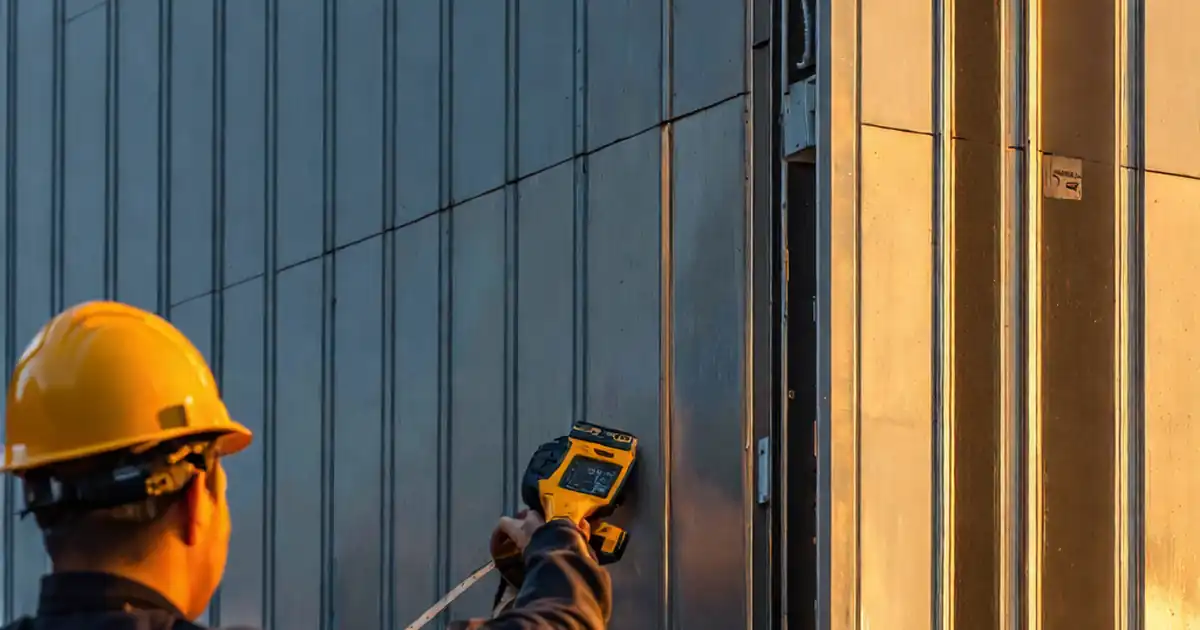
A disciplined pre-seal inspection verifies the geometry and readiness of curtain wall glazing before permanent sealants lock conditions in place. Small misalignments or inconsistent joint widths can overstress silicone, trap water, or restrict designed movement. Using a calibrated laser and digital level, confirm plumb, level, and face offsets against project tolerances. Measure joint width and glass edge clearances at multiple points per lite to avoid thin sealant sections and glass-to-frame contact. Inspect gasket continuity and setting block placement to maintain load paths and glazing bite. Clean bond lines with approved solvents and confirm protective films are pulled back from seal paths. These steps prevent adhesion loss from contamination and ensure robust, elastic seals after application. Document each reading and photo on elevations to provide traceable evidence for the sealing crew and quality records. Early detection and correction here is faster and far less costly than post-seal remedial work.
- Confirm plumb/level within stated millimetre tolerances.
- Keep joint widths uniform for consistent sealant thickness.
- Document every measurement with photos and locations.
- Ensure clean, dry substrates free from residue or dust.
- Seat gaskets and setting blocks without gaps.
Drainage, Ventilation, and the Path Out for Water
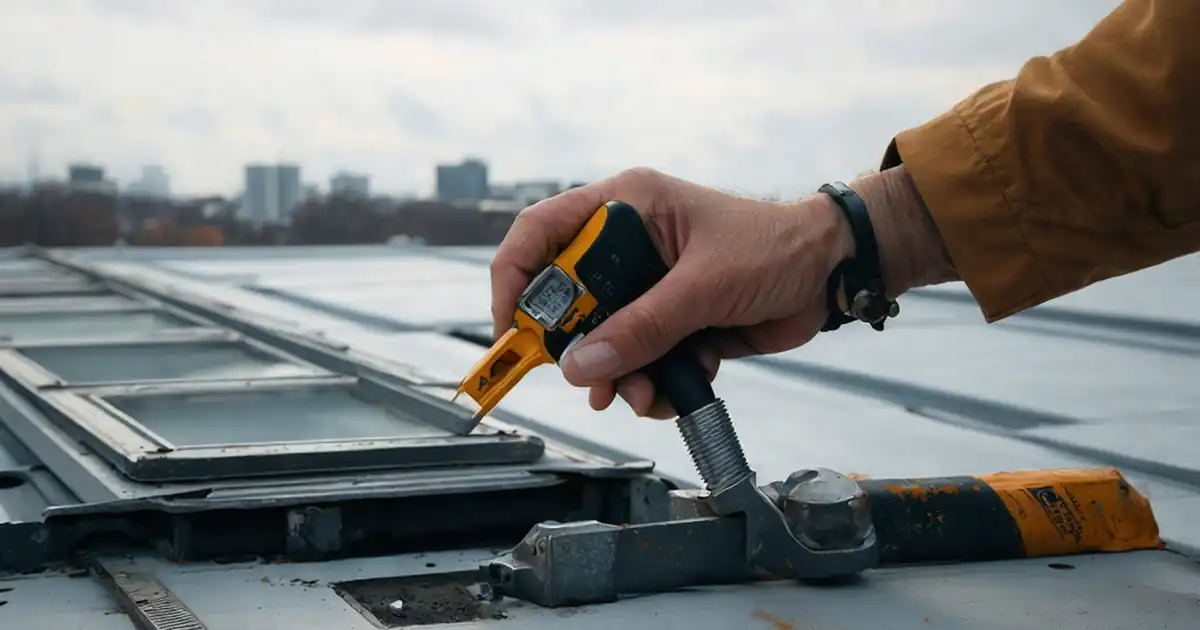
Curtain walls rely on clear drainage and ventilation paths to manage incidental water. Before external sealing, confirm sill end dams, weep holes, and pressure-equalization baffles are present and unobstructed. Perform a small, controlled water pour at sills to prove discharge without backflow, and verify that tapes, foams, or overhanging gaskets do not block weeps. Inspect the continuity of air/vapour barriers and thermal breaks around perimeters and spandrel zones to avoid condensation risks and thermal bridging. Photograph cavities and laps while still visible; once sealed, verification becomes difficult. Confirm bracket torques and ensure interfaces to surrounding WRB are lapped correctly to direct water outward. These checks protect the façade from hidden moisture accumulation that can degrade finishes and shorten service life. Record findings with annotated photos so the sealing team knows exactly where conditions have been verified and where corrections are needed.
- Weeps clear; prove discharge with a timed pour.
- End dams and laps direct water outward.
- No tapes or foams blocking cavities.
- Thermal breaks continuous with no gaps.
- Air/vapour ties intact and adhered.
Traceability, Compatibility, and Release for Sealing
Quality outcomes depend on material compatibility and clear, auditable records. Before sealant application, verify that approved sealant and primer datasheets, plus compatibility and adhesion test reports, are current and match installed components. Capture batch numbers for gaskets, backer rods, and cleaning agents. Record ambient temperature and relative humidity to confirm conditions fall within manufacturer recommendations. Use non-residue tape to mark defects and publish a punch list with responsible parties and deadlines. Define release boundaries by gridlines or elevations, then secure a formal sign-off. Our interactive checklist supports comments with photos, timestamps, and user roles, and it generates QR-secured exports for field use and closeout. This traceable process reduces disputes and ensures the sealing team starts with clean, compliant, and well-documented substrates, improving productivity and long-term performance.
- Keep datasheets and test reports accessible.
- Record lot numbers for installed materials.
- Log temperature and humidity at release.
- Mark snags and assign owners clearly.
- Issue QR-secured release documentation.
How to Use This Pre-Seal Inspection Checklist
- Preparation: Gather laser level, digital level, tape measure, feeler gauges, torque wrench, lint-free cloths, approved cleaner, flashlight, hygrometer/thermometer, and PPE (gloves, safety glasses, harness where required). Review drawings and sealant submittals.
- Site readiness: Ensure access equipment is certified, work area is clean and safe, and glazing units are installed and temporarily weathered as needed without external sealant applied.
- Using the Interactive Checklist: Start interactive mode, tick each item as verified, add location-tagged comments, attach photos, and capture measurements directly in the form.
- Export and communicate: Generate an export to PDF/Excel with embedded photos and QR authentication; share with installers, QA, and the site supervisor for action on snags.
- Sign-Off: Obtain digital signatures from responsible engineer and contractor, define released elevations or grids, archive the QR-secured report, and notify the sealing crew to proceed.
Call to Action
- Start Checklist Tick off tasks, leave comments on items or the whole form, and export your completed report to PDF or Excel—with a built-in QR code for authenticity.
- Download Excel - Curtain Wall Glazing Pre-Seal Inspection
- Download PDF - Curtain Wall Glazing Pre-Seal Inspection
- View Image - Curtain Wall Glazing Pre-Seal Inspection
Cite & Embed
“Curtain Wall Glazing Pre-Seal Inspection by Quollnet”
with a link to
this source page.
FAQ
Question: What tolerances should I use for plumb, level, and joint widths before sealing?
Question: How do I handle contamination on the bond line discovered pre-seal?
Question: Is a water test required before external sealing?
Question: What records should be captured for traceable release to sealing?
Related Articles
Broader reading and guidance connected to this checklist topic.
Is The Crack You See On Your Wall Serious Or Minor Cosmetic Issue?


Is It Important To Customize Your Qr Code And How To Do It?


Related Checklists
Keep the workflow moving with nearby templates chosen from similar checklist content.