Inspect Façade Access Clearances & Safety Signage
Definition: Inspect façade maintenance access clearances and safety signage to help facilities, contractors, and supervisors verify safe approach zones, operation spaces, and compliant hazard communication before any façade work at height.
- Measure approach, edge, and equipment envelopes against project requirements.
- Verify clear, durable signage with correct symbols, units, and locations.
- Capture photos, dimensions, serials; redline drawings and assign actions.
- Interactive, commentable checklist with export and QR code traceability.
Inspect façade maintenance access clearances and safety signage to ensure technicians reach and operate façade systems without conflict or confusion. This checklist focuses on façade access routes, building maintenance unit (BMU) clearances, roof edge protection, and fall protection signage that enables safe, efficient work at height. It excludes façade finishes, structural integrity, and general building safety not related to access or signage. By verifying approach widths, headroom, anchor and davit envelopes, swing-stage launch paths, and accurate, durable hazard communication, teams reduce collision risks, entanglement, falls, and misloads. You will confirm conformity to approved project specifications and authority requirements, reconcile site conditions to as-built drawings, and capture auditable evidence including measurements, photos, and equipment IDs. Use this as a pre-task barrier before permit-to-work issuance or revalidation following site changes. Start in interactive mode to tick items, add comments, and export a signed record as PDF or Excel—complete with a QR code for quick retrieval.
- This checklist streamlines verification of façade access routes, headroom, roof edge and anchor clearances, and BMU/davit operation envelopes. It prevents service disruptions and rework by catching clashes, missing barriers, or inadequate lighting before façade maintenance mobilization.
- Safety signage checks confirm correct content, SI units, pictograms, and weather-resistant placements at hatches, anchors, skylights, and muster points. You’ll validate load ratings against certificates, test QR links to O&M and rescue plans, and document visibility from approach angles with context photos.
- Interactive online checklist with tick, comment, and export features secured by QR code. Create a defensible audit trail: measurements, annotated photos, serial numbers, redlined drawings, and digital signatures are compiled into shareable PDF/Excel outputs for stakeholders and archiving.
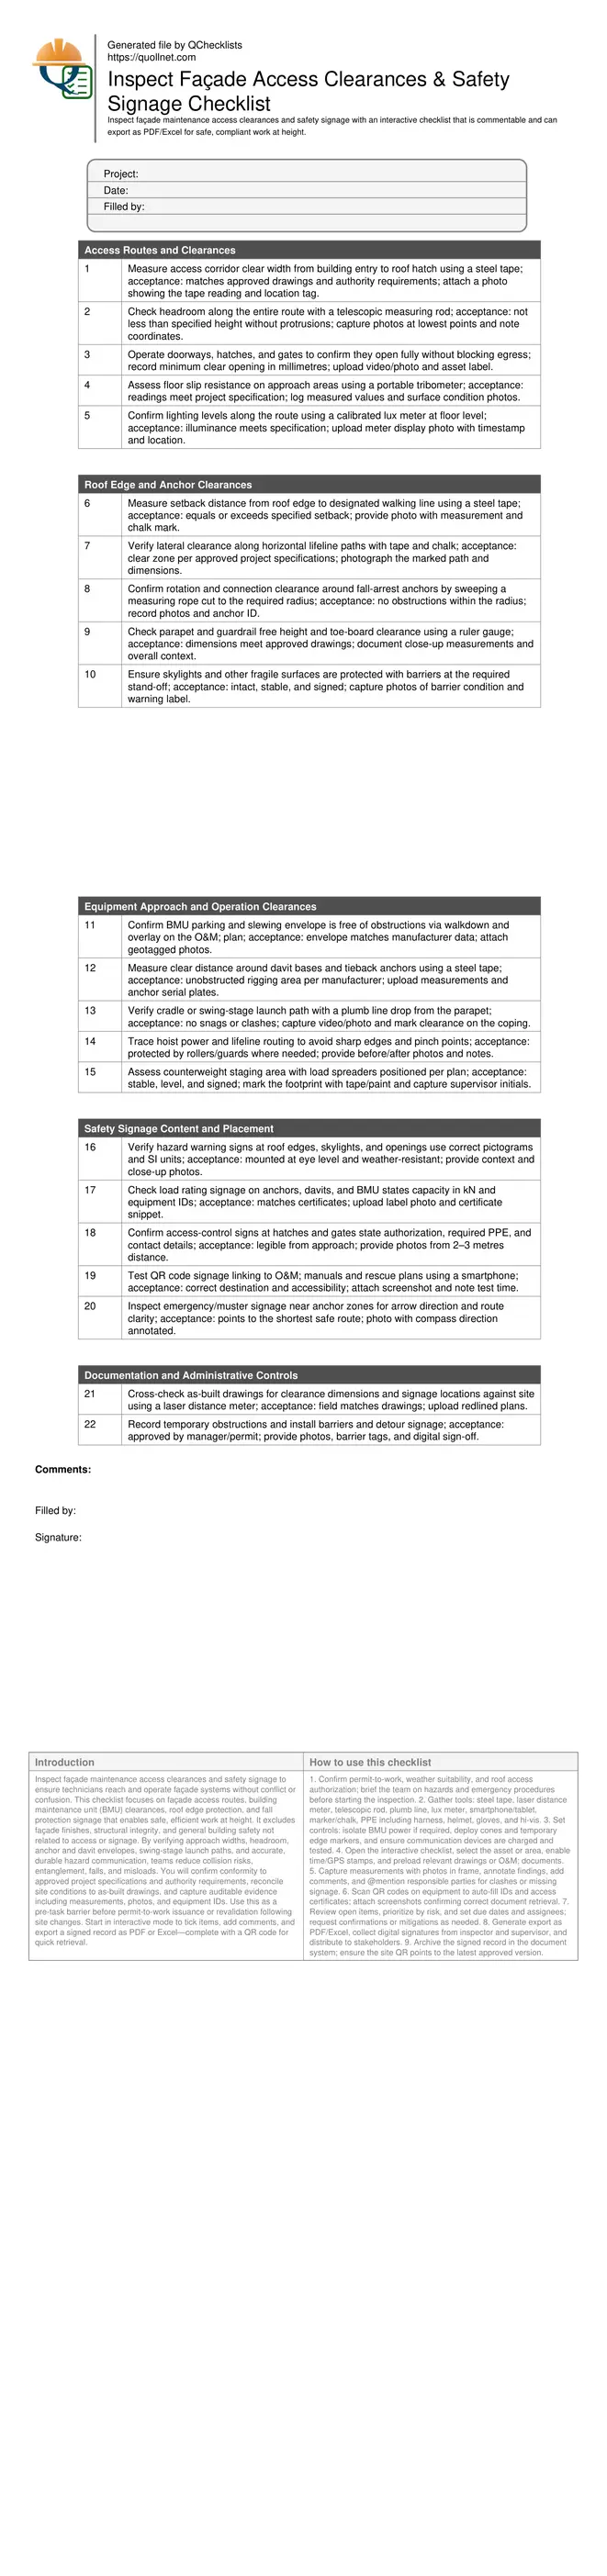
Access Routes and Clearances
Roof Edge and Anchor Clearances
Equipment Approach and Operation Clearances
Safety Signage Content and Placement
Documentation and Administrative Controls
Measuring clearances accurately for safe façade access
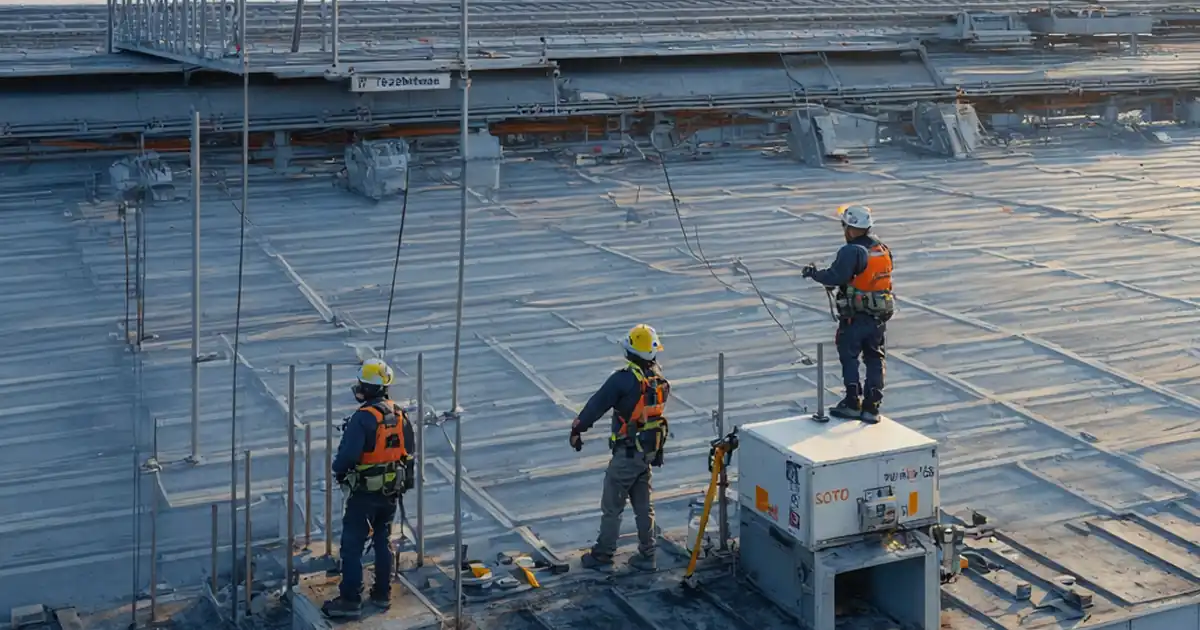
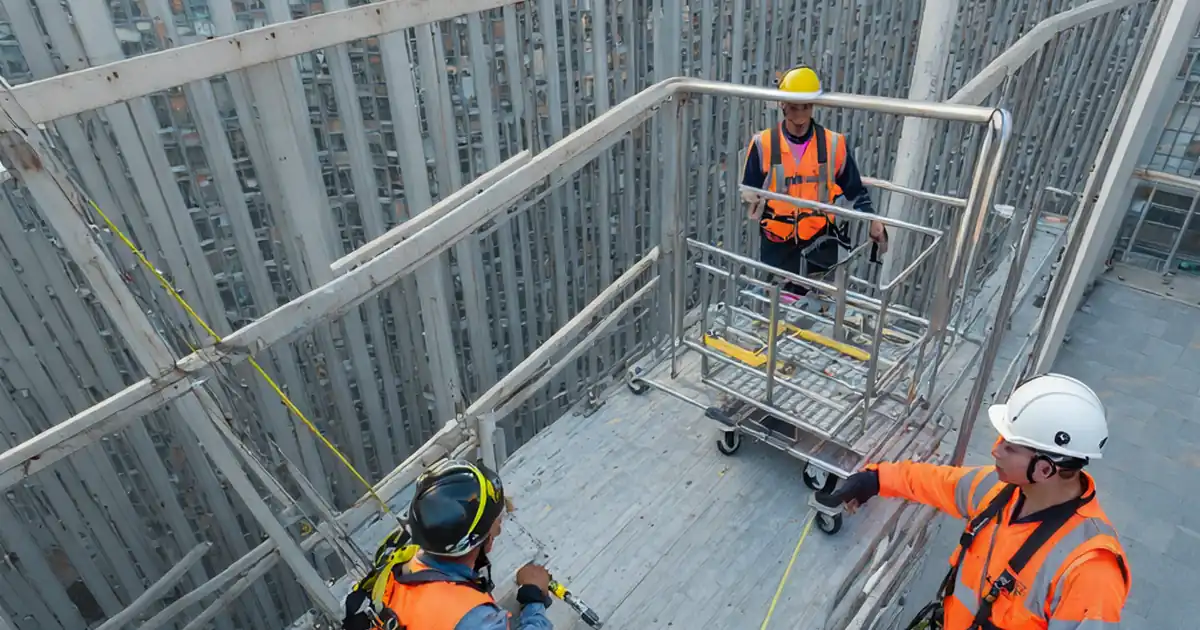
Clearances prevent collisions, snags, and falls during façade maintenance. Start by tracing the exact access route from entry to roof hatch and onward to BMU or davit positions. Use a steel tape or laser distance meter for corridor width and setback distances, and a telescopic rod for headroom at the lowest obstructions such as beams, fans, or conduits. Confirm swing-stage launch paths using a plumb line dropped from the parapet, checking for snag points like coping returns or lightning conductors. For roof edges and anchors, verify the required clear zones along lifelines and around anchor posts with a marked rope to simulate the working radius. Validate lighting with a lux meter to ensure safe movement in low-light conditions. Record every measurement with photos showing tools in frame and location references. When site conditions deviate, redline the drawings immediately and assign corrective actions so teams don’t re-measure or mobilize into unsafe spaces.
- Measure with tools visible in each photo.
- Trace full route, not isolated segments.
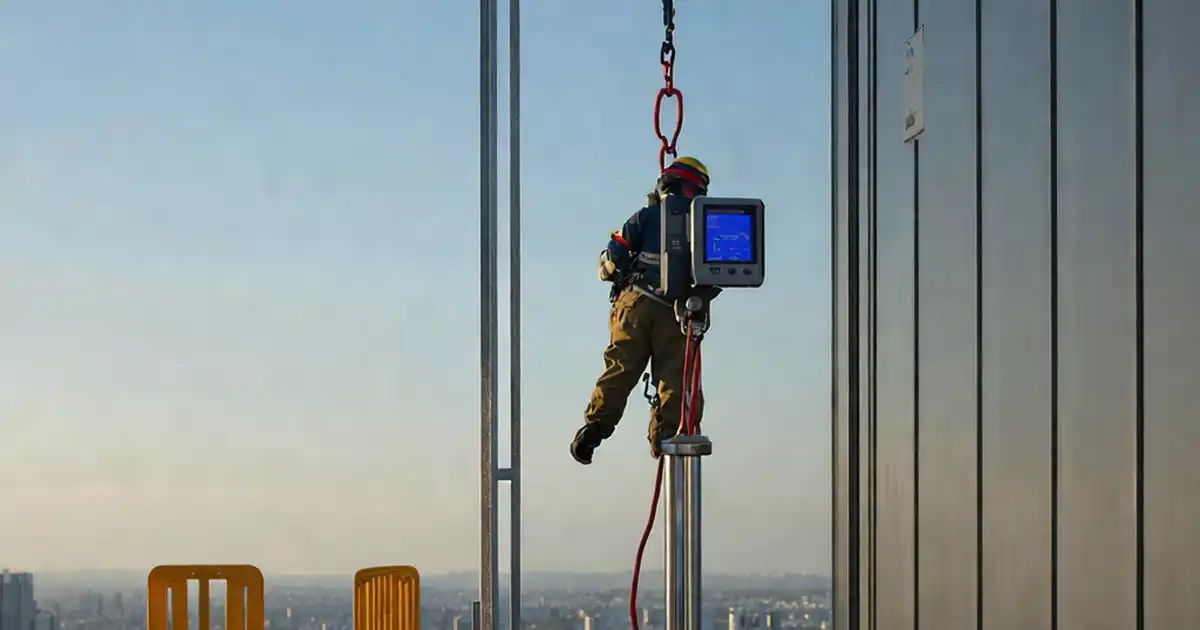
- Mark lifeline and anchor clearance radii.
- Use a plumb line for launch path checks.
Safety signage that workers understand and trust
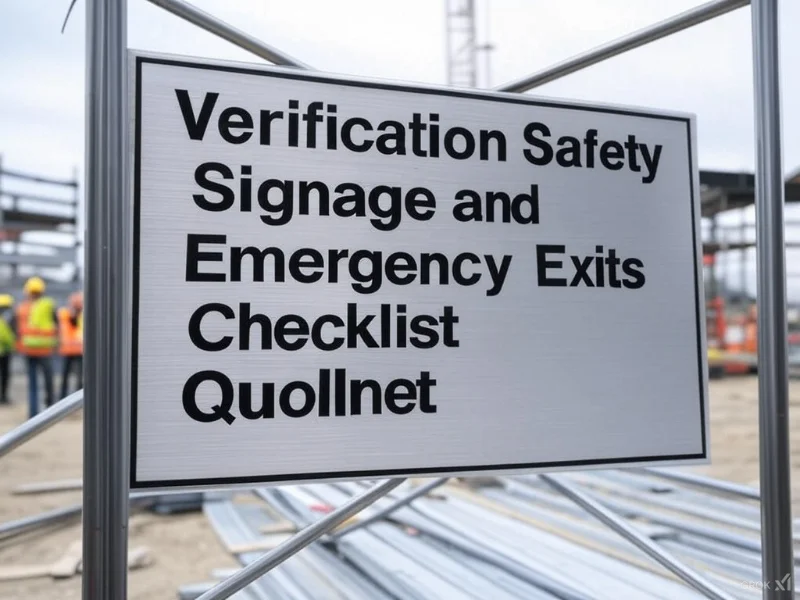
Signage must be clear, durable, and precisely placed so workers receive the right information at the right moment. At hatches, present access authorization, PPE requirements, and emergency contacts. At anchors, davits, and BMU stations, show load ratings in SI units and the equipment’s unique ID, matching certificates. Near roof edges, skylights, and fragile surfaces, use high-contrast warning pictograms and wording that aligns with approved project specifications and authority requirements. Mount signs at eye level, with fixings that resist wind and UV. Test QR codes that link to O&M manuals, anchor layouts, and rescue procedures to avoid delays during emergencies. Photograph each sign twice: a legibility close-up and a context shot showing its visibility from the approach. Replace faded, damaged, or outdated signs immediately and log the change with date and responsible party for traceability.
- Use SI units and clear pictograms.
- Capture close-up and context photos.
- Match labels to certificates and IDs.
- Test every QR code on site.
From findings to actions: evidence, handover, and traceability
Evidence turns observations into decisions. Pair every dimension with a photo and a reference to the drawing or equipment ID. When you find clashes in BMU envelopes or insufficient headroom, annotate the plan, propose remedies, and assign owners and due dates. For temporary obstructions, install barriers and detour signs, then document approvals in the permit-to-work. Use the interactive checklist to comment, @mention responsible parties, and attach certificates or inspection reports. Before closing, export a signed PDF/Excel pack and archive it where the QR code on site can retrieve the latest record. This enables supervisors and auditors to verify that clearance and signage controls were present at the time of work and that changes were tracked, not just observed.
- Tie each photo to a drawing reference.
- Assign owners and due dates immediately.
- Document temporary controls with approvals.
- Archive outputs with QR code retrieval.
How to Use This Façade Access Clearance & Signage Checklist
- Confirm permit-to-work, weather suitability, and roof access authorization; brief the team on hazards and emergency procedures before starting the inspection.
- Gather tools: steel tape, laser distance meter, telescopic rod, plumb line, lux meter, smartphone/tablet, marker/chalk, PPE including harness, helmet, gloves, and hi-vis.
- Set controls: isolate BMU power if required, deploy cones and temporary edge markers, and ensure communication devices are charged and tested.
- Open the interactive checklist, select the asset or area, enable time/GPS stamps, and preload relevant drawings or O&M documents.
- Capture measurements with photos in frame, annotate findings, add comments, and @mention responsible parties for clashes or missing signage.
- Scan QR codes on equipment to auto-fill IDs and access certificates; attach screenshots confirming correct document retrieval.
- Review open items, prioritize by risk, and set due dates and assignees; request confirmations or mitigations as needed.
- Generate export as PDF/Excel, collect digital signatures from inspector and supervisor, and distribute to stakeholders.
- Archive the signed record in the document system; ensure the site QR points to the latest approved version.
Call to Action
- Start Checklist Tick off tasks, leave comments on items or the whole form, and export your completed report to PDF or Excel—with a built-in QR code for authenticity.
- Download Excel - Façade Access Clearances & Safety Signage Inspection
- Download PDF - Façade Access Clearances & Safety Signage Inspection
- View Image - Façade Access Clearances & Safety Signage Inspection
Cite & Embed
“Façade Access Clearances & Safety Signage Inspection by Quollnet”
with a link to
this source page.
FAQ
Question: How often should façade maintenance access clearances and safety signage be inspected?
Question: What measurements matter most when verifying BMU and davit clearances?
Question: What should safety signage include for façade maintenance areas?
Question: What actions are required if a clearance conflict or missing sign is found?
Related Articles
Broader reading and guidance connected to this checklist topic.




Related Checklists
Keep the workflow moving with nearby templates chosen from similar checklist content.