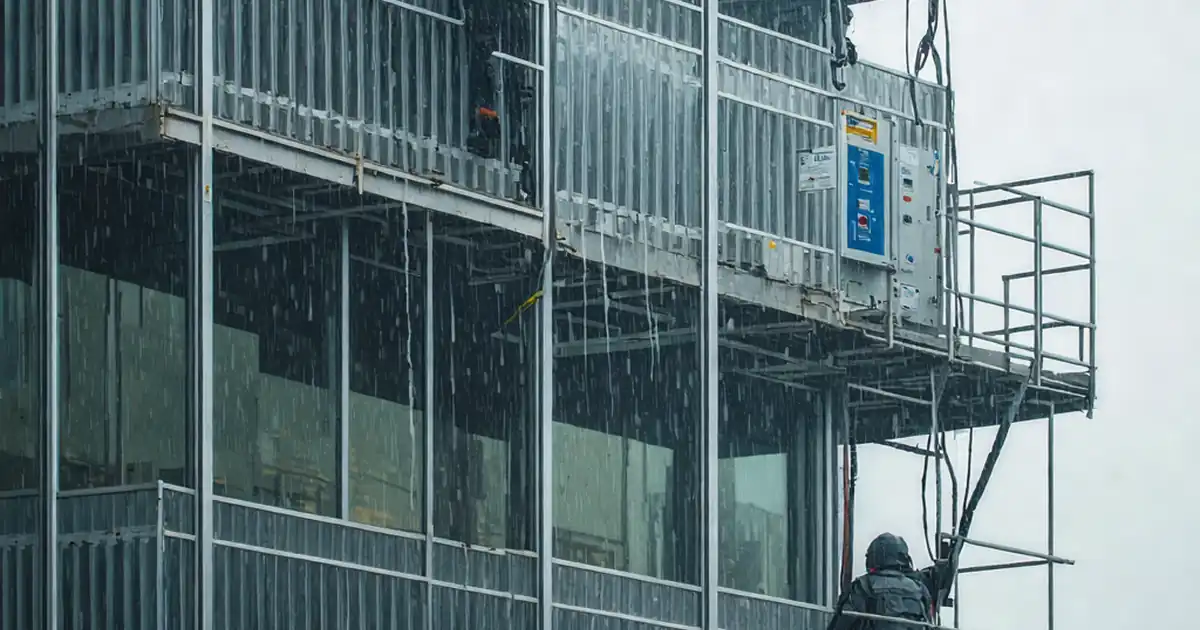
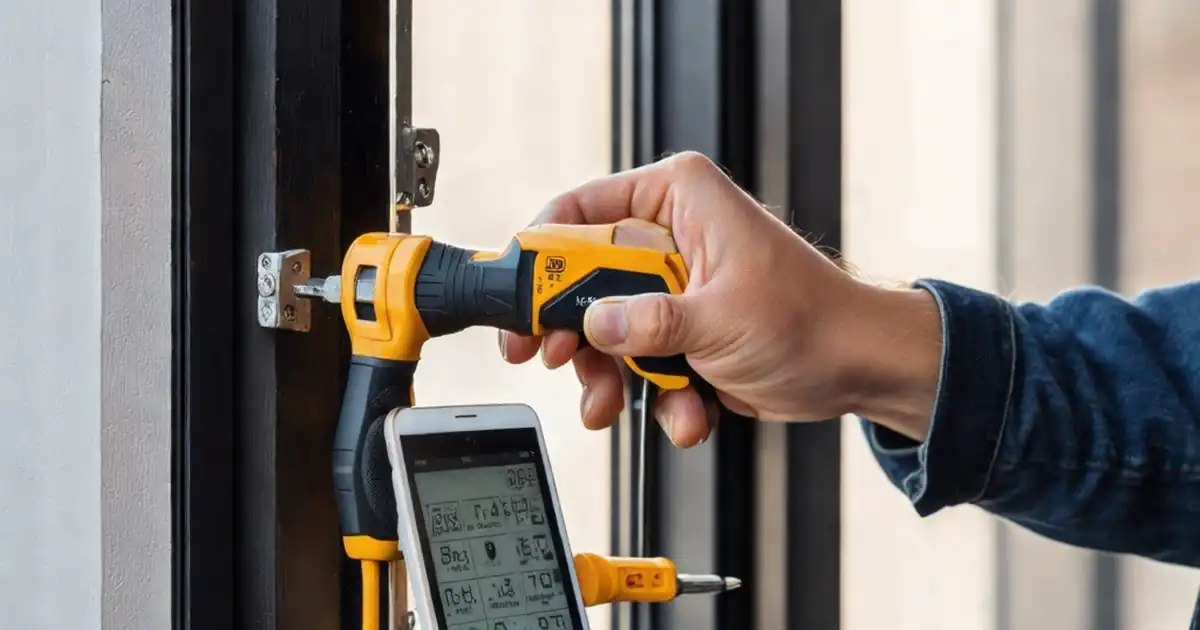
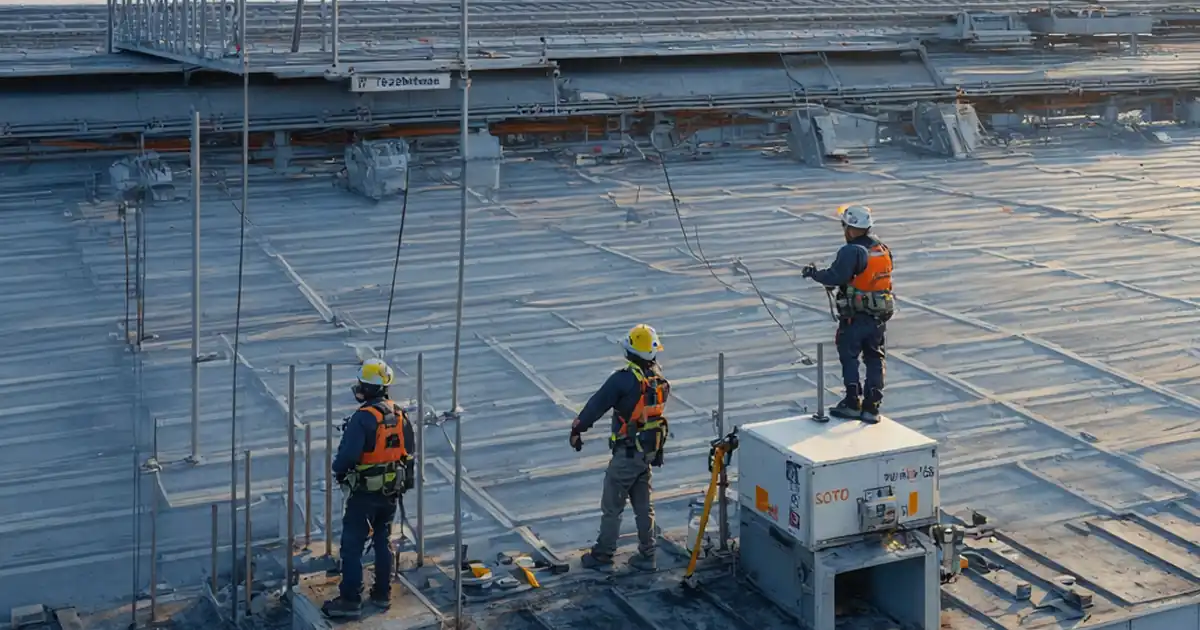
Review façade operable vent locations and maintenance access
Definition: Review façade operable vent locations and maintenance access requirements for architects, contractors, and facility teams, ensuring correct placement, safe reach, compliant clearances, and maintainable hardware across all elevations and interior zones.
- Verify vent coordinates, sill heights, and clearances against approved drawings.
- Ensure safe reach, restrictors, and service paths without removing façade elements.
- Capture photos, measurements, and signatures for traceable as-built documentation.
- Interactive, commentable checklist with export and QR code verification.
Review façade operable vent locations and maintenance access requirements is a focused quality-assurance task that ensures every operable window, trickle vent, or façade ventilation panel is correctly positioned and safely serviceable. Within this scope, you will confirm façade ventilation zones, sill heights, opening areas, service clearances, and safe reach from the occupied side. You will also verify that operable vents avoid conflicts with mullions, blinds, radiators, furniture, and adjacent mechanical louvers, while keeping access equipment, restrictors, and actuators maintainable. By checking these elements before close-out, teams prevent water ingress, short-circuiting of air paths, occupant falls, and unserviceable components trapped behind finishes. The outcome is a maintainable building envelope with accurate as-builts, verified access methods, and clearly labeled assets. Use this interactive checklist to tick items, add field comments with photos, and export as PDF/Excel. A QR code secures records and links each vent’s unique ID to its evidence and approvals.
- This checklist validates vent coordinates, sill heights, opening areas, and service clearances, ensuring operable façade components are accessible from safe positions and free of clashes with structure, interiors, and adjacent systems across all elevations.
- Interactive online checklist with tick, comment, and export features secured by QR code.
- Field-ready methods standardize evidence collection with laser measurements, torque readings, and photos. Teams capture unique IDs, as-built coordinates, and maintenance methods, enabling reliable handover, faster troubleshooting, and safer long-term operations without invasive removals.
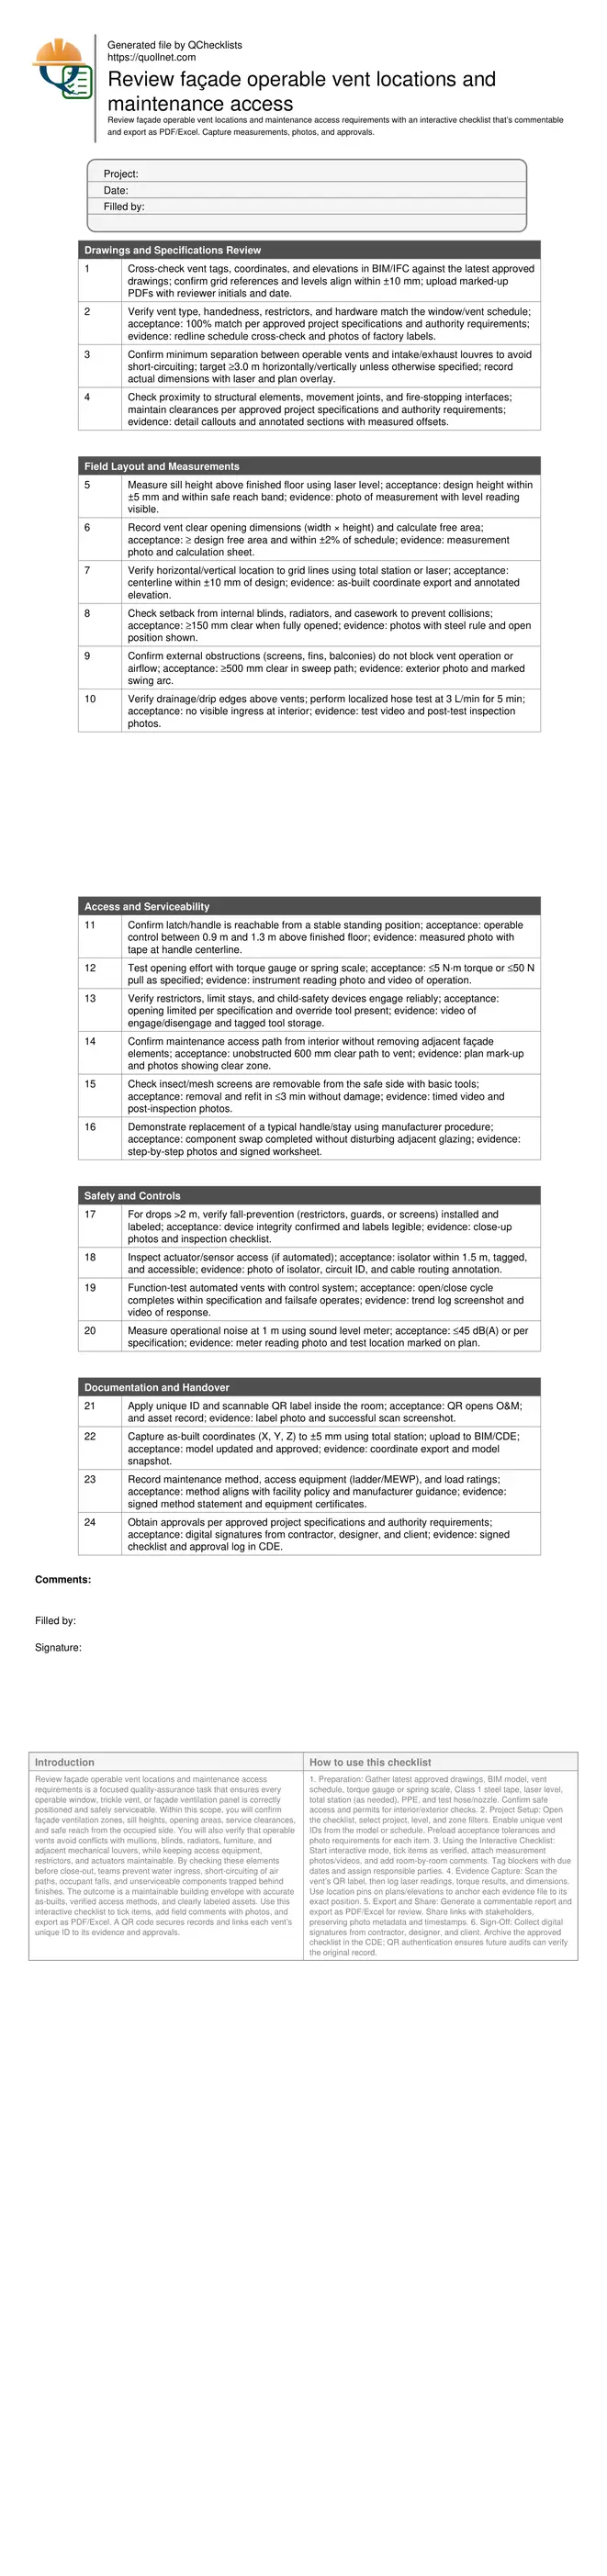
Drawings and Specifications Review
Field Layout and Measurements
Access and Serviceability
Safety and Controls
Documentation and Handover
Coordinate Vent Placement Early to Prevent Clashes
Reliable façade performance begins with coordinated vent locations. Align each operable vent to architectural grids and verify against structural, MEP, and interior packages. Early BIM/IFC federation exposes conflicts with mullions, movement joints, blinds, radiators, sprinklers, or furniture. Maintain adequate separation from mechanical intakes and exhausts to prevent air short-circuiting. Specify sill heights that balance daylight, privacy, and safe reach for occupants. Confirm drainage details, drips, and head flashings above openings to mitigate wind-driven rain. Standardize acceptance tolerances—location within ±10 mm, sill height within ±5 mm, and free area within ±2%—so field teams know exactly what to measure and photograph. Document decisions in the CDE, lock drawing revisions, and tag each vent with a unique ID to streamline subsequent inspections, maintenance planning, and warranty claims.
- Federate models early to reveal structural and interior clashes.
- Lock drawing versions and tag vents with unique IDs.
- Set measurable tolerances for coordinates, sill heights, and free area.
- Plan separation from intakes/exhausts to avoid short-circuiting.
Field Verification: Measurable Evidence and Clearances
On site, trade subjective checks for measurable evidence. Use a laser level for sill heights, a total station for coordinates, and a spring scale or torque gauge for operating effort. Photograph all readings with labels visible. Confirm interior clearances so vents open without striking blinds or radiators, and verify exterior elements—screens, fins, or balconies—do not obstruct the sweep path. Test water management with a controlled hose test to catch sealing mistakes before handover. Where automations exist, confirm actuator access, isolator locations, and control responses. Keep results tied to unique vent IDs, and log exceptions with location, cause, and corrective action deadlines. This disciplined approach minimizes rework, protects finishes, and gives facility teams trusted data for long-term operation.
- Measure, photograph, and link results to unique asset IDs.
- Verify interior and exterior clearances along the full sweep path.
- Test drainage and seals before close-out to avoid leaks.
- Record exceptions with locations and corrective deadlines.
Access, Safety, and Maintainability Over the Life Cycle
Maintenance access is as critical as initial placement. Ensure handles and restrictors are reachable from a stable stance, with opening efforts within manufacturer limits. Where drops exceed 2 m, confirm fall-prevention measures and labels. Screens must be removable from the safe side without damaging frames, and typical hardware replacements should be demonstrated without dismantling adjacent façade elements. For automated vents, verify safe isolation, actuator service space, and documented reset procedures. Finally, label each vent with a QR code linking to O&M data, spare parts, access methods, and inspection history. This creates a resilient asset record that shortens response times, reduces risk, and supports predictable maintenance budgets.
- Prioritize safe reach and low operating effort.
- Confirm fall-prevention where drops exceed 2 m.
- Enable tool-accessible screen removal from the safe side.
- Link each vent’s QR code to live O&M records.
How to Use This Interactive Vent Location & Access Checklist
- Preparation: Gather latest approved drawings, BIM model, vent schedule, torque gauge or spring scale, Class 1 steel tape, laser level, total station (as needed), PPE, and test hose/nozzle. Confirm safe access and permits for interior/exterior checks.
- Project Setup: Open the checklist, select project, level, and zone filters. Enable unique vent IDs from the model or schedule. Preload acceptance tolerances and photo requirements for each item.
- Using the Interactive Checklist: Start interactive mode, tick items as verified, attach measurement photos/videos, and add room-by-room comments. Tag blockers with due dates and assign responsible parties.
- Evidence Capture: Scan the vent’s QR label, then log laser readings, torque results, and dimensions. Use location pins on plans/elevations to anchor each evidence file to its exact position.
- Export and Share: Generate a commentable report and export as PDF/Excel for review. Share links with stakeholders, preserving photo metadata and timestamps.
- Sign-Off: Collect digital signatures from contractor, designer, and client. Archive the approved checklist in the CDE; QR authentication ensures future audits can verify the original record.
Call to Action
- Start Checklist Tick off tasks, leave comments on items or the whole form, and export your completed report to PDF or Excel—with a built-in QR code for authenticity.
- Download Excel - Façade Operable Vent Location & Access Review
- Download PDF - Façade Operable Vent Location & Access Review
- View Image - Façade Operable Vent Location & Access Review
Cite & Embed
“Façade Operable Vent Location & Access Review by Quollnet”
with a link to
this source page.
FAQ
Question: What is the typical acceptable tolerance for vent location and sill height?
Question: How do I verify safe maintenance access without external equipment?
Question: What evidence should I capture for automated operable vents?
Question: When should hose testing be performed on façade vents?
Related Articles
Broader reading and guidance connected to this checklist topic.



Terms Of Service – Quollnet By Quoll Lda

Is It Important To Customize Your Qr Code And How To Do It?

Related Checklists
Keep the workflow moving with nearby templates chosen from similar checklist content.