Review façade interface with balustrades, guardrails, and edge protection
Definition: Review façade interface with balustrades, guardrails, and edge protection is a field checklist for site engineers and inspectors to verify safe, watertight, compliant barrier-to-façade junctions on occupied and construction projects.
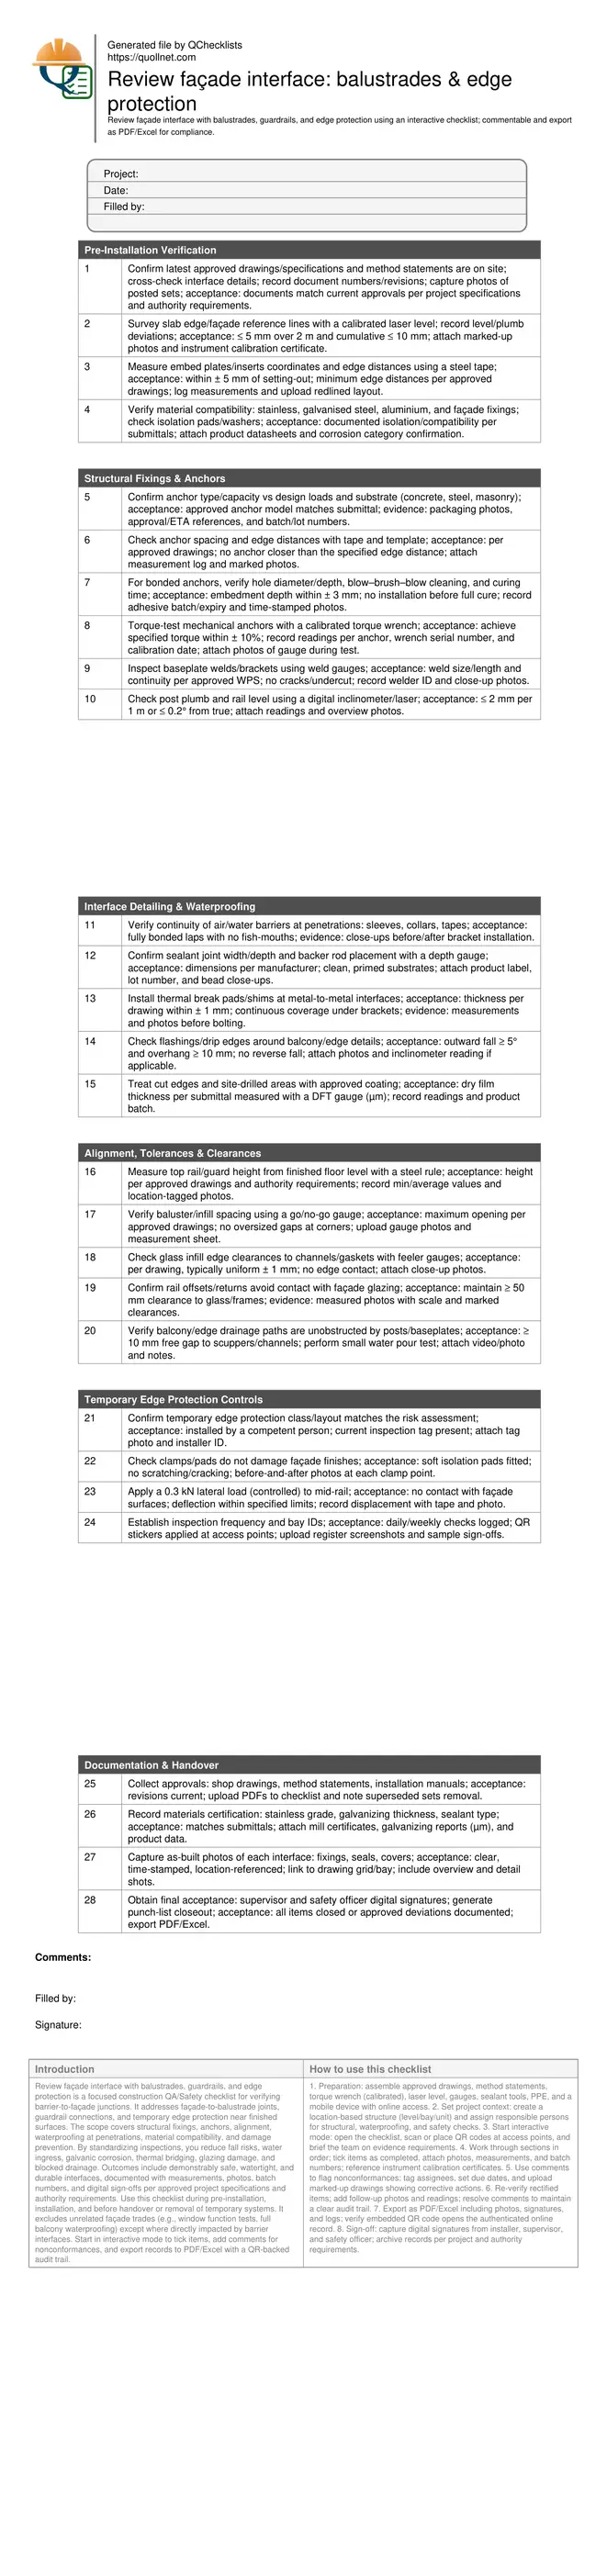
- Verify structural fixings, seals, and tolerances against approved drawings and methods.
- Prevent water ingress, corrosion, thermal bridging, and façade surface damage early.
- Record measurements, photos, batch data, and signatures for traceable compliance.
- Interactive, commentable checklist with export and QR code authentication.
Review façade interface with balustrades, guardrails, and edge protection is a focused construction QA/Safety checklist for verifying barrier-to-façade junctions. It addresses façade-to-balustrade joints, guardrail connections, and temporary edge protection near finished surfaces. The scope covers structural fixings, anchors, alignment, waterproofing at penetrations, material compatibility, and damage prevention. By standardizing inspections, you reduce fall risks, water ingress, galvanic corrosion, thermal bridging, glazing damage, and blocked drainage. Outcomes include demonstrably safe, watertight, and durable interfaces, documented with measurements, photos, batch numbers, and digital sign-offs per approved project specifications and authority requirements. Use this checklist during pre-installation, installation, and before handover or removal of temporary systems. It excludes unrelated façade trades (e.g., window function tests, full balcony waterproofing) except where directly impacted by barrier interfaces. Start in interactive mode to tick items, add comments for nonconformances, and export records to PDF/Excel with a QR-backed audit trail.
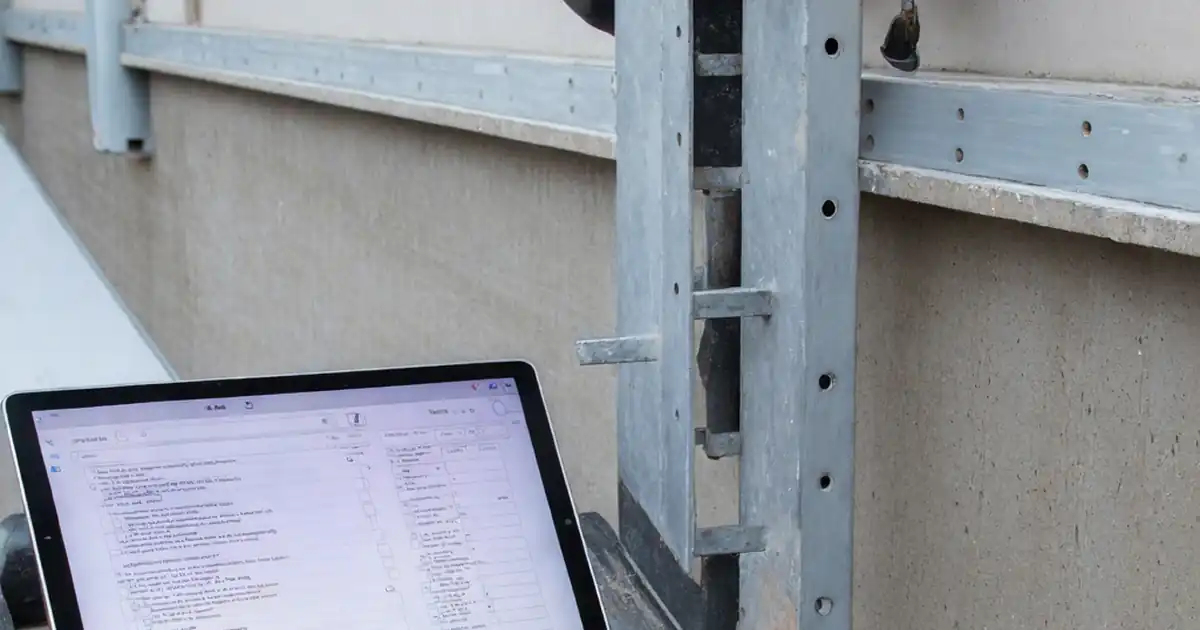
- Ensure barrier posts, rails, and infills connect to façades without compromising structure, waterproofing, or finishes. The checklist guides surveys, anchor selection, torque verification, membrane detailing, sealant dimensions, and alignment tolerances, while capturing photographic evidence, measurements, and product credentials for traceable acceptance.
- Avoid rework by catching clashes, insufficient edge distances, and incompatible materials before installation. Practical steps validate embed plate locations, anchor embedment, thermal breaks, drip edges, and drainage continuity. Acceptance cues, tolerances, and tools are embedded to drive repeatable, defensible inspections on live projects.
- Temporary edge protection near finished façades receives special attention. Controls verify isolation pads, load/deflection behavior, inspection tags, and no-contact with glazing. Records include tag IDs, bay references, dates, and stakeholder approvals to maintain safety without damaging completed work or water barriers.
- Interactive online checklist with tick, comment, and export features secured by QR code.
Pre-Installation Verification
Structural Fixings & Anchors
Interface Detailing & Waterproofing
Alignment, Tolerances & Clearances
Temporary Edge Protection Controls
Documentation & Handover
Why interface checks matter for safety, durability, and handover
Façade–barrier junctions combine structural demand, weatherproofing, and finish protection in a small footprint. Misplaced anchors reduce capacity; poorly sealed penetrations channel water into walls; incompatible metals create galvanic corrosion; and tight tolerances risk damaging glazing. This checklist sequences verification from drawings and surveys through anchors, waterproofing, and alignment so issues surface before finishes or occupants are at risk. Acceptance cues specify measurable tolerances, e.g., embedment within millimetres, torque ranges, clearances to glass, and minimum overhangs/falls for flashings. Evidence—photos, readings, batch numbers, and signatures—translates inspections into auditable records per approved project specifications and authority requirements. On high-rise balconies, winter gardens, or podium edges, robust documentation reduces rework, accelerates approvals, and protects warranties. Examples include confirming edge distances before coring, checking collar tapes before post-installation, and proving torque with a calibrated wrench rather than “tight-by-feel.”
- Measure, don’t guess—record values with calibrated tools.
- Seal penetrations before loading brackets or posts.
- Prevent galvanic action with isolation pads and sealants.
- Protect drainage continuity with minimum free gaps.
- Back findings with photos, batches, and signatures.
Anchors, membranes, and the sequence that prevents rework
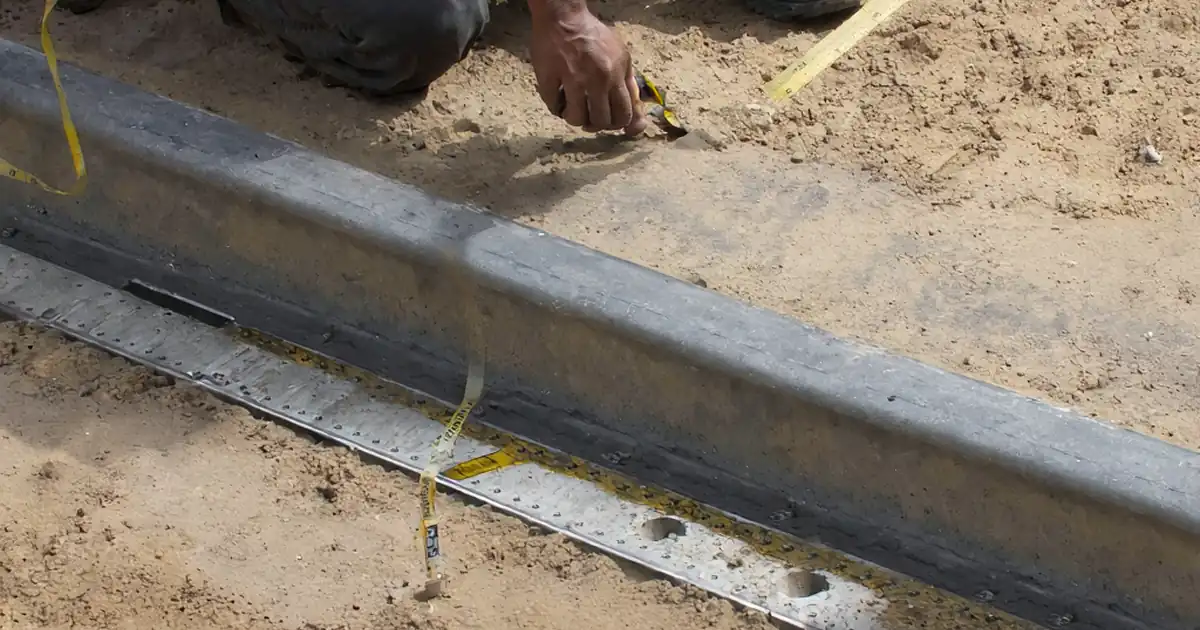
Anchors succeed when substrate, drilling, cleaning, embedment, and torque align. Bonded anchors fail early if dust remains; mechanical anchors slip without verified torque. Membranes perform only when collars, tapes, and terminations are continuous around penetrations and protected by flashings that shed water forward. Sequence inspections to lock fundamentals first: survey and set-out, then anchor installation/verification, then membrane detailing and sealant dimensions before claddings close access. Where glass infills are used, protect edges, verify gasket compression, and set uniform clearances before fixing caps. Always log batch data—adhesives, sealants, isolation materials—and retain calibration certificates for wrenches and levels. Close-out succeeds when each junction proves structural capacity and water integrity with traceable evidence rather than assumptions or memory.
- Clean holes: blow–brush–blow before adhesive injection.
- Verify torque with a calibrated wrench, not “feel.”
- Install collars/tapes before covers and caps.
- Maintain uniform gasket compression and glass clearance.
Temporary edge protection near finished façades
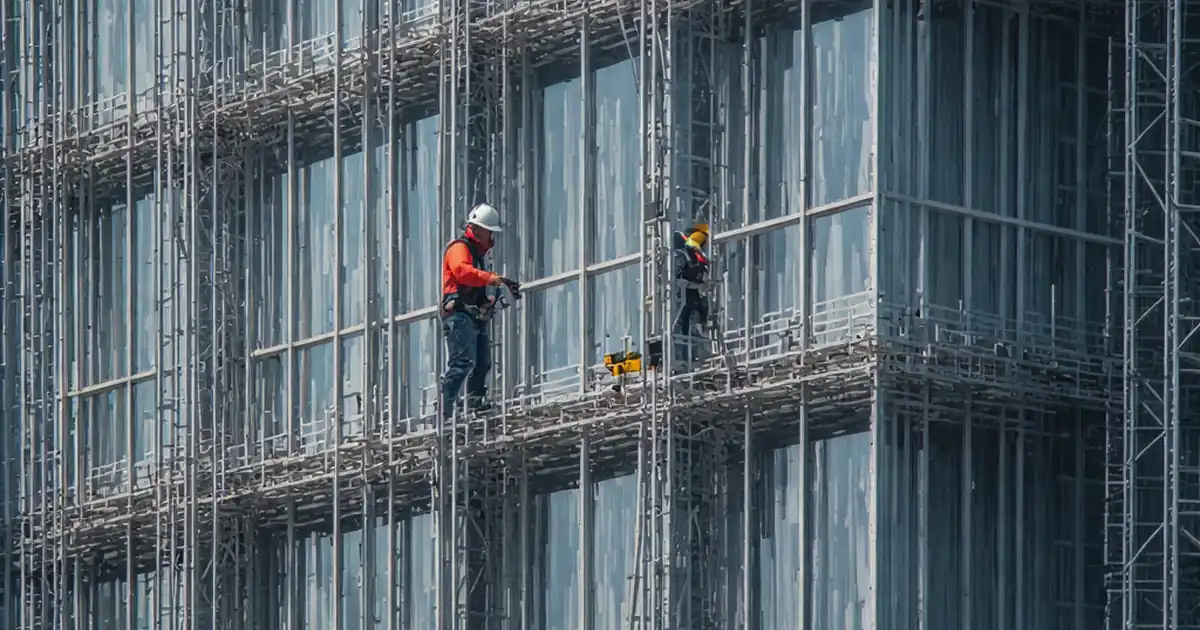
Temporary edge protection keeps teams safe but easily scars completed façades. Use load-rated systems with isolation pads on clamps, check no-contact under lateral loads, and keep inspection tags current. Plan routes and storage to avoid dragging rails across glazing or coatings. Confirm deflection limits with measured tests and remove systems methodically, patching penetrations and recoating cuts immediately. Document bay IDs with QR stickers, log inspection dates, and photograph condition before and after removal. Balance safety and finish protection by assigning competent persons and scheduling frequent checks during high-traffic phases. This disciplined approach sustains fall protection while preventing damage-driven delays and warranty disputes at handover.
- Fit soft pads at all clamp contact points.
- Prove no-contact under measured horizontal load.
- Keep tags current and legible at access points.
- Photograph façades before and after removal.
How to prepare, use, and sign off this interactive checklist
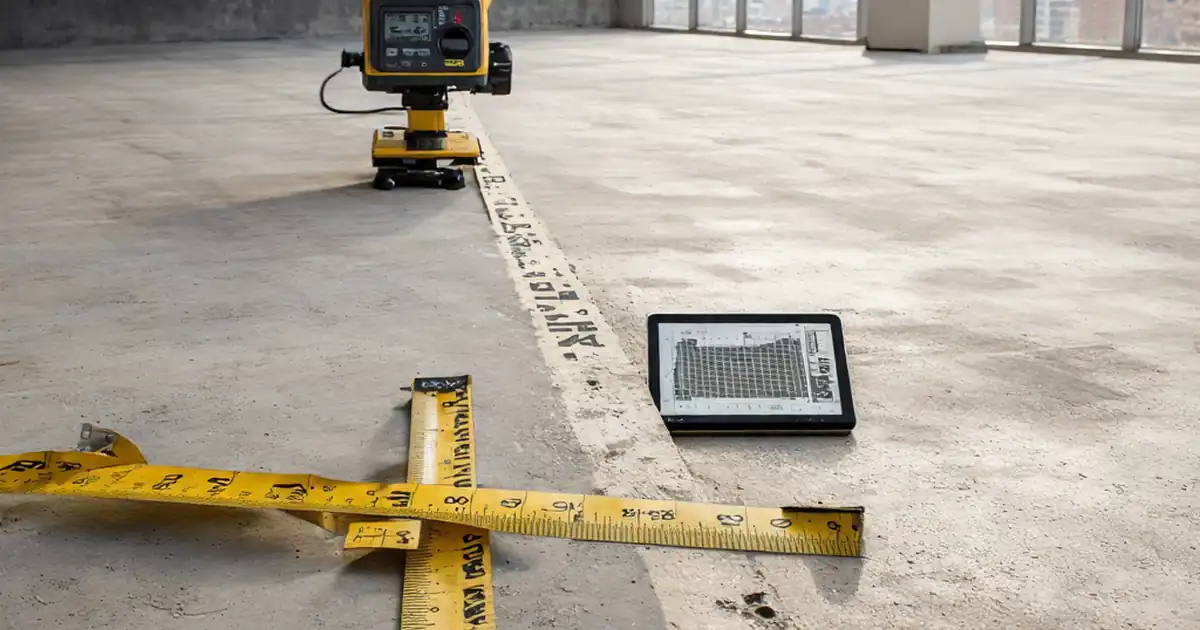
- Preparation: assemble approved drawings, method statements, torque wrench (calibrated), laser level, gauges, sealant tools, PPE, and a mobile device with online access.
- Set project context: create a location-based structure (level/bay/unit) and assign responsible persons for structural, waterproofing, and safety checks.
- Start interactive mode: open the checklist, scan or place QR codes at access points, and brief the team on evidence requirements.
- Work through sections in order; tick items as completed, attach photos, measurements, and batch numbers; reference instrument calibration certificates.
- Use comments to flag nonconformances; tag assignees, set due dates, and upload marked-up drawings showing corrective actions.
- Re-verify rectified items; add follow-up photos and readings; resolve comments to maintain a clear audit trail.
- Export as PDF/Excel including photos, signatures, and logs; verify embedded QR code opens the authenticated online record.
- Sign-off: capture digital signatures from installer, supervisor, and safety officer; archive records per project and authority requirements.
Call to Action
- Start Checklist Tick off tasks, leave comments on items or the whole form, and export your completed report to PDF or Excel—with a built-in QR code for authenticity.
- Download Excel - Façade–Barrier Interface Review
- Download PDF - Façade–Barrier Interface Review
- View Image - Façade–Barrier Interface Review
Cite & Embed
“Façade–Barrier Interface Review by Quollnet”
with a link to
this source page.
FAQ
Question: What tolerances should I apply to post plumb and rail level?
Question: How do I prevent water ingress where balustrade brackets penetrate the façade?
Question: Can temporary edge protection be clamped to completed façades without damage?
Question: What evidence do reviewers expect at handover for barrier interfaces?
Related Articles
Broader reading and guidance connected to this checklist topic.


Related Checklists
Keep the workflow moving with nearby templates chosen from similar checklist content.