Precast façade panel lifting anchors and rigging readiness
Definition: Inspect precast façade panel lifting anchors and rigging readiness is a focused checklist for supervisors and rigging crews to verify anchor integrity, hardware compatibility, geometry, and site conditions before safe lifting operations.
- Confirm anchor type, embedment, and clutch compatibility before any lift.
- Validate sling angles, spreader setup, and overall rigging capacity margins.
- Document approvals, measurements, and photos for traceable, auditable evidence.
- Interactive, commentable checklist with export and QR code verification.
Inspect precast façade panel lifting anchors and rigging readiness helps supervisors, riggers, and QA leads verify safe lifting points and configuration before hoisting. This checklist focuses on precast panel lifting points, ring clutches, shackles, slings, spreader bars, and the required documentation that underpins a controlled lift. You will confirm anchor locations and embedment, clutch-to-anchor compatibility, sling angle geometry, total rigging working load limits, and site controls like exclusion zones and wind limits. By staying within this scope—pre-lift anchor condition and rigging readiness—you reduce the risks of anchor pull-out, panel cracking, unintended rotation, and suspended-load incidents. The outcome is a documented, repeatable process with measured evidence: edge distances, torque values, sling angles, calibration tags, and photo records linked to the panel ID and lifting plan. Use this interactive checklist to tick items, leave comments with photos, assign actions, and export as PDF/Excel with a secured QR code for quick on-site verification.
- Verify anchor condition, embedment, and reinforcement presence using calipers and cover meters, confirm clutch compatibility by trial fit, and ensure approvals match the latest lifting plan to prevent mismatch between design intent and field setup.
- Calculate panel mass and center of gravity, check sling angles and spreader length tolerances, and ensure total rigging working load limit meets a minimum 2.0 safety factor over the panel weight, reducing overstress and unbalanced picks.
- Establish a controlled lift environment with exclusion zones, weather checks, taglines, and toolbox briefings; conduct a 200 mm test lift to validate balance and rotation control before committing to the full hoist and swing sequence.
- Interactive online checklist with tick, comment, and export features secured by QR code.
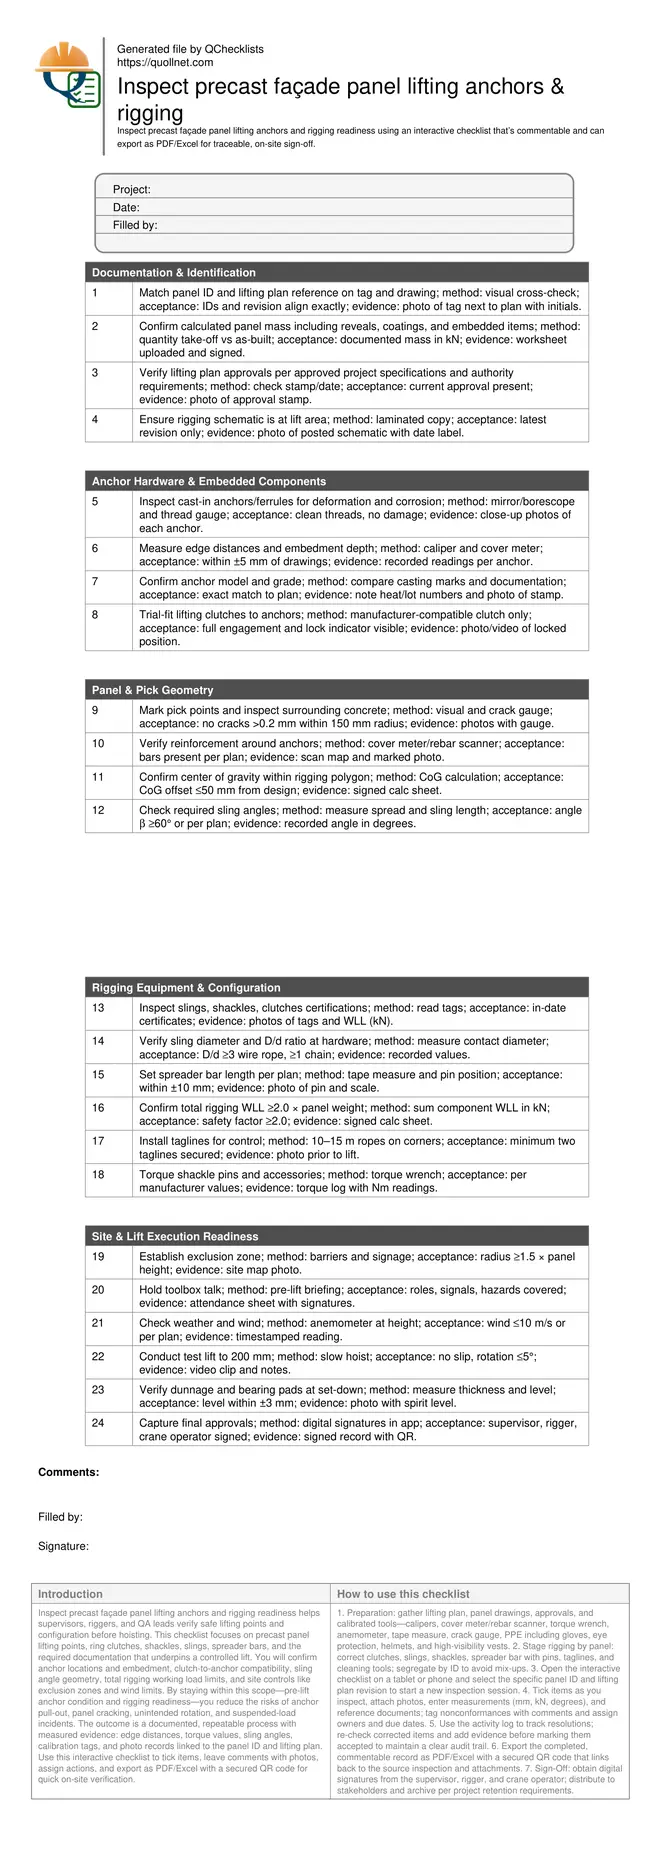
Documentation & Identification
Anchor Hardware & Embedded Components
Panel & Pick Geometry
Rigging Equipment & Configuration
Site & Lift Execution Readiness
Anchor systems and clutch compatibility made verifiable
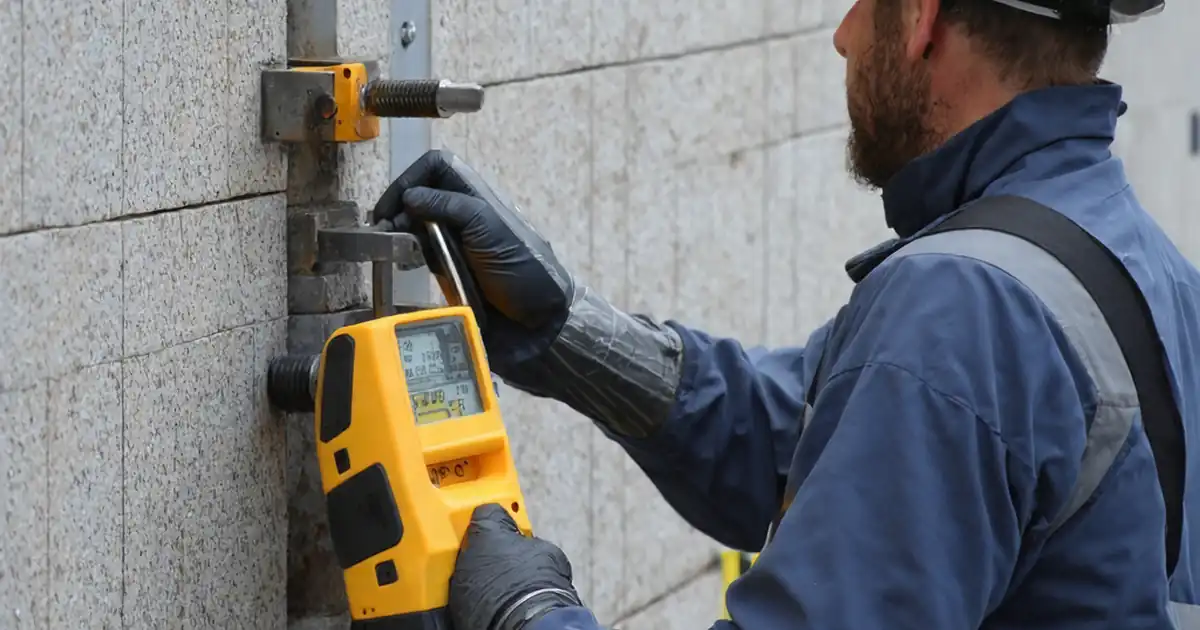
Precast façade panels rely on cast-in anchors, ferrules, and reinforcement cages to transfer lift forces safely. Before connecting a clutch, confirm the anchor model and grade match the lifting plan, and that embedment and edge distances are within tolerance. Clean, undamaged threads and sound surrounding concrete are essential to ensure the clutch locks fully and loads travel into the panel’s reinforcement rather than spalling the cover concrete. Use a cover meter or rebar scanner to confirm confinement steel, and a borescope or mirror for visual thread inspection. Trial-fitting the correct manufacturer clutch provides a direct confirmation of engagement and locking. Record each anchor’s condition with close-up photos and note heat or lot numbers to maintain traceability. These steps prevent misfits, pull-out failures, and cracked corners during the initial pick, when load ramps quickly as slack is removed and geometry stabilizes.
- Match anchor model and grade to the lifting plan.
- Measure embedment and edges within ±5 mm tolerance.
- Trial-fit only manufacturer-compatible clutches.
- Scan for reinforcement confinement around anchors.
- Photograph each anchor and record lot numbers.
Rigging geometry, angles, and capacity margins
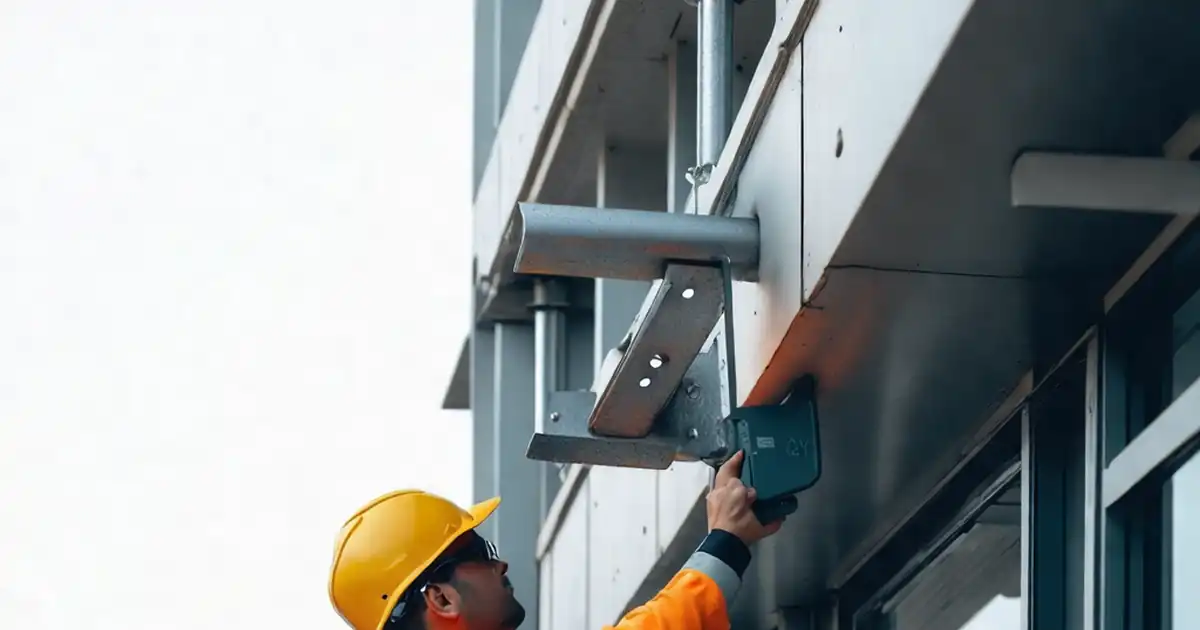
A safe pick depends on sling angles, spreader length, and center-of-gravity control. Calculate the panel’s mass and confirm the combined working load limit of slings, shackles, and clutches provides at least a 2.0 safety factor. Use measured spread and sling length to determine sling angle β, maintaining angles of 60° or greater unless the engineer specifies otherwise. Verify the spreader bar length is set within ±10 mm and that D/d ratios suit sling type to avoid localized crushing or bending. If the center of gravity sits outside the rigging polygon, adjust pick points per the approved plan before lifting. Capture calculations, tag photos showing WLL in kN, and measurement screenshots so anyone auditing the lift can confirm geometry and capacity at a glance.
- Maintain sling angles at or above 60°.
- Set spreader length within ±10 mm.
- Ensure total WLL ≥ 2.0 × panel weight.
- Confirm acceptable D/d ratio for slings.
- Keep center of gravity within rigging polygon.
Field readiness: site controls and test lift proof
Even perfect rigging fails without controlled conditions. Establish an exclusion zone at least 1.5 times the panel height, position taglines on corners, and verify wind speed at lift height using a calibrated anemometer. Hold a focused toolbox talk covering roles, hand signals, travel path, and emergency actions. Before committing to full lift, execute a 200 mm test pick to validate balance and rotation limits; stop immediately if movement exceeds expectations. Confirm dunnage and bearing pads are prepared at the set-down area and that access routes are clear. Document all readings, photos, and attendance to create a defensible record. These checks reduce swing hazards, protect people and property, and give the crew clear go/no-go cues tied to measurable site conditions.
- Create a 1.5× height exclusion zone.
- Measure wind at lift height.
- Use taglines to control rotation.
- Conduct a 200 mm test lift.
- Brief roles and communication signals.
How to prepare, use, and sign off this interactive checklist
- Preparation: gather lifting plan, panel drawings, approvals, and calibrated tools—calipers, cover meter/rebar scanner, torque wrench, anemometer, tape measure, crack gauge, PPE including gloves, eye protection, helmets, and high-visibility vests.
- Stage rigging by panel: correct clutches, slings, shackles, spreader bar with pins, taglines, and cleaning tools; segregate by ID to avoid mix-ups.
- Open the interactive checklist on a tablet or phone and select the specific panel ID and lifting plan revision to start a new inspection session.
- Tick items as you inspect, attach photos, enter measurements (mm, kN, degrees), and reference documents; tag nonconformances with comments and assign owners and due dates.
- Use the activity log to track resolutions; re-check corrected items and add evidence before marking them accepted to maintain a clear audit trail.
- Export the completed, commentable record as PDF/Excel with a secured QR code that links back to the source inspection and attachments.
- Sign-Off: obtain digital signatures from the supervisor, rigger, and crane operator; distribute to stakeholders and archive per project retention requirements.
Call to Action
- Start Checklist Tick off tasks, leave comments on items or the whole form, and export your completed report to PDF or Excel—with a built-in QR code for authenticity.
- Download Excel - Precast Façade Lifting Anchors & Rigging Inspection
- Download PDF - Precast Façade Lifting Anchors & Rigging Inspection
- View Image - Precast Façade Lifting Anchors & Rigging Inspection
Cite & Embed
“Precast Façade Lifting Anchors & Rigging Inspection by Quollnet”
with a link to
this source page.
FAQ
Question: How can I confirm clutch-to-anchor compatibility without loading the panel?
Question: What sling angle should I target for precast façade panel lifts?
Question: What do I do if I find corrosion or damaged anchor threads?
Question: Is a 200 mm test lift always required before a full hoist?
Related Articles
Broader reading and guidance connected to this checklist topic.


Is It Important To Customize Your Qr Code And How To Do It?


Safety In Construction: The Role Of Periodic Safety Checklists
Download Excel Format Snag List
Related Checklists
Keep the workflow moving with nearby templates chosen from similar checklist content.