Inspect façade access tracks, davits, or anchors before handover with a structured, site-ready checklist for contractors, façade specialists, and client reps, validating installation, testing, documentation, and operational safety readiness.
- Verify structural fixings, alignment, and labels against approved drawings.
- Capture torque, pull-out, and proof-load results with photo evidence.
- Ensure safe access coverage, earthing, and corrosion protection before sign-off.
- Interactive, commentable checklist; export PDF/Excel with QR code authentication.
The checklist
Documentation & Compliance
- Compare approved shop drawings and marked-up as-builts on a tablet against installed locations; acceptance: latest revision only, no deviations; evidence: photos of tags and drawing revision clouds, document numbers, inspector initials.
- Verify material certificates (stainless grade, baseplate steel) and fastener specs against submittals; tool: document review; acceptance: grades per spec, heat numbers traceable; evidence: upload MTCs, highlight relevant lines.
- Confirm installer competency and equipment calibration for torque wrenches, pull-testers, and load cells; acceptance: valid within 12 months; evidence: photos of calibration labels and certificates with serial numbers.
- Review approved method statement and rescue plan covering façade access operations; acceptance: signed by contractor and client rep; evidence: PDF upload with approval stamps and dates.
Structural Fixings & Substrates
- Inspect baseplate layout, edge distances, and anchor spacings with tape measure; acceptance: within ±5 mm of drawings and minimum edge distances per design; evidence: dimensioned photos with scale.
- Measure anchor embedment using a depth gauge before final tightening; acceptance: not less than design embedment (record design value); evidence: depth readings logged with location IDs.
- Torque mechanical anchors using a calibrated torque wrench; acceptance: 90–110% of specified torque; evidence: record torque values per anchor ID, wrench serial, and operator signature.
- Verify chemical anchors: substrate condition, hole cleaning, adhesive batch, and cure time; tools: blow pump/brush, timer; acceptance: curing per TDS at ambient temperature; evidence: cartridge photo showing batch and timestamp.
- Check corrosion isolation between dissimilar metals using isolation pads/washers; acceptance: no direct contact, pads intact; evidence: close-up photos before cover installation.
Tracks & Trolleys
- Verify track alignment with laser/string line; acceptance: straightness deviation ≤ 3 mm per 2 m; evidence: alignment photos with measurement marks and laser reading.
- Measure track level and slope using digital level; acceptance: level within ±2 mm/m unless designed fall noted; evidence: level readings logged by grid location.
- Check fixings, locking devices, and end stops; tools: spanner set; acceptance: all fasteners torqued/locked, end stops positively secured; evidence: torque record and photos of locking features.
- Function-test trolleys along full track length; tools: tag line, video; acceptance: smooth travel, no binding, brakes engage at stops; evidence: video clip and comments on any high spots.
Davit Bases & Arms
- Confirm davit base socket orientation, pin diameter, and retention mechanism; tools: vernier caliper; acceptance: correct fit, arm seats fully without play; evidence: dimension readings and close-up photos.
- Measure plinth level and top-of-base elevation with digital level; acceptance: level ±3 mm/m and elevation per drawings; evidence: level readings and datum references.
- Install davit arm to base, verify SWL and reach labeling; acceptance: durable UV-stable labels, SWL legible from 1 m; evidence: photo showing ID, SWL, and arm reach diagram if provided.
- Proof-load test davit arm using calibrated load cell and test bag; acceptance: 125% of SWL held for 5 min with no deformation or slip; evidence: load chart, photo of setup, and pass result.
Rope Access Anchors
- Identify each anchor (eyebolt/padeye) and confirm unique ID, SWL stamp, and manufacturer; acceptance: markings permanent and readable; evidence: close-up photos per ID.
- Perform pull-out test with calibrated tester per approved procedure; acceptance: target load (e.g., 6 kN or per spec) held 15 s without displacement; evidence: tester serial, load-time graph, and pass/fail record.
- Check connector compatibility and clearance with typical PPE carabiners; tools: gauge ring; acceptance: ≥ 12 mm clearance, no sharp edges or burrs; evidence: photos showing orientation and clearance.
- Verify anchor spacing and façade coverage using access plan overlay; tools: plan markup; acceptance: safe reach to all areas without overreaching; evidence: annotated elevation drawings.
Testing, Electrical & Handover
- Confirm earthing/bonding of metallic components; tools: continuity tester; acceptance: resistance < 0.5 Ω between components and main earth; evidence: readings and bonding locations.
- Verify lightning protection bonding where specified; tools: visual check and continuity test; acceptance: approved clamps, secure connections; evidence: photos and test readings.
- Inspect signage: SWL, inspection dates, rescue info, and contact numbers; acceptance: weatherproof, UV-stable, and correctly positioned; evidence: photos per location.
- Compile O&M manuals including as-builts, test certificates, warranties, and maintenance schedules; acceptance: complete index and digital copies; evidence: upload folder link and document list.
- Conduct joint walkdown with client, resolve punch items, capture signatures; acceptance: all actions closed or tracked; evidence: digital sign-off, date, and QR-linked exported report.
Preview the printable checklist
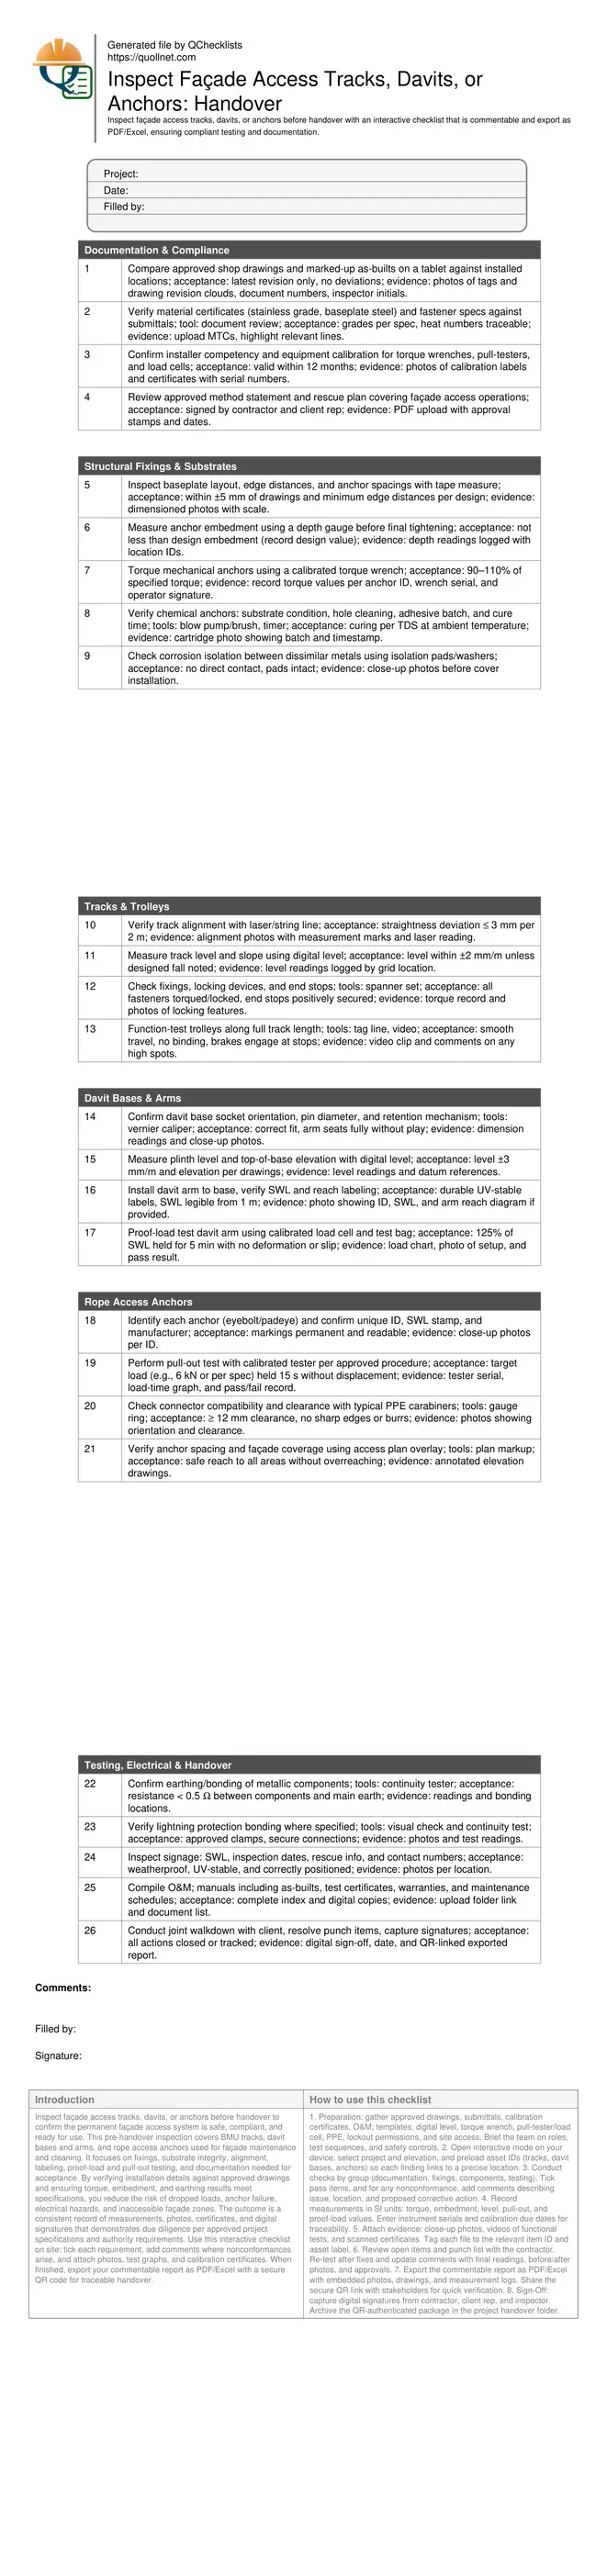
Preview page one below. Open the image or download the PDF for all pages.
At a glance
- Confirm façade access supports are installed and tested as designed by checking drawings, material certificates, torque settings, pull-out and proof-load results, and signage. Capture photos, serial numbers, and calibration data to create a defensible, audit-ready handover package.
- Reduce commissioning delays by sequencing checks from documentation to structural fixings, then component alignment and functional testing. This approach surfaces high-impact issues early, minimizing rework and ensuring safe access coverage across all façade elevations.
- Strengthen safety outcomes by validating earthing, corrosion isolation, and edge distances, plus ensuring anchors, davits, and tracks are labeled with unique IDs and SWL. Clear acceptance criteria guide decisions and enable rapid, accountable close-out with client representatives.
- Interactive online checklist with tick, comment, and export features secured by QR code.
How to Use This Façade Access Handover Checklist
- Preparation: gather approved drawings, submittals, calibration certificates, O&M templates, digital level, torque wrench, pull-tester/load cell, PPE, lockout permissions, and site access. Brief the team on roles, test sequences, and safety controls.
- Open interactive mode on your device, select project and elevation, and preload asset IDs (tracks, davit bases, anchors) so each finding links to a precise location.
- Conduct checks by group (documentation, fixings, components, testing). Tick pass items, and for any nonconformance, add comments describing issue, location, and proposed corrective action.
- Record measurements in SI units: torque, embedment, level, pull-out, and proof-load values. Enter instrument serials and calibration due dates for traceability.
- Attach evidence: close-up photos, videos of functional tests, and scanned certificates. Tag each file to the relevant item ID and asset label.
- Review open items and punch list with the contractor. Re-test after fixes and update comments with final readings, before/after photos, and approvals.
- Export the commentable report as PDF/Excel with embedded photos, drawings, and measurement logs. Share the secure QR link with stakeholders for quick verification.
- Sign-Off: capture digital signatures from contractor, client rep, and inspector. Archive the QR-authenticated package in the project handover folder.
What a robust façade access handover inspection must prove
Before accepting a façade access system, the inspection must prove that permanent supports—tracks, davits, and rope access anchors—are correctly installed, traceable to approved drawings, and function as intended. That starts with documentation: submittal approvals, material certificates, and calibration records. On site, each component is checked for alignment, level, spacing, and marking, then verified by measurable criteria such as torque, embedment, pull-out, and proof-load results. Coverage across elevations is assessed to confirm safe reach without overreach or pendulum risk. Electrical bonding and lightning interfaces are verified where applicable. Clear labels for SWL and unique IDs ensure operators can match points to records. Acceptance hinges on objective evidence: readings, photos, serial numbers, and signatures tied to location references. When each check is linked to specific tolerances, you avoid subjective calls, accelerate close-out, and ensure a defensible record per approved project specifications and authority requirements.
- Tie every check to a drawing reference and location ID.
- Record measurable values; avoid subjective pass/fail only.
- Capture photos before covers conceal critical fixings.
- Verify operator labels: SWL, unique ID, and manufacturer.
Fixings, substrates, and corrosion control that stand the test of time
Most failures originate at the interface between anchors and substrates. Inspectors should confirm the correct anchor type, embedment, and edge distances while the fixing is still visible. Mechanical anchors must be torqued with calibrated tools and recorded. Chemical anchors demand strict hole cleaning, batch verification, and cure times matched to ambient temperature. Isolation pads and compatible fasteners prevent galvanic corrosion between stainless components and carbon steel structures. Plinths and baseplates should sit level, with water-shedding details to avoid standing water. For tracks, verify uniform fix spacing and end-stop security; for davits, ensure sockets and pins fit without play. Any deviation should trigger a documented NCR with corrective action and retest. Attention to these fundamentals reduces rework and extends the life of the façade access system under real-world exposure and cyclic loading.
- Measure embedment depth before final tightening.
- Maintain torque within 90–110% of specification.
- Log adhesive batch, temperature, and cure duration.
- Install isolation pads between dissimilar metals.
Testing, labeling, and traceable acceptance
Testing transforms installation checks into demonstrable performance. Pull-out tests on rope access anchors and 125% proof-loads on davit arms validate capacity and installation quality. Track trolleys should run the full length smoothly, engaging end-stop safety. Electrical continuity confirms bonding across metallic paths. Each test requires calibrated instruments and clear procedures; record serial numbers, setpoints, hold times, and outcomes. Labels must be durable and legible, showing SWL, unique IDs, and inspection dates so operators can connect equipment to records. Consolidate as-builts, certificates, warranties, and maintenance schedules in an indexed O&M package. Finally, complete a joint walkdown to close punch items and capture digital signatures. QR-secured exports preserve integrity for future audits and annual inspections.
- Use calibrated tools and attach certificates.
- Record loads, hold times, and displacement.
- Label each point with SWL and unique ID.
- Export a QR-secured report for archiving.