Inspect façade snagging and defect closeout before handover
Definition: Inspect façade snagging and defect closeout before handover equips site engineers and quality leads to verify façades, document evidence, and achieve compliant closeout across cladding, glazing, and curtain wall assemblies.
- Structured punch list for alignment, waterproofing, finishes, and documentation.
- Reduce leakage, staining, and rework costs before client handover.
- Capture photos, measurements, batch records, and approvals with traceability.
- Interactive, commentable, export to PDF/Excel, QR code-secured sign-off.
Inspect façade snagging and defect closeout before handover is the final, disciplined review of cladding, glazing, and curtain wall packages to confirm all punch list items are closed. This checklist focuses on façade punch lists, defect rectification, and evidence-backed closeout without drifting into unrelated trades. You will confirm alignment and plumb, fixings and torque, joints and sealants, drainage and fire barriers, glass condition, surface finish, and documentation required for handover. By catching leaks, thermal bridges, loose fixings, or surface defects now, you avoid client callbacks, costly access re-mobilisation, and reputational risk. The outcome is a clean, watertight, structurally sound, and maintainable façade with complete records—photos, measurements, batch numbers, warranties, and as-builts—per approved project specifications and authority requirements. Use this interactive tool to tick items, add comments, attach evidence, and assign actions. When complete, export your sign-off package as PDF/Excel, secured with a QR link for instant verification.
- Achieve a watertight, aligned, and compliant façade before client move-in. This checklist drives a methodical closeout of glazing, joints, fixings, firestops, and finishes, capturing measurable evidence so issues are solved while access and trades are still available.
- Cut rework and access re-mobilisation by closing defects with proof. Each step specifies tools, tolerances, and acceptance cues, so supervisors can verify workmanship, track batches and torque records, and prevent future leaks, staining, or loose components.
- Interactive online checklist with tick, comment, and export features secured by QR code. Supervisors, installers, and consultants collaborate in real time, attach photos, and assign actions, ensuring transparent accountability and rapid closeout of façade punch list items.
- Deliver a complete handover file—approved samples, warranties, O&M manuals, as-built elevations, and cleaning records—indexed and signed. Digital exports provide traceability for future maintenance and client audits, enhancing lifecycle performance and reducing operational risk.
Access and Safety for Façade Inspection
Alignment, Plumb, and Fixings
Glazing and Gaskets
Joints, Sealants, and Waterproofing
Firestops and Thermal Breaks
Surface Finish, Cleaning, and Handover Documentation
Plan access, measure what matters, and lock down tolerances
Façade snagging succeeds when access, method, and tolerances are clear before you step onto the mast climber or cradle. Map each elevation into grid bays and assign unique IDs so photos, measurements, and comments trace back unambiguously. Bring a 2 m straightedge, laser distance meter, calibrated torque wrench, gloss meter, IR camera, and a wet-area kit for hose testing. Measure plumb/level at multiple points per bay and record actual deviations—do not rely on visual judgment. For fixings, verify the correct fastener type and torque within ±10% of the manufacturer’s value and capture the wrench serial number for auditability. When checking glass from 3 m in diffuse light, separate minor blemishes from replacement-level defects, and tag components to prevent mix-ups. A real-world time-saver: photograph bracket IDs before cladding reinstallation to avoid reopening the elevation later. Close each grid bay with photos, readings, and initials to build a defensible acceptance record.
- Grid and label each elevation bay for traceability.
- Use a 2 m straightedge or laser, log actual deviations.
- Record torque values and tool serial numbers.
- Inspect glass at 3 m under diffuse light conditions.
- Photo-document before concealment and at final close.
Sealants, joints, drainage, and fire integrity drive performance
Most post-handover complaints stem from leaks, blocked weeps, or inconsistent jointing. Measure joint widths against drawings (aim for ±2 mm), confirm sealant depth and backer rod sizing, and document batch numbers for warranty integrity. Perform a controlled hose test after sealant cure, watching interior corners, sills, and mullion intersections—no damp spots allowed. Confirm end dams and upturns are present and sealed continuously, and that cavity barriers and thermal breaks are not compromised by fixings or debris. Inspect perimeter fire barriers and spandrel insulation thicknesses before closing up; take dated photos so compliance is evident later. An example: resolving a persistent corner leak often comes down to a missed end dam or cut backer rod—small details with big consequences. Validate weep discharge by pouring a measured volume of water and observing flow to daylight.
- Joint width within ±2 mm of design across elevation.
- Hose test passes with no interior drips or damp.
- End dams with ≥ 25 mm upturn and continuous seal.
- Weep routes clear; water discharges to daylight.
- Fire barrier continuity photographed before close-up.
Finish quality, cleaning, and complete closeout documentation
Final impressions hinge on finish uniformity and clean, streak-free surfaces. Compare anodized or coated panels to the approved sample under consistent daylight, using a gloss meter to avoid subjective debate (target within ±5 GU). Use pH-neutral cleaners and controlled rinse to prevent mineral spotting; protect adjacent materials. Log every component replacement with batch or serial numbers so warranties and O&M documents reflect reality. Assemble a digital handover set: approved samples, inspection records, photos, torque logs, sealant batches, hose test evidence, as-builts, maintenance access plans, and spare parts lists. Share the package for review and sign-off per approved project specifications and authority requirements. Embedding a QR link in your export gives clients instant verification and future maintenance teams the context they need. This diligence reduces callbacks and speeds the final certificate.
- Verify finish color and gloss against approved sample.
- Use pH-neutral cleaners; avoid streaks and spotting.
- Update warranties to match actual installed batches.
- Deliver indexed digital as-builts and O&M manuals.
- Embed QR link for quick authenticity checks.
How to use this façade snagging closeout checklist
- Preparation: Confirm safe access (MEWP/cradle), calibrated tools (laser, torque wrench, gloss meter), hose and water source, cleaning kit, PPE (harness, helmet, gloves, eye protection), and updated drawings, submittals, and method statements.
- Set up: Divide elevations into grid bays, label locations, and brief the team on tolerances, acceptance criteria, and evidence requirements (photos, readings, batch numbers, signatures).
- Using the Interactive Checklist: Start interactive mode, select the elevation/bay, tick items as verified, add time-stamped comments, and attach photos, measurements, and certificates directly from your device.
- Capture Evidence: For each nonconformity, raise an action with a due date, assignee, and required proof. Re-test and close the item only after attaching rectification photos and confirming acceptance criteria.
- Export Package: When all items pass, export to PDF/Excel with the embedded QR link. Include inspection logs, hose test videos, torque records, sealant batches, and approvals in the export.
- Sign-Off and Distribution: Collect digital signatures from contractor, consultant, and client. Archive the QR-authenticated export in the project CDE and share with facilities management for future maintenance.
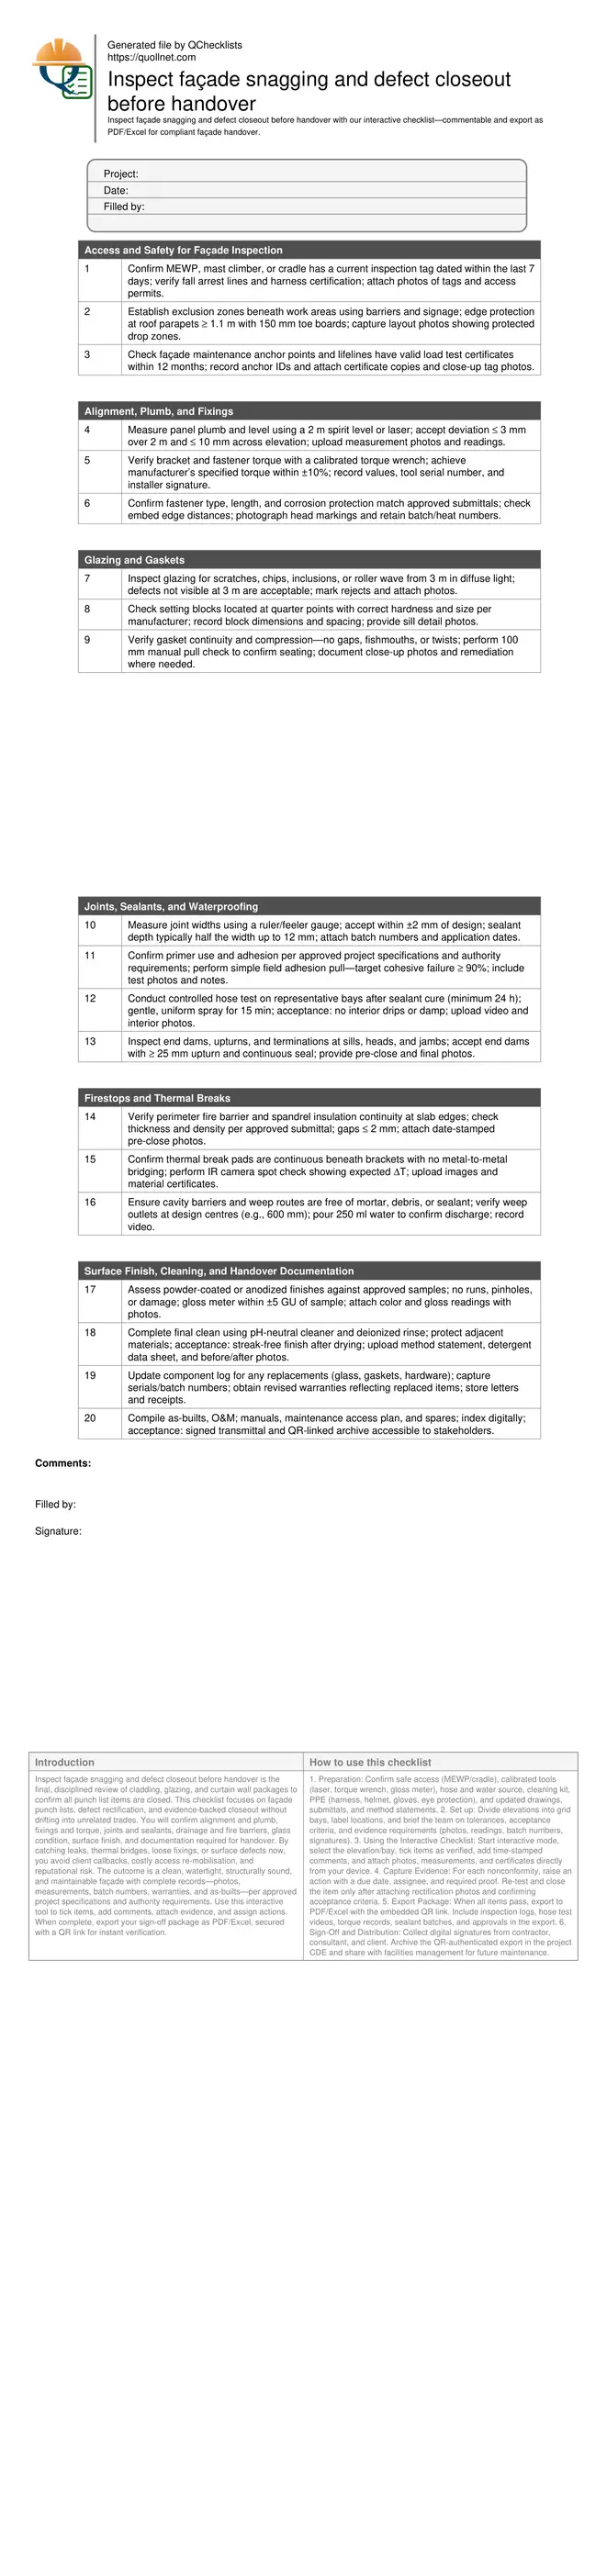
Call to Action
- Start Checklist Tick off tasks, leave comments on items or the whole form, and export your completed report to PDF or Excel—with a built-in QR code for authenticity.
- Download Excel - Façade Snagging & Closeout Inspection (Pre-Handover)
- Download PDF - Façade Snagging & Closeout Inspection (Pre-Handover)
- View Image - Façade Snagging & Closeout Inspection (Pre-Handover)
Cite & Embed
“Façade Snagging & Closeout Inspection (Pre-Handover) by Quollnet”
with a link to
this source page.

FAQ
Question: What tolerances should I apply for façade alignment and plumb during closeout?
Question: How do I verify sealant performance without lab testing?
Question: When should the hose test be performed and how is it documented?
Question: What documentation must be in the façade handover package?
Related Articles
Broader reading and guidance connected to this checklist topic.
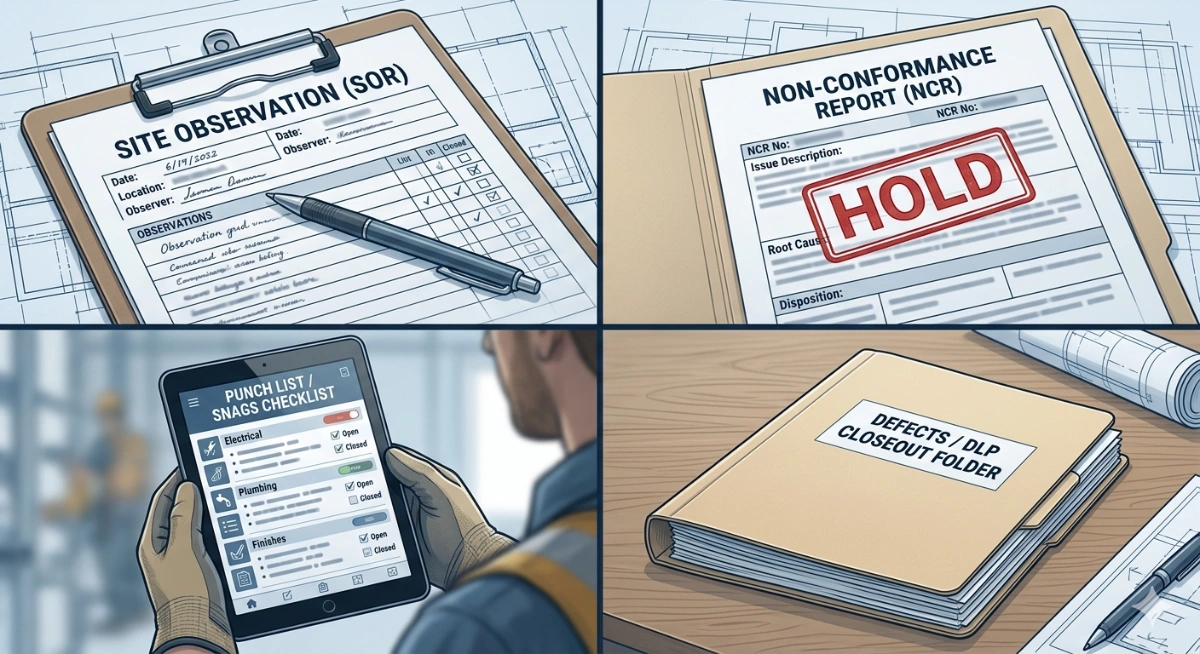

Improve Your Project Handover Process With Snag List Tracking App

Download Excel Format Snag List

Related Checklists
Keep the workflow moving with nearby templates chosen from similar checklist content.