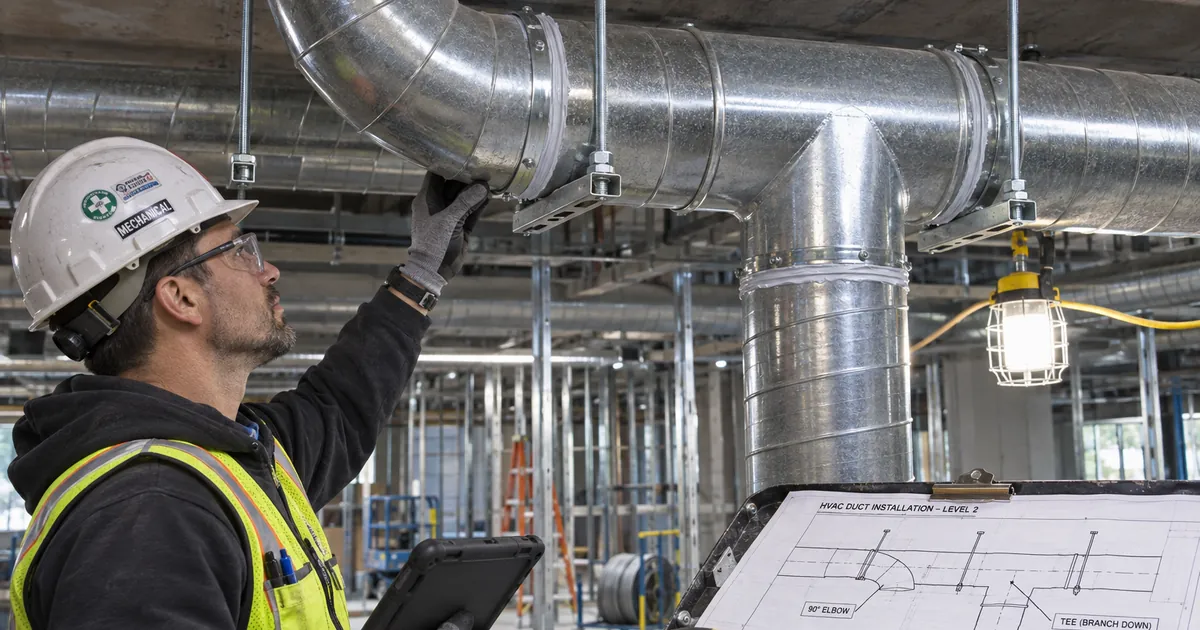
Circular duct elbow and tee inspection checks fitting orientation, support near connections, and joint assembly against approved project details and applicable manufacturer instructions. Visual inspection alone does not establish leakage performance.
- Confirm fitting sizes, elbow turns, and tee branch orientation against the approved duct layout.
- Inspect supports and connection alignment for conditions that strain joints.
- Check sealing surfaces, gasket seating or sealant coverage, and joint engagement while accessible.
- Verify specified leakage-test records and resolve defects before inspection closeout.
The checklist
Inspection References
- Confirm the current approved duct layout, project support and joint details, and applicable connection-system and sealing-product instructions are available for the fittings being inspected. Record missing references as unresolved verification items.
Fitting Sizes
- Verify elbow and tee connection sizes against the approved duct layout.
Elbow Orientation
- Verify each elbow's turn direction and angle against the approved duct layout.
Tee Branch Orientation
- Verify each tee branch location and orientation against the approved duct layout.
Airflow Markings
- Where fittings have airflow-direction markings, verify the markings agree with the airflow direction shown on the approved duct layout.
Fitting Condition
- Inspect fittings for cracks, open seams, or deformation that prevents proper joint engagement.
Interior Clearance
- Inspect fitting interiors for debris or obstructions before closing the connections.
Support Locations
- Verify support locations near elbow and tee connections against the project support details and applicable manufacturer instructions.
Support Components
- Inspect nearby hangers, support attachments, and anchors for missing or visibly loose components.
Connection Alignment
- Check that mating duct ends align without forced offsets or distorted openings.
Sealing Material Suitability
- Verify sealing materials or gaskets match project requirements and manufacturer instructions for the duct material, connection type, and service conditions.
Sealing Surface Preparation
- Before assembly, inspect sealing surfaces for the cleanliness and surface condition required by the sealing-product instructions.
Gasket Seating or Sealant Coverage
- While accessible during assembly, inspect gasket seating or sealant coverage around the full joint circumference against the connection-system instructions.
Joint Engagement
- Verify joint engagement or insertion depth against the specified connection-system requirements before it becomes concealed.
Mechanical Retention
- Verify fasteners, clamps, or locking features match the specified connection system, including required quantity, spacing, and engagement where stated.
Completed Joint Sealing
- Inspect completed fitting seams and connections for visible gaps, displaced seals, or breaks in the sealing layer required by the project details or connection-system instructions.
Supported Assembly Condition
- After assembly and with permanent supports in place, check for sagging or fitting rotation that places visible strain on connections.
Sealant Cure
- Verify the sealing-product instructions for cure conditions and elapsed time are satisfied before leakage testing or system operation, as applicable.
Specified Leakage Testing
- Where leakage testing is specified, verify the recorded results cover the inspected fittings and meet the project's stated acceptance criteria before concealment where required by the project inspection sequence.
Inspection Closeout
- Record each defect or unverified condition with its fitting location, and verify documented correction or resolution before closing the inspection.
Preview the printable checklist
Preview page one below. Open the image or download the PDF for all pages.

At a glance
- Use current approved drawings, project details, and applicable connection-system and sealing-product instructions.
- Plan inspection timing so interior clearance, sealing preparation, and joint engagement remain visible.
- Assess the completed assembly with permanent supports in place.
- Record missing references and other unverified conditions rather than treating them as accepted.
- Where leakage testing is specified, verify coverage and results against project acceptance criteria.
How to Use the Circular Duct Fitting Inspection Checklist
- Gather the current approved layout, project support and joint details, and applicable manufacturer instructions. Record missing references as unresolved verification items.
- Use the approved checklist to assess fitting configuration, condition, and nearby supports before connections are closed.
- Coordinate assembly-stage checks so sealing preparation, gasket seating or sealant coverage, engagement, and mechanical retention can be verified while accessible.
- Review the completed joints and permanently supported assembly, then verify applicable cure requirements and any specified leakage-test records.
- Document defects and unverified conditions by fitting location, and confirm documented correction or resolution before inspection closeout.
Use the approved installation requirements as the inspection basis
The approved duct layout establishes fitting sizes and orientation. Project support details and applicable manufacturer instructions provide the basis for assessing supports, connections, and sealing. Missing references leave the affected conditions unresolved.
- Compare elbow direction and angle and tee branch location with the approved layout.
- Where airflow markings are present, compare them with the layout's airflow direction.
- Use the specified connection system's requirements rather than assuming universal engagement depths or fastener spacing.
Inspect concealed features before access is lost
Several important conditions cannot be fully assessed after a connection is closed. Coordinate inspection with assembly so fitting interiors, sealing surfaces, circumferential seals, and insertion depth can be examined while accessible.
- Cracks, open seams, and deformation can interfere with proper engagement.
- Debris and obstructions should be identified before connections are closed.
- Gasket seating or sealant coverage and joint engagement need inspection before concealment.
Consider supports and joints together
Support placement and connection alignment affect the condition of the finished assembly. Inspect nearby supports against the applicable details, then assess whether the permanently supported ductwork sags or rotates in a way that visibly strains connections.
- Look for missing or visibly loose hanger, attachment, and anchor components.
- Mating ends should align without forced offsets or distorted openings.
- Completed seams and connections should be checked for visible gaps, displaced seals, and breaks in required sealing layers.
Separate visual acceptance from leakage verification
A visually continuous seal does not establish leakage performance. Sealing-product cure conditions and elapsed time must be satisfied before testing or operation, as applicable. Where leakage testing is specified, the recorded results must cover the inspected fittings and meet the project's stated acceptance criteria.
- Follow the project inspection sequence for any required testing before concealment.
- Locate each defect or unverified condition by fitting location.
- Verify documented correction or resolution before closing the inspection.