A focused QA check of rectangular duct transverse joints before insulation to confirm continuous exterior sealing at flanges, corners, and penetrations.
- Perform before any insulation is installed
- Verify flange alignment, gasket presence, and compression
- Confirm continuous seal at seams, corners, and bolt/rod penetrations
- Probe adhesion; correct defects; remove excess sealant
- Photograph all sides and record results, including rework
The checklist
Record joint ID and location
- Record the joint identifier, duct run, and exact location on the plan or tag.
Photograph joint from all sides
- Take clear photos of the joint from all four sides before touching anything.
Verify surfaces clean and dry
- Confirm areas around the joint are clean, dry, and free of oil, dust, or loose debris.
Check flange alignment and contact
- Verify mating flanges are even and fully seated with no visible steps or gaps around the perimeter.
Confirm gasket installed (if used)
- If this joint type uses a flange gasket, verify a continuous gasket is present and properly seated between flanges.
Check gasket compression
- Inspect for uniform gasket compression; no visible daylight along the flange-to-flange seam.
Verify continuous exterior seal
- Confirm a continuous seal exists around the entire perimeter at both the flange-to-flange seam and the flange-to-duct edge.
Inspect corner pieces seated
- Check each flange corner piece is fully seated and properly installed.
Verify corner sealing complete
- Confirm sealant is applied at all four corners with no gaps or pinholes.
Verify bolt/rod penetrations sealed
- Confirm all bolt or rod penetrations (including washers) have visible exterior sealing.
Check nearby penetrations sealed
- Verify any screw holes or accessory penetrations near the joint are sealed on the exterior.
Hand-check fastener tightness
- Attempt to turn several nuts/bolts by hand on each side; any that turn freely require tightening before resealing if disturbed.
Check tape adhesion (if used)
- If tape is used, verify full adhesion with edges firmly rolled and no lifting or loose ends.
Check reinforcing mesh (if used)
- If reinforcing mesh is used with mastic, confirm mesh is fully embedded and not exposed.
Probe for adhesion and lifting
- Lightly probe sealant or tape; confirm no lifting, peeling, or loose sections.
Scan for defects
- Visually scan for pinholes, voids, wrinkles, or fishmouths and mark any defects for rework.
Inspect hidden/backside areas
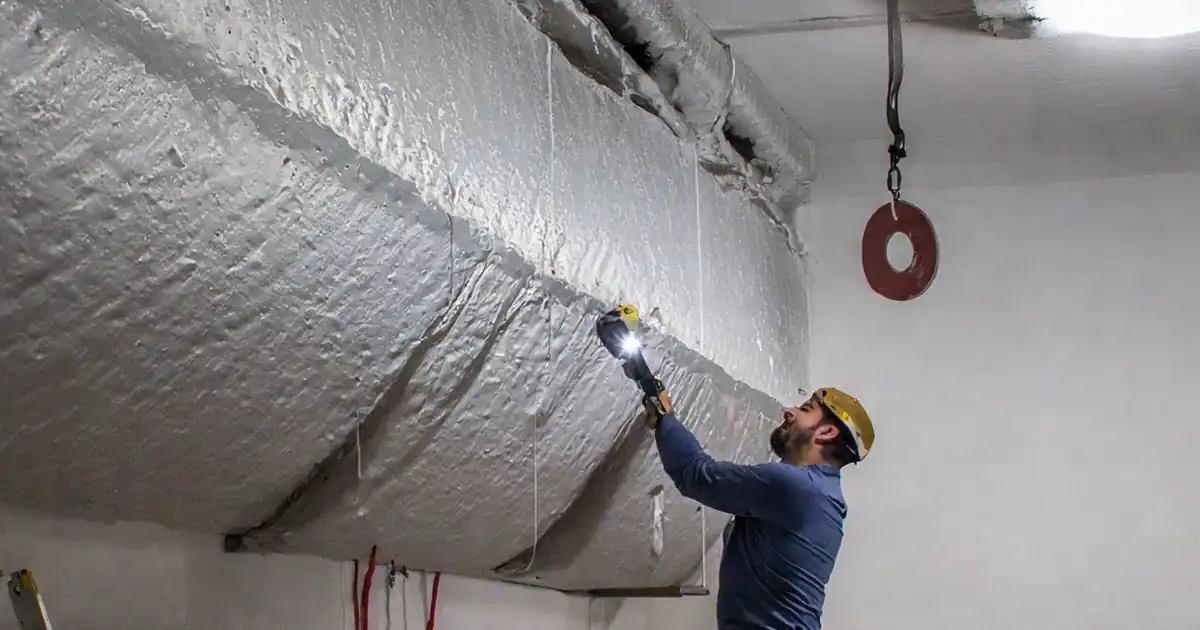
- Use a flashlight and mirror to inspect hidden and backside flange areas.
Check behind hangers/supports
- Verify no sections behind hangers or supports are left unsealed.
Confirm exterior perimeter complete
- Confirm no unsealed seams or holes remain anywhere on the joint’s exterior perimeter.
Remove excess sealant
- Confirm no excess sealant is hanging, dripping, or likely to detach; clean up as needed.
Check sealant is dry-to-touch
- Touch sealant in a discreet spot; surface should be dry-to-touch (tack-free) before insulating.
Record results and rework
- Document pass/fail, noted defects, and required rework with date, time, initials, and attach photos.
Preview the printable checklist
Preview page one below. Open the image or download the PDF for all pages.

At a glance
- Record the joint ID and capture photos from all sides first
- Check cleanliness, flange alignment, gasket presence, and compression
- Confirm continuous exterior seals at seams, edges, corners, and penetrations
- Probe adhesion; tighten any loose fasteners and reseal if disturbed
- Document pass/fail, defects, rework, and drying status before insulating
How to inspect a rectangular duct transverse joint before insulation
- Record the joint ID, duct run, and exact location; photograph the joint from all four sides before touching anything.
- Verify surfaces are clean and dry; check flange alignment and that any gasket used is present and uniformly compressed with no daylight.
- Confirm a continuous exterior seal around the entire perimeter at both the flange-to-flange seam and flange-to-duct edge; ensure corners are seated and sealed.
- Verify all bolt/rod penetrations (including washers) and any nearby screw holes or accessories are sealed on the exterior.
- If tape is used, check adhesion and rolled edges; if mesh with mastic is used, confirm it is fully embedded; lightly probe to ensure no lifting or loose sections.
- Hand-check several nuts/bolts per side; tighten any that turn freely and reseal if disturbed; remove excess sealant and clean up.
- Use a flashlight and mirror to inspect hidden/backside areas and behind hangers; confirm no unsealed seams remain and that sealant is dry-to-touch; document results and any rework.
Why this inspection matters
Transverse joints can leak at seams, corners, and penetrations. A quick, thorough pre-insulation check locks in quality, prevents concealed defects, and saves time later.
- Avoids hidden leaks that drive energy loss and complaints
- Prevents trapping wet or loose sealant under insulation
- Catches alignment and fastener issues before they’re covered
- Creates a photo record for turnover and warranty
What to verify around the joint
Focus on cleanliness, fit-up, and uninterrupted sealing where air could escape. Inspect the full perimeter, including hard-to-see areas.
- Surfaces clean, dry, and free of oil or debris
- Mating flanges even, fully seated, with no daylight
- Gasket present (if used) and uniformly compressed
- Continuous seal at flange-to-flange and flange-to-duct edges
- Corners seated and sealed with no gaps or pinholes
- Bolt/rod penetrations and nearby screw holes sealed on the exterior
Adhesion and materials checks
Sealants and tapes must be bonded and continuous to be effective. Light probing helps confirm adhesion without damaging sound work.
- Tape edges firmly rolled; no lifting or loose ends
- Reinforcing mesh (if used) fully embedded in mastic
- No pinholes, voids, wrinkles, or fishmouths
- Sealant surface dry-to-touch before insulation
- Remove drips or excess that could detach
Tools that make it faster
Simple tools speed a consistent inspection and better documentation.
- Flashlight and small mirror for backside and tight spots
- Camera or phone for all-side photos
- Marker or tape to flag defects for rework
- Rags and cleaner to prep contaminated areas
- Basic hand tools to snug loose fasteners
Documentation that sticks
Clear records help close out quickly and avoid return visits.
- Record joint ID, run, and exact location
- Attach photos (four sides and details of any defects)
- Note pass/fail, rework needed, and who performed it
- Capture date/time and initials
- Confirm sealant tack-free status prior to insulating