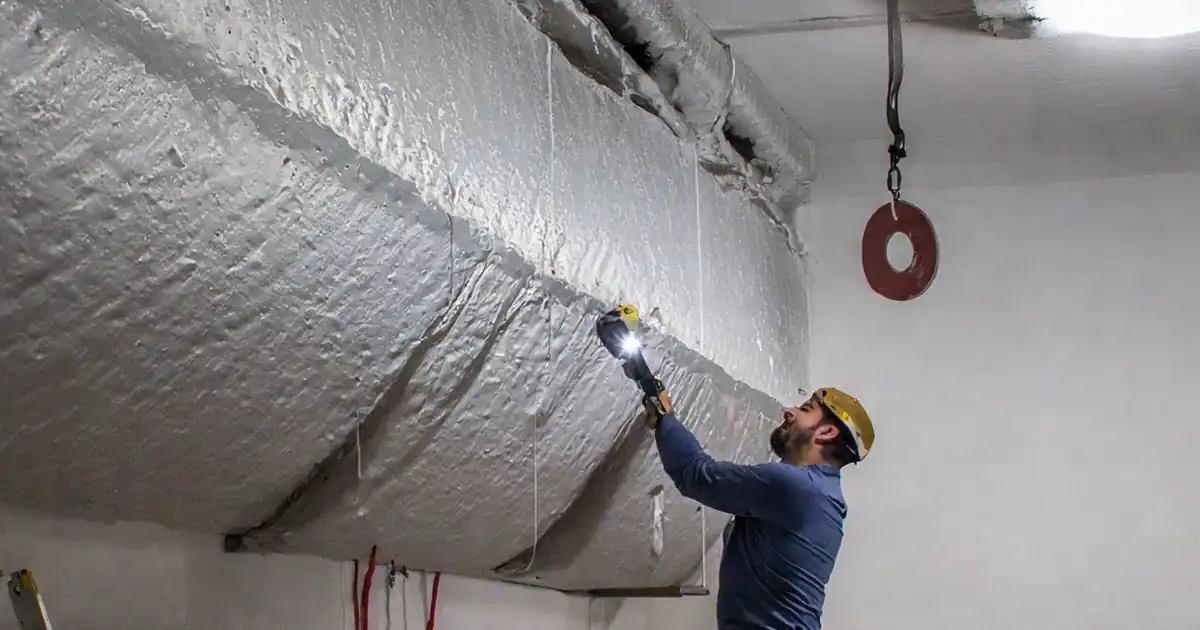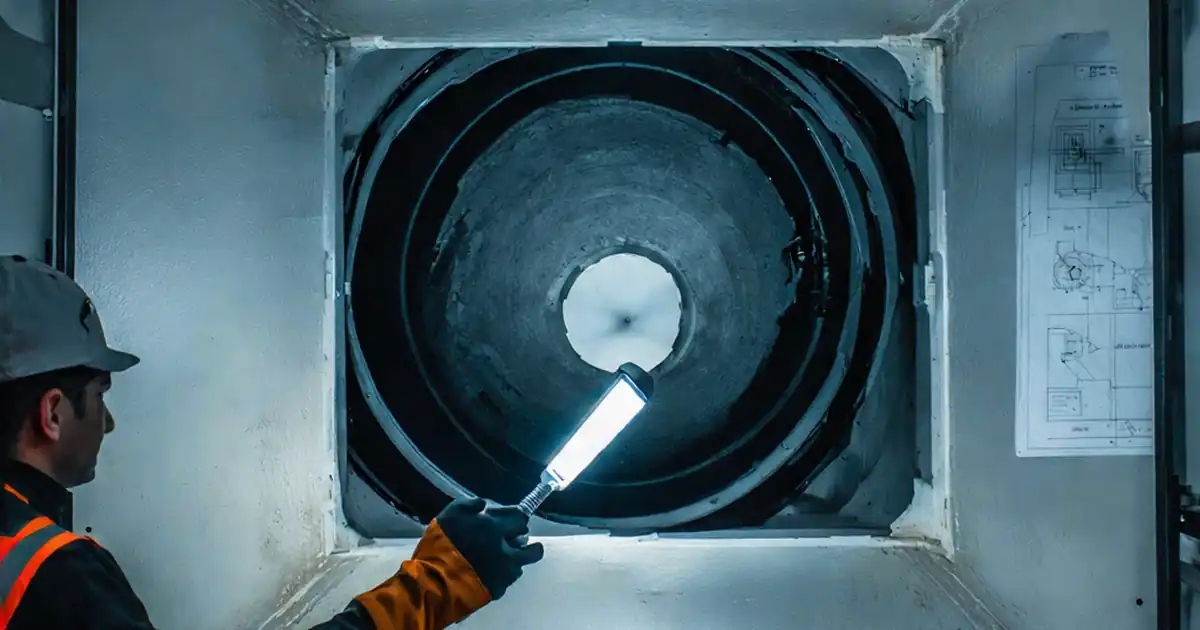
A focused field inspection of turning vanes inside a rectangular duct square elbow to confirm vane count, curvature, secure attachment, alignment, and that no loose or sharp edges are present.
- Verify installed vane count against drawings/submittals
- Check smooth, continuous curvature—no kinks or dents
- Confirm vanes are fully seated and secure in rails
- Ensure spacing and alignment with airflow are consistent
- Inspect edges, liner, and rails for looseness or hazards
- Document findings; restore equipment safely and report issues
The checklist
Review submittals
- Obtain current shop drawings and submittals for the elbow and vane assembly; note required vane count and type.
Coordinate shutdown
- Notify operations of the inspection window and affected fan/duct location.
De-energize and lockout
- Turn off the serving fan and apply lockout/tagout per site procedures; post notification as required by site rules.
Verify zero airflow
- Confirm airflow has stopped at the access opening before reaching inside.
Wear PPE
- Put on cut-resistant gloves and eye protection before handling sheet metal or reaching into ductwork.
Open access
- Open the access panel or door nearest to the square elbow; retain and secure all fasteners.
Provide lighting
- Illuminate the elbow interior with a flashlight and use an inspection mirror or borescope for hidden areas.
Confirm vane installation
- Verify turning vanes and rails are installed where shown on the drawings.
Count vanes
- Count the installed vanes and record the number; compare to drawings/submittal.
Check spacing uniformity
- Visually confirm vane spacing is consistent from throat to heel of the elbow.
Assess curvature
- Inspect each vane for smooth, continuous curvature with no kinks, flat spots, or dents.
Verify end capture
- Confirm each vane is fully seated in rails/retainers at both ends of the elbow.
Tug test vanes
- Gently tug each vane and note any looseness or rattling movement in the rails.
Secure rails
- Check rails/retainers are straight, intact, and firmly fastened to duct walls with no play.
Alignment with airflow
- Confirm vanes align with the airflow path through the elbow without twist.
Check seating gaps
- Look for gaps between vane ends and rails or mis-seated blades; record locations.
Edges and burrs
- Inspect vane and rail edges for looseness, burrs, or sharp protrusions; note any hazards.
Liner condition (if present)
- If the duct is internally lined, inspect liner near the elbow for loose edges, tears, or delamination.
Clearance
- Verify vanes do not contact duct walls or liner except at the rails; look for rub marks or wear.
Damage and corrosion
- Check vanes and rails for bends, dents, corrosion, or coating flaking.
Foreign material
- Remove loose debris or foreign objects inside the elbow; account for and dispose of removed items.
Document condition
- Photograph the vanes and record counts, alignment, defects, and their locations.
Close and restore
- Remove tools from the duct, close and secure the access panel, remove lockout/tagout per site procedures, restore fan operation, and confirm airflow is normal.
Report issues
- Report discrepancies and recommended corrective actions to the responsible party.
Preview the printable checklist
Preview page one below. Open the image or download the PDF for all pages.

At a glance
- Coordinate a safe shutdown and access to the elbow.
- Use proper PPE, lighting, and visual aids for a thorough look inside.
- Confirm vane count, spacing uniformity, curvature, and end capture in rails.
- Check alignment with airflow, rail security, and the absence of gaps or burrs.
- Note liner condition (if present), look for contact marks, damage, and debris.
- Photograph, record findings, restore service, and report discrepancies.
How to inspect turning vanes at a square elbow
- Review current drawings/submittals for the elbow and vane assembly to know the required vane count and type; plan the inspection window with operations.
- De-energize the serving fan and apply lockout/tagout per site procedures; verify zero airflow at the access point.
- Wear cut-resistant gloves and eye protection; open the nearest access panel and secure fasteners.
- Illuminate the interior and use a mirror or borescope to see hidden areas of the elbow.
- Confirm vanes and rails are installed as shown; count vanes and observe spacing, curvature, and alignment with airflow.
- Check that each vane is fully seated in rails; gently tug for looseness; ensure rails are straight and firmly fastened.
- Look for gaps, burrs, sharp edges, liner issues, contact marks, damage, and debris; document findings, remove debris, close and restore, and report any discrepancies.
Why this inspection matters
Well-installed turning vanes improve airflow through square elbows and reduce pressure losses, noise, and wear. A quick but disciplined check prevents future imbalance, debris generation, and maintenance callbacks.
- Confirms airflow guidance where elbows would otherwise be high-loss
- Prevents rattling and loose parts that can migrate downstream
- Reduces risk of sharp edges and handling injuries
- Provides a clear record for quality assurance and maintenance
Prepare for safe, effective access
Plan with current drawings and submittals, coordinate the shutdown, and follow site lockout/tagout. Use cut-resistant gloves, eye protection, and adequate lighting with a mirror or borescope to see concealed surfaces.
- Have approved drawings/submittals on hand to know vane count and type
- Notify operations and de-energize the serving fan before opening access
- Verify zero airflow before reaching inside the duct
- Use a flashlight plus mirror/borescope to inspect throat, heel, and hidden areas
Focus areas inside the elbow
Concentrate on the essentials that affect performance and reliability: vane presence and quantity, shape and spacing, secure seating in rails, and clean, safe edges without contact or damage.
- Count vanes and compare to drawings; spacing should appear uniform
- Curvature should be smooth and continuous—no flats, kinks, or dents
- Each vane end fully captured in straight, firmly fastened rails
- Vanes aligned with airflow; no twisting, rubbing, or wall/liner contact
Hazards, condition, and cleanliness
Eliminate sources of noise, wear, or injury and note any deterioration. Clean out debris so nothing dislodges when the fan restarts.
- Edges free of looseness, burrs, or sharp protrusions
- If lined, the liner near the elbow is intact with no loose edges or delamination
- Rails and vanes free of corrosion, coating flaking, bends, or dents
- Remove and account for any foreign material or debris
Documentation and closeout
Good records shorten troubleshooting later. Capture clear photos, note counts, locations, and any defects, then restore the system and communicate findings.
- Photograph overall elbow and close-ups of any issues
- Record vane count, alignment observations, and defect locations
- Close and secure access, remove lockout/tagout per site procedures, and confirm normal airflow
- Report discrepancies with recommended next steps to the responsible party