Shaft Camera Inspection: Verify Sidewalls, Base, and Debris
Definition: Shaft camera inspection for construction QA teams visually verifies sidewall and base conditions and identifies debris in drilled shafts or caissons, excluding NDT analyses, to confirm cleanliness and bearing readiness before concreting.
- Visual verification of sidewalls and base cleanliness in drilled shafts.
- Mitigates inclusions, weak zones, and post-pour remediation delays.
- Deploy downhole camera with lighting, depth marks, video and photo capture.
- Interactive, commentable checklist with export and QR code traceability.
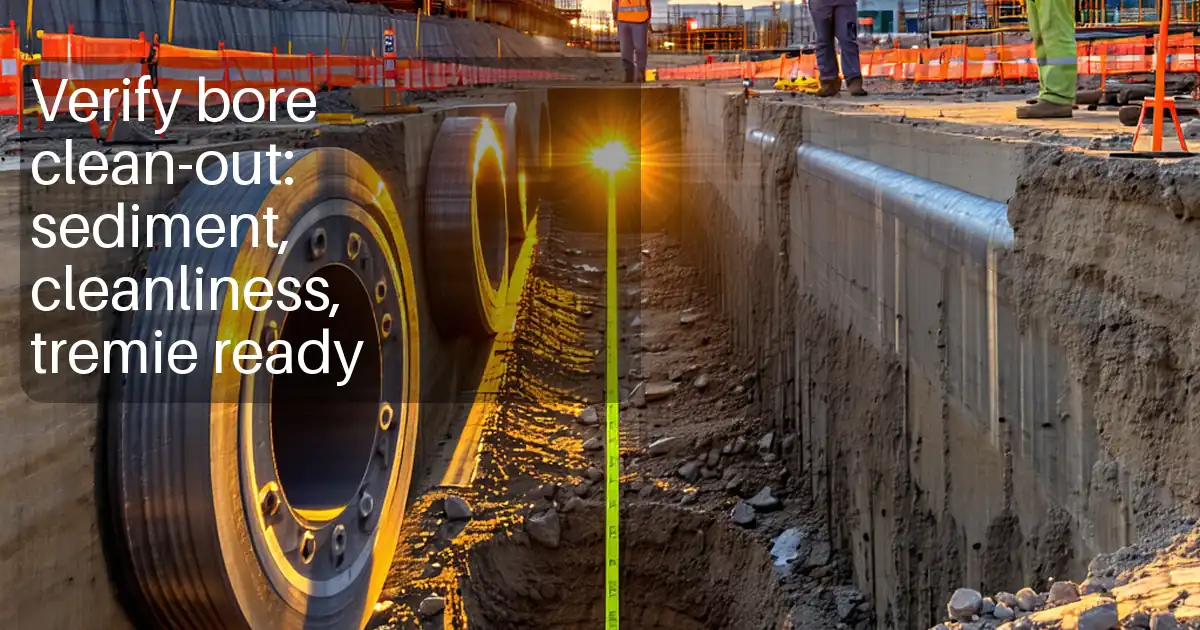
Shaft camera inspection provides a direct, visual method to verify sidewall and base conditions and identify debris before concreting. Also known as a borehole video inspection or downhole camera survey, this process focuses on cleanout confirmation, sidewall stability, and bearing surface readiness while deliberately excluding NDT analyses such as sonic integrity testing. Using a high-resolution camera with integrated lighting and depth overlay, inspectors document sloughing, cavities, soft seams, sediment thickness, and foreign objects. By capturing clear evidence at defined intervals, the team reduces risks of inclusions, laitance, and compromised load transfer. The scope is strictly visual: observe, measure with simple tools (marked rod), and document; any structural capacity assessment remains out of scope and must follow per approved project specifications and authority requirements. Use this interactive checklist to standardize preparation, execution, and documentation; tick off steps, leave comments at anomalies, and export your record as PDF/Excel with a QR code for traceable approval.
- This checklist standardizes visual verification of drilled shaft sidewalls and base conditions using a downhole camera. It focuses on confirming cleanliness, detecting sloughing or cavities, and documenting debris without employing NDT. Clear pass/fail cues and required evidence reduce ambiguity and accelerate pre-pour approvals.
- Interactive online checklist with tick, comment, and export features secured by QR code. The system embeds depth-stamped photos and videos, assigns actions for cleanout, and supports versioned re-inspections so teams can demonstrate timely closure of nonconformances and maintain auditable construction records.
- Practical acceptance cues include visibility thresholds, depth encoder accuracy, sediment thickness limits, and coverage requirements across the base. The guidance explains when to pause for water clarification, how to capture anomalies every metre, and how to name and archive media so stakeholders can rapidly review findings.
Pre-Inspection Planning
Equipment Setup and Function Check
Access and Safety Controls
Visual Survey – Sidewalls
Visual Survey – Base and Debris
Documentation and Closeout
When and why to use shaft camera inspection
Visual shaft camera inspection is the fastest way to verify sidewall stability and base cleanliness just before concreting. Unlike NDT methods, this approach documents what is actually present—sloughing, cavities, sediment, and foreign objects—so crews can act immediately. It is best used after drilling and preliminary cleanout, before cage placement or tremie setup. The camera’s depth overlay allows findings to be tied to elevations in the bore log, enabling precise directions for targeted cleanout. By setting clear acceptance cues for visibility, sediment thickness, and sidewall integrity, the site can release pours with confidence. If water is present, the inspection helps decide whether to clarify, pump and settle, or proceed with planned methods per approved project specifications and authority requirements. The result is fewer inclusions, reduced rework, and stronger load transfer at the base. Teams also gain a defensible record that supports approvals, dispute resolution, and future audits.
- Use after drilling and cleanout, before cage placement.
- Tie anomalies to depth with encoder overlay.
- Set visibility and sediment limits before inspection.
- Decide on water management based on clear evidence.
- Capture a defensible pre-pour record.
Techniques, acceptance cues, and common findings
Lower the camera steadily at or below 0.3 m/s, pausing every metre to rotate 360 degrees. In clear water or dry shafts, a 10 mm test card should be readable at 1 m; in turbid conditions, adjust lighting and wait for settlement. Sidewalls should appear continuous with no deep cavities or thick slough. At the base, focus on sediment distribution, protrusions, and foreign objects. Use a marked rod next to the camera to measure loose sediment in millimetres across multiple spots. Typical acceptance cues include a depth encoder accuracy within ±0.10 m, loose sediment ≤ 50 mm over at least 90% of the base, and no foreign objects visible. If cues are not met, stop, direct cleanout, and re-inspect the same depths for closure. Avoid interpreting structural integrity; this checklist is strictly visual and excludes NDT analyses.
- Rotate 360° every metre with depth-stamped stills.
- Visibility: read 10 mm scale at 1 m.
- Depth encoder tolerance within ±0.10 m.
- Sediment ≤ 50 mm over ≥ 90% of base.
- Exclude NDT; focus on visual conditions.
Evidence management, naming, and approvals
Strong documentation makes approvals fast and auditable. Start by photographing a marker board at the shaft with ID, design diameter, and date. Record continuous video with depth overlay and capture stills every metre and at anomalies. Use a consistent naming convention that encodes project, shaft ID, date, and depth. Store originals in a read-only folder and attach select clips to the inspection report summarizing conditions and required actions. When cleanout is performed, repeat the same views to create before/after pairs. Route the report for digital signatures so responsibilities are clear and time-stamped. Archive the signed report, media, and the interactive checklist export in the project CDE. This provides traceability for client reviews, authority spot-checks, and internal quality audits without ambiguity about what was seen and when.
- Capture continuous video plus stills each metre.
- Use strict file naming and controlled storage.
- Summarize findings with depth-indexed tables.
- Obtain digital signatures and archive exports.
- Create before/after pairs after cleanout.
How to Use This Shaft Camera Inspection Checklist
- Preparation: gather shaft camera with lighting, depth encoder, marked rod, barriers, tripod/boom, radios, PPE (helmets, gloves, high-visibility, eye protection), and cleaning kit for lens. Verify site is ready: drilling done, access safe, cleanout tools available, and scope limited to visual inspection (exclude NDT analyses).
- Open the interactive checklist on your device. Start a new record, enter project and shaft ID, and photograph the marker board. Enable time/depth overlay on the camera and confirm storage and battery status.
- Tick items as you proceed. Add comments at each anomaly with depth, estimated extent, and required action. Attach photos and short video clips to the relevant steps for evidence.
- If acceptance cues are not met (e.g., sediment too thick), pause the inspection, perform targeted cleanout, then re-run the affected depths. Use comments to link before/after media and record closure.
- Export deliverables: generate PDF/Excel outputs including checklist, photos, and links to original media. Ensure depth overlays are visible on key frames for review by stakeholders.
- Sign-Off: capture digital signatures from inspector and superintendent, share with stakeholders, and archive in the CDE. Verify QR code on the export for authentication and traceability.
Call to Action
- Start Checklist Tick off tasks, leave comments on items or the whole form, and export your completed report to PDF or Excel—with a built-in QR code for authenticity.
- Download Excel - Shaft Camera Inspection
- Download PDF - Shaft Camera Inspection
- View Image - Shaft Camera Inspection
Cite & Embed
“Shaft Camera Inspection by Quollnet”
with a link to
this source page.

FAQ
Question: What does a shaft camera inspection verify that NDT does not?
Question: How clear must the water be to perform a reliable inspection?
Question: What acceptance criteria should I use for base cleanliness?
Question: How should I name and store photos and videos from the inspection?
Question: When should the inspection be scheduled in the construction sequence?
Related Articles
Broader reading and guidance connected to this checklist topic.


Is It Important To Customize Your Qr Code And How To Do It?
Related Checklists
Keep the workflow moving with nearby templates chosen from similar checklist content.
