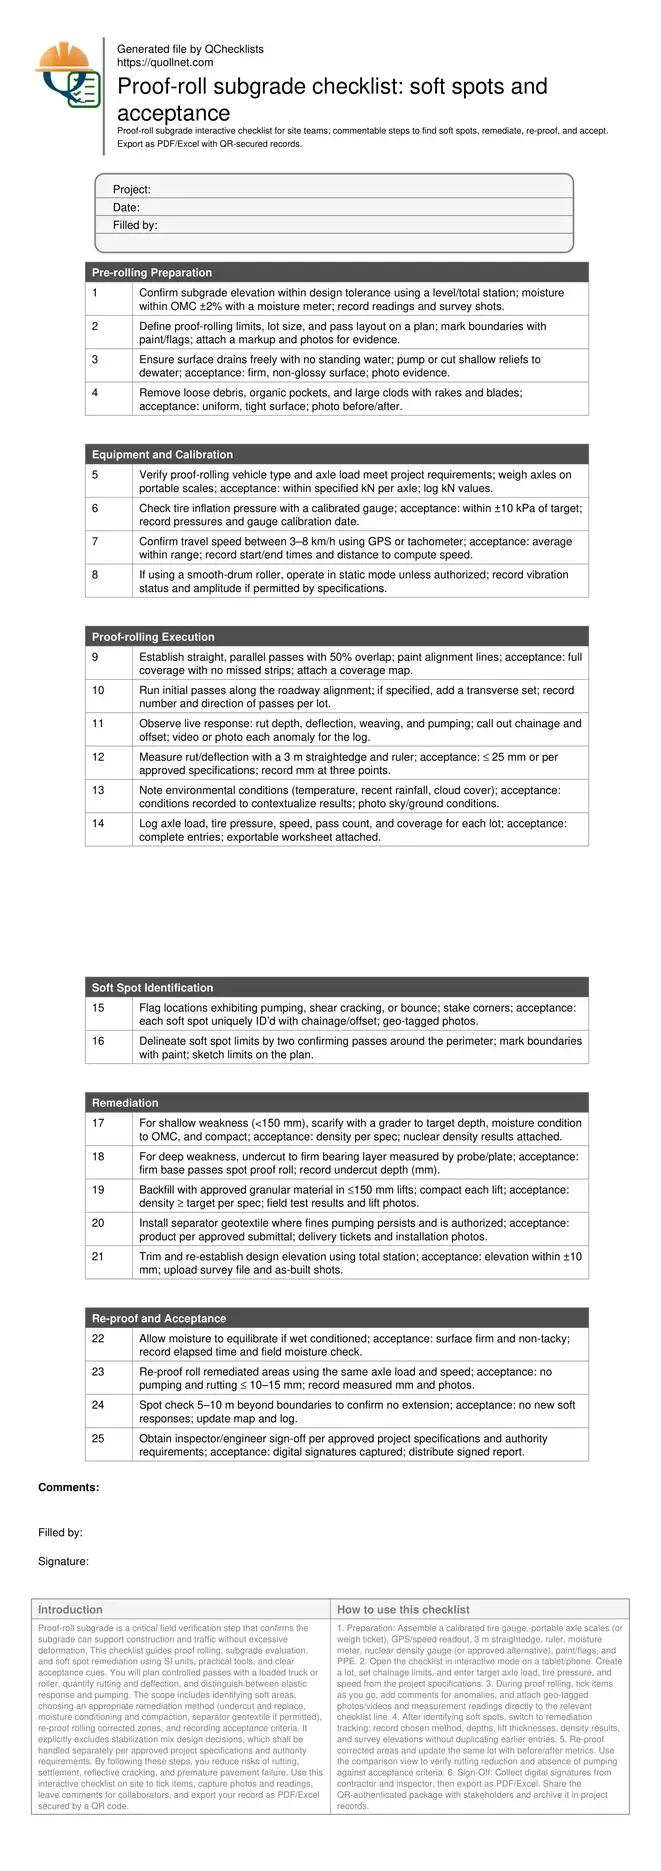
Proof-Roll Subgrade: Identify Soft Spots, Remediate, and Accept
Definition: Proof-roll subgrade checklist for site engineers verifies soft spot detection, remediation, re-proof rolling, and acceptance criteria on prepared pavement subgrades, excluding stabilization mix design and focusing on SI-based field evidence.
- Identify and mark soft spots during controlled proof rolling passes.
- Prevent early pavement failure by removing weak, pumping subgrade zones.
- Measure rut depth, document loads and speed, re-proof after remediation.
- Interactive, commentable checklist with export and QR code authentication.
Proof-roll subgrade is a critical field verification step that confirms the subgrade can support construction and traffic without excessive deformation. This checklist guides proof rolling, subgrade evaluation, and soft spot remediation using SI units, practical tools, and clear acceptance cues. You will plan controlled passes with a loaded truck or roller, quantify rutting and deflection, and distinguish between elastic response and pumping. The scope includes identifying soft areas, choosing an appropriate remediation method (undercut and replace, moisture conditioning and compaction, separator geotextile if permitted), re-proof rolling corrected zones, and recording acceptance criteria. It explicitly excludes stabilization mix design decisions, which shall be handled separately per approved project specifications and authority requirements. By following these steps, you reduce risks of rutting, settlement, reflective cracking, and premature pavement failure. Use this interactive checklist on site to tick items, capture photos and readings, leave comments for collaborators, and export your record as PDF/Excel secured by a QR code.
- Systematically plan, execute, and document proof rolling to reveal weak subgrade areas before paving. The checklist standardizes loads, speed, and overlap, enabling consistent coverage and comparable observations across crews and shifts with clear, practical tolerances.
- Quantify rut depth and visible deflection with simple tools, then classify severity and limits. Recommended remediation options focus on undercut and replacement, moisture conditioning, recompaction, and geotextile separation when pumping fines are observed and permitted.
- Re-proof corrected areas under the same axle load and speed to verify improvement. Acceptance relies on minimal rutting, absence of pumping, compliant density, and documented survey elevations, signed off per approved project specifications and authority requirements.
- Interactive online checklist with tick, comment, and export features secured by QR code. Capture calibrated measurements, geo-tagged photos, and signatures, then export as PDF/Excel for traceable quality records that integrate smoothly with project document control.
Pre-rolling Preparation
Equipment and Calibration
Proof-rolling Execution
Soft Spot Identification
Remediation
Re-proof and Acceptance
Plan passes, loads, and observations that reveal true subgrade behavior
Effective proof rolling starts with a controlled setup: defined lots, a verified axle load or static roller weight, and a steady speed that allows observers to see movement without dynamic effects. Mark parallel passes with 50% overlap so every square metre receives at least two loadings. Log axle load in kilonewtons, tire pressure in kilopascals, and speed in kilometres per hour. During passes, watch for rutting, lateral weave, and pumping of fines. Quantify rut depth with a 3 m straightedge and a ruler instead of relying on visual estimates. Typical acceptance limits use small, recoverable deflection and rutting that does not exceed project thresholds; where not stated, many teams flag anything beyond 25 mm for review. Capture short videos and geo-tagged photos at chainage and offset so remediation crews can find the same locations. Recording weather and moisture helps interpret results and avoid over-rejecting a wet but recoverable surface.
- Use steady 3–8 km/h to minimize dynamic amplification.
- Overlap passes by 50% for complete coverage.
- Measure rut depth with a straightedge and ruler.
- Log axle load, tire pressure, speed, and weather.
- Geo-tag photos at chainage/offset for traceability.
Choose remediation that fits depth and mechanism, then verify by re-proof
Treat shallow, moisture-sensitive soft spots by scarifying, moisture conditioning to optimum, and compacting to target density. Where the weak layer is deeper or truly unstable, undercut to a firm bearing stratum and replace with approved granular material in controlled lifts. If fines pump through granular fill, a separator geotextile can stabilize the interface when permitted. Always re-establish design elevation with a survey before re-proof rolling. Re-proof at the same axle load and speed that revealed the defect to make the before/after comparison meaningful. Acceptance hinges on no visible pumping, minimal rutting (often ≤ 10–15 mm after correction), and compliant density results. Document depth removed, material placed, test results, and photos to close out the nonconformance without resorting to stabilization mix design decisions, which belong to separate engineering processes.
- Match remediation depth to weakness depth.
- Moisture condition and compact shallow repairs.
- Undercut and replace deep unstable zones.
- Use separator geotextile only if permitted.
- Re-proof at the same load and speed.
Document decisions and acceptance to reduce future paving risks
A thorough record streamlines approvals and protects the schedule. Start with a coverage plan marking all passes. For each lot, store the axle load, tire pressure, speed, weather, and moisture readings alongside rut measurements and photos. Use consistent chainage/offset and sketches to delineate defect boundaries. After remediation, attach density test reports, undercut depths, delivery tickets, geotextile approvals, and a new survey showing restored elevation. Re-proof results should be clearly compared with initial findings, referencing the same measurement points. Digital signatures from the contractor and inspector provide accountable acceptance per approved project specifications and authority requirements. Archiving as a QR-authenticated PDF/Excel package ensures field staff and paving crews can quickly verify that the subgrade met acceptance before base or asphalt placement, reducing the risk of rutting, settlement, and reflective cracking.
- Maintain a pass coverage map for each lot.
- Pair measurements with geo-tagged photos.
- Attach density and survey evidence to repairs.
- Compare re-proof to initial at same points.
- Capture digital signatures for acceptance.
How to Use This Interactive Proof-Roll Subgrade Checklist
- Preparation: Assemble a calibrated tire gauge, portable axle scales (or weigh ticket), GPS/speed readout, 3 m straightedge, ruler, moisture meter, nuclear density gauge (or approved alternative), paint/flags, and PPE.
- Open the checklist in interactive mode on a tablet/phone. Create a lot, set chainage limits, and enter target axle load, tire pressure, and speed from the project specifications.
- During proof rolling, tick items as you go, add comments for anomalies, and attach geo-tagged photos/videos and measurement readings directly to the relevant checklist line.
- After identifying soft spots, switch to remediation tracking: record chosen method, depths, lift thicknesses, density results, and survey elevations without duplicating earlier entries.
- Re-proof corrected areas and update the same lot with before/after metrics. Use the comparison view to verify rutting reduction and absence of pumping against acceptance criteria.
- Sign-Off: Collect digital signatures from contractor and inspector, then export as PDF/Excel. Share the QR-authenticated package with stakeholders and archive it in project records.
Call to Action
- Start Checklist Tick off tasks, leave comments on items or the whole form, and export your completed report to PDF or Excel—with a built-in QR code for authenticity.
- Download Excel - Proof-Roll Subgrade Inspection
- Download PDF - Proof-Roll Subgrade Inspection
- View Image - Proof-Roll Subgrade Inspection
Cite & Embed
“Proof-Roll Subgrade Inspection by Quollnet”
with a link to
this source page.

FAQ
Question: What axle load and speed should I use during proof rolling?
Question: How do I distinguish acceptable elastic deflection from a rejectable soft spot?
Question: What should I do if it rains before or during proof rolling?
Question: Which remediation method should I choose for soft spots?
Related Articles
Broader reading and guidance connected to this checklist topic.


Is It Important To Customize Your Qr Code And How To Do It?

Related Checklists
Keep the workflow moving with nearby templates chosen from similar checklist content.