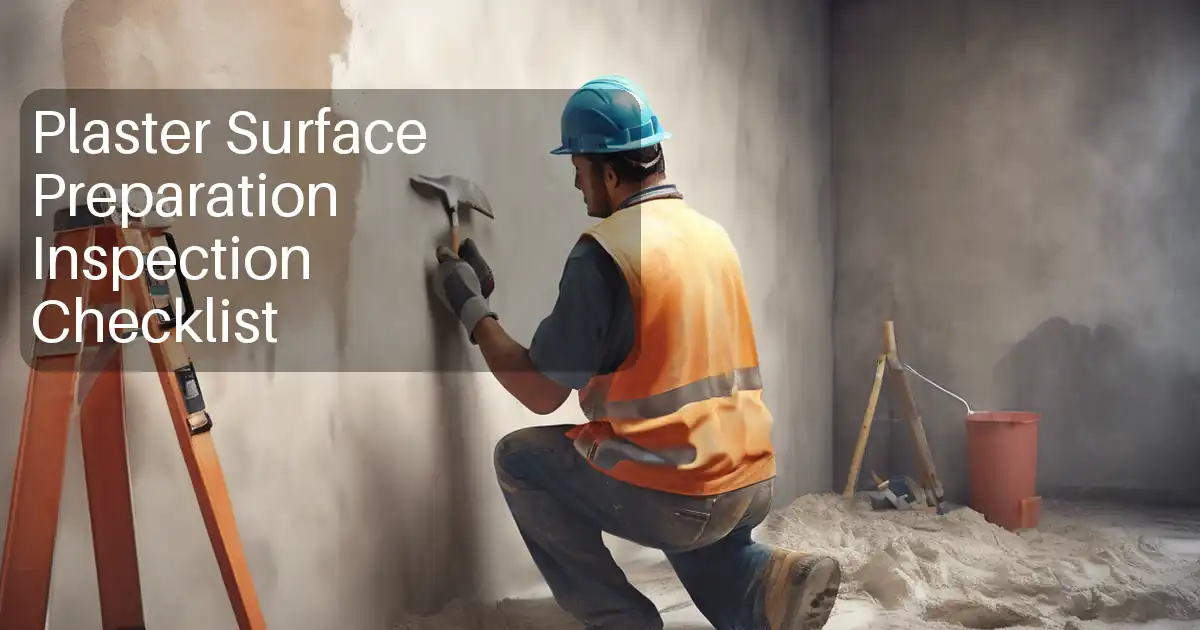
Inspecting Cured Plaster Finishes
Ensuring the quality of plaster work is crucial for the durability and aesthetics of any construction project. This checklist guides you through a comprehensive inspection of plaster finishes after curing, helping to identify imperfections and ensure compliance with industry standards. By following this checklist, inspectors and contractors can maintain high-quality standards and achieve a flawless finish that meets client expectations and safety regulations.
- Ensure a smooth and even plaster surface free of cracks and blemishes.
- Verify the adherence of the plaster to the substrate for long-term durability.
- Check for consistent color and texture to maintain aesthetic appeal.
- Confirm compliance with relevant industry standards and safety guidelines.
- Streamlined inspection process to save time and reduce errors.
Surface Quality Inspection
Adherence and Bond Strength
Color and Texture Consistency
Compliance and Standards
Final Documentation
Importance of Surface Inspection
The surface quality of cured plaster is paramount for the overall appearance and integrity of a structure. A thorough inspection ensures that any imperfections are identified and rectified before they become significant issues. This process involves checking for cracks, bubbles, and inconsistent textures, which could jeopardize the structure's durability.
- Check for any visible cracks or fissures.
- Ensure the surface is smooth and even.
- Identify any areas with bubbles or blisters.
- Verify the uniformity of texture across surfaces.
Adherence and Bond Strength
The bond strength between the plaster and its substrate is critical to prevent future detachment or damage. Inspectors should check that the plaster adheres properly and has cured as expected. This includes tapping the surface to listen for hollow sounds, indicating poor adhesion.
- Tap for hollow sounds indicating poor adhesion.
- Check for peeling or flaking areas.
- Ensure a strong bond to the substrate.
- Inspect edges and corners for firm attachment.
Color Consistency and Aesthetic Appeal
Consistent color and texture are key indicators of high-quality plasterwork. Any variations can affect the visual appeal and may suggest underlying issues. An inspection should confirm uniformity in color and ensure the finish meets aesthetic standards.
- Check for color consistency across surfaces.
- Identify any discoloration or staining.
- Ensure texture is uniform without patches.
- Evaluate the overall visual appeal.
How to Use This Final Plaster Finish Inspection Checklist
- Prepare by gathering necessary tools and reviewing project specifications and standards.
- Conduct a visual inspection, noting any imperfections or areas of concern on the surface.
- Perform adhesion tests by tapping and checking for hollow sounds.
- Compare the finish against project standards for color and texture consistency.
- Document findings and take photos for records. Address any issues with the construction team.

Call to Action
- Start Checklist Tick off tasks, leave comments on items or the whole form, and export your completed report to PDF or Excel—with a built-in QR code for authenticity.
- Download Excel - Final Plaster Finish Inspection Checklist
- Download PDF - Final Plaster Finish Inspection Checklist
- View Image - Final Plaster Finish Inspection Checklist
Cite & Embed
“Final Plaster Finish Inspection Checklist by Quollnet”
with a link to
this source page.

FAQ
Question: What tools are needed for a plaster finish inspection?
Question: How do I identify poor adhesion in plaster?
Question: Why is color consistency important in plaster finishes?
Related Articles
Broader reading and guidance connected to this checklist topic.


Related Checklists
Keep the workflow moving with nearby templates chosen from similar checklist content.