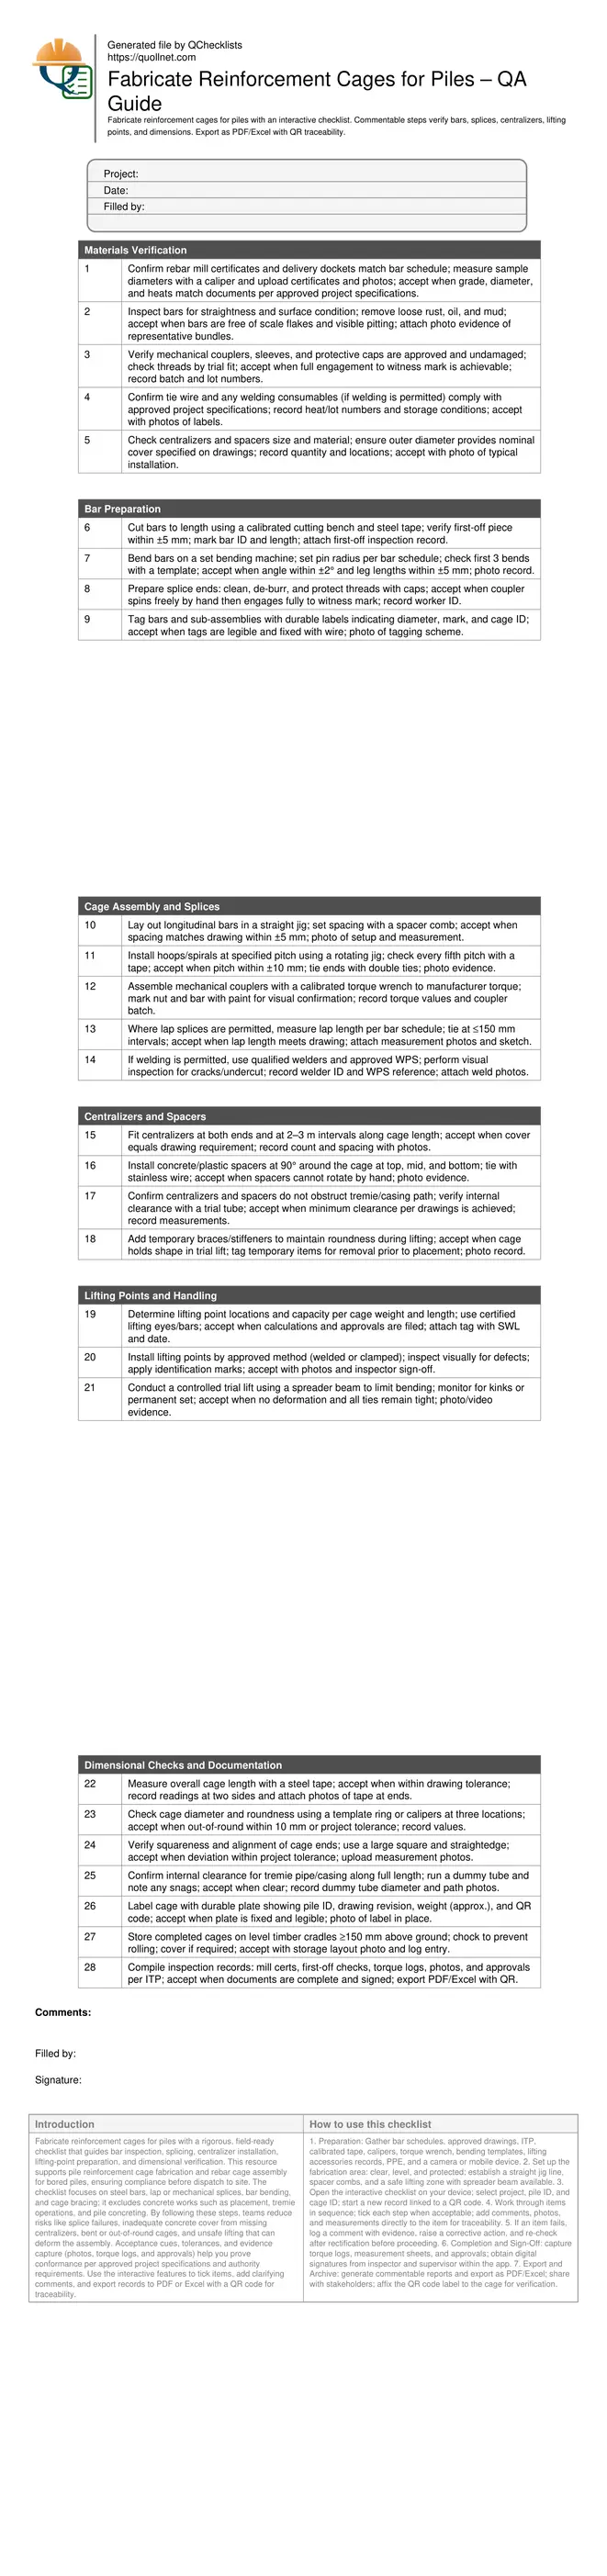
Fabricate Reinforcement Cages for Piles Checklist
Definition: Fabricate reinforcement cages for piles using this practical QA checklist for site engineers and inspectors, covering bars, splices, centralizers, lifting points, and dimensions before delivery, excluding concrete works.
- Verify bar grades, splices, and bends against bar schedule and drawings.
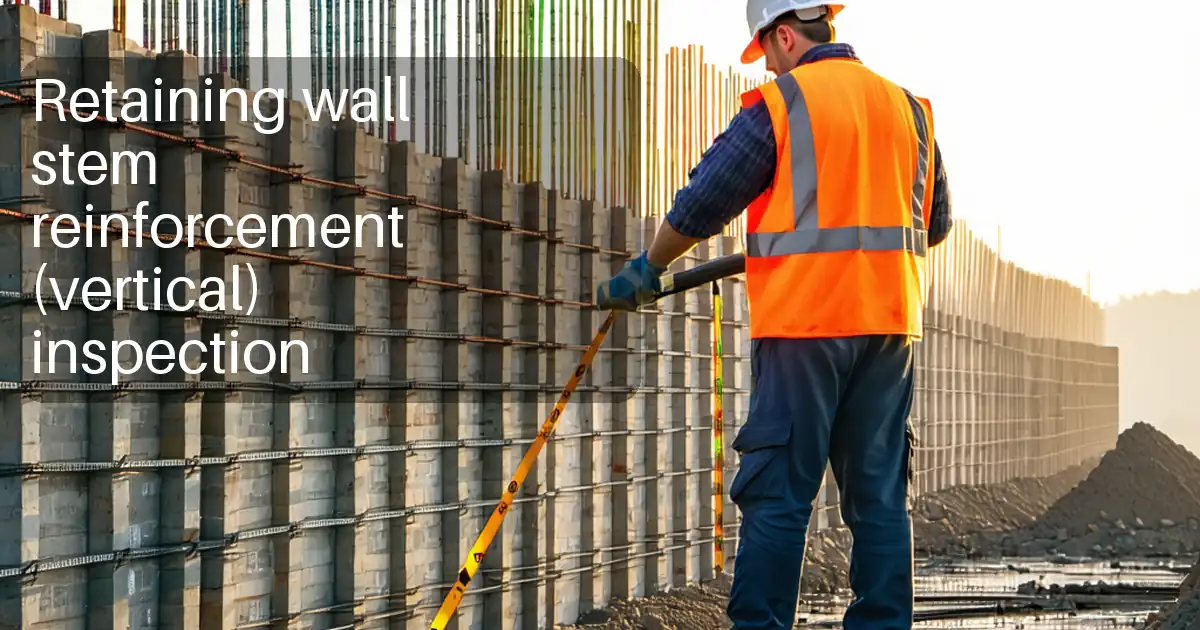
- Install centralizers and lifting points to maintain cover and safe handling.
- Measure cage dimensions with jigs and templates; record evidence with photos.
- Interactive, commentable checklist with export and QR code traceability.
Fabricate reinforcement cages for piles with a rigorous, field-ready checklist that guides bar inspection, splicing, centralizer installation, lifting-point preparation, and dimensional verification. This resource supports pile reinforcement cage fabrication and rebar cage assembly for bored piles, ensuring compliance before dispatch to site. The checklist focuses on steel bars, lap or mechanical splices, bar bending, and cage bracing; it excludes concrete works such as placement, tremie operations, and pile concreting. By following these steps, teams reduce risks like splice failures, inadequate concrete cover from missing centralizers, bent or out-of-round cages, and unsafe lifting that can deform the assembly. Acceptance cues, tolerances, and evidence capture (photos, torque logs, and approvals) help you prove conformance per approved project specifications and authority requirements. Use the interactive features to tick items, add clarifying comments, and export records to PDF or Excel with a QR code for traceability.
- This checklist standardizes pile cage fabrication: verifying rebar grades, cutting and bending accuracy, coupler or lap splice assembly, centralizer placement, and lifting points, while confirming dimensional tolerances with jigs and templates before dispatch to site.
- It reduces failure modes such as splice slippage, inadequate concrete cover, cage ovalization, and unsafe lifts by specifying tools, measurable tolerances, and evidence capture like photos, torque readings, and signed inspections per approved project specifications.
- Practical acceptance cues help crews act fast: first-off bend checks, coupler witness marks, spiral pitch measurements, and trial lifts to confirm stability without permanent deformation, safeguarding quality and safety throughout fabrication and handling.
- Interactive online checklist with tick, comment, and export features secured by QR code.
Materials Verification
Bar Preparation
Cage Assembly and Splices
Centralizers and Spacers
Lifting Points and Handling
Dimensional Checks and Documentation
Bar Quality, Bending Accuracy, and Reliable Splices
Quality starts with the steel. Verify heat numbers, grades, and diameters against the bar schedule, then confirm straightness and clean surfaces. Control cutting and bending with first-off checks, templates, and calibrated tools to avoid cumulative dimensional errors. For splices, prioritize mechanical couplers with full engagement to the witness mark and torque verification using calibrated wrenches. If lap splices are permitted, measure laps against the bar schedule and secure with frequent ties to prevent slip during handling. Welding is acceptable only when permitted and performed with a qualified procedure and personnel. These controls stop failures like inadequate strength, misfits during assembly, and splice slippage during lifting. Always capture photo evidence, batch records, and torque logs. Acceptance cues include bend angle within ±2°, leg length within ±5 mm, coupler mark alignment, and clean, undamaged bar ends. Practical examples: a first-off spiral verified with a template, or a torque-marked coupler photographed before the cage leaves the yard.
- Check first-off cuts and bends with templates and records.
- Torque-mark all couplers; log readings from a calibrated wrench.
- Lap only where allowed; measure and photo the lap length.
- Use welding only with approved WPS and qualified welders.
Centralizers, Spacers, and Safe Lifting Points
Centralizers and spacers ensure the designed cover is achieved in the bore. Fit units at both ends and at set intervals so cages cannot sag to one side. Confirm they do not obstruct tremie or casing paths by running a dummy tube through the cage. Lifting points are critical: set positions and capacities based on cage weight and length, use spreader beams for long cages to limit bending, and conduct a controlled trial lift. Temporary bracing or stiffeners keep cages round and prevent distortion during handling and transport. Record serial numbers of lifting accessories and photograph typical centralizer layouts. Acceptance cues include secure spacers that do not rotate by hand, clear internal passage for tremie, and trial lifts without permanent deformation. Real-world example: a 24 m cage lifted with a two-point spreader, braces retained during loading, then removed just before installation as per the method statement.
- Place centralizers at 2–3 m intervals and both ends.
- Verify tremie clearance with a dummy tube pass.
- Select lifting points per weight and length; use spreaders.
- Trial lift and confirm no permanent deformation.
Dimensional Control, Identification, and Records
Dimensional conformity prevents installation problems and rework. Measure overall length, diameter, and roundness using steel tapes and template rings at multiple locations. Check end squareness to ensure smooth jointing to starter bars or guides. Confirm internal clearances for tremie pipes to avoid clogging during concreting operations later. Label each cage with ID, drawing revision, and a QR code linked to the inspection package. Store cages off the ground on level cradles, chocked against rolling, and protected from contamination. Before dispatch, compile the full inspection record: certificates, first-off checks, torque logs, photos, and approvals per approved project specifications and authority requirements. Acceptance cues include recorded measurements within drawing tolerances, legible labels, and complete documentation exported to PDF/Excel with the QR code for authentication.
- Measure length, diameter, and out-of-round at three points.
- Check end squareness with a large square and straightedge.
- Attach durable ID plates with QR-linked records.
- Store on level cradles, chocked and protected.
How to Use This Interactive Pile Cage Fabrication Checklist
- Preparation: Gather bar schedules, approved drawings, ITP, calibrated tape, calipers, torque wrench, bending templates, lifting accessories records, PPE, and a camera or mobile device.
- Set up the fabrication area: clear, level, and protected; establish a straight jig line, spacer combs, and a safe lifting zone with spreader beam available.
- Open the interactive checklist on your device; select project, pile ID, and cage ID; start a new record linked to a QR code.
- Work through items in sequence; tick each step when acceptable; add comments, photos, and measurements directly to the item for traceability.
- If an item fails, log a comment with evidence, raise a corrective action, and re-check after rectification before proceeding.
- Completion and Sign-Off: capture torque logs, measurement sheets, and approvals; obtain digital signatures from inspector and supervisor within the app.
- Export and Archive: generate commentable reports and export as PDF/Excel; share with stakeholders; affix the QR code label to the cage for verification.
Call to Action
- Start Checklist Tick off tasks, leave comments on items or the whole form, and export your completed report to PDF or Excel—with a built-in QR code for authenticity.
- Download Excel - Fabricate Reinforcement Cages for Piles
- Download PDF - Fabricate Reinforcement Cages for Piles
- View Image - Fabricate Reinforcement Cages for Piles
Cite & Embed
“Fabricate Reinforcement Cages for Piles by Quollnet”
with a link to
this source page.
FAQ
Question: What tolerances should I use for cage length, diameter, and pitch?
Question: Do I need a torque wrench for mechanical couplers on pile cages?
Question: How many centralizers should be installed on a long pile cage?
Question: What is the safest way to lift long, heavy reinforcement cages?
Question: Can I weld bars during cage fabrication?
Related Articles
Broader reading and guidance connected to this checklist topic.


Is It Important To Customize Your Qr Code And How To Do It?


Related Checklists
Keep the workflow moving with nearby templates chosen from similar checklist content.