Crosshole sonic logging (CSL) checklist for construction QA
Definition: Crosshole sonic logging (CSL) guides contractors and inspectors through access tubes, coupling, pulse analysis, anomaly mapping, and acceptance for drilled shafts, ensuring objective integrity verification and defensible records.
- Plan tube layout, materials, and curing windows per specifications.
- Ensure water coupling, probe calibration, and consistent scan parameters.
- Analyze first arrival time and amplitude to detect defects.
- Interactive, commentable checklist with export and QR code verification.
Crosshole sonic logging (CSL) validates drilled shaft or bored pile integrity by transmitting ultrasonic pulses between water-filled access tubes and measuring first arrival time and signal amplitude. This checklist focuses exclusively on CSL and explicitly excludes low-strain pile integrity testing (PIT). It covers tube verification, water coupling, equipment calibration, acquisition parameters, pulse analysis, anomaly mapping, and acceptance decisions. Using related methods such as ultrasonic crosshole testing terminology and sonic pulse velocity interpretation, the workflow minimizes false positives from poor coupling, ensures complete depth coverage, and produces traceable deliverables. You will confirm tube materials and sealing, equalize water temperature, establish scan increments and pull rates, monitor signal-to-noise ratio, normalize data to a baseline, and map anomalies by depth and tube angle. The outcome is a defensible accept/conditional/reject decision per approved project specifications and authority requirements. Use this interactive checklist to tick steps, add comments, attach evidence, and export PDF/Excel; a QR code secures field-to-report traceability.
- Establish a repeatable CSL process from access tube verification to acceptance. Control variables that affect ultrasonic coupling, confirm equipment calibration, and document curing windows so interpretations reflect material conditions, not setup artifacts. The result is reliable, traceable integrity evidence for every shaft tested.
- Use structured acquisition parameters to capture clear first arrival time and amplitude records at consistent depth increments. Real-time quality gates help crews pause to fix coupling issues, improving coverage and reducing retests, delays, and ambiguity in anomaly interpretation.
- Translate pulse analysis into practical decisions by normalizing to a project baseline and mapping deviations across tube pairs. Anomaly clusters are categorized by depth and circumferential position, aligning with construction records to guide investigation, mitigation, or acceptance.
- Interactive online checklist with tick, comment, and export features secured by QR code.
Pre-Test Planning and Access Tubes
Equipment Setup and Calibration
Coupling and Water Management
CSL Data Acquisition
Analysis, Anomaly Mapping, and Acceptance
Access Tubes and Coupling Fundamentals
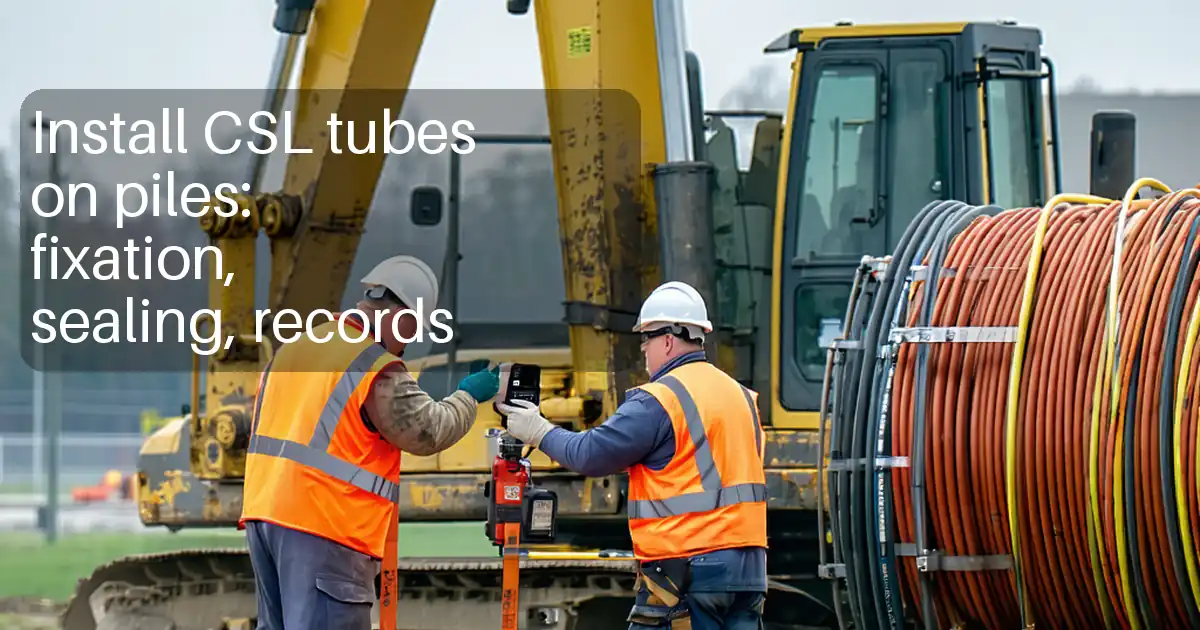
Successful CSL starts with reliable access tubes and stable water coupling. Tubes must match approved materials, be sealed at the base, and extend to the required elevations to ensure full depth coverage. Before testing, flush each tube, fill with clean, de-aerated water, and remove trapped air that can scatter or delay the ultrasonic pulse. If allowed, a small amount of approved wetting agent reduces surface tension and improves probe-to-water coupling. Equalize tube water and ambient temperatures and record them; temperature gradients can shift wave speed and bias first arrival time. Confirm identification and orientation marks on every tube head, including a clear north reference, so that any anomaly can be located circumferentially for construction follow-up. A quick static coupling check—holding probes at the same depth—verifies that FAT and amplitude remain stable before committing to full logging. These fundamentals reduce noise, minimize retests, and elevate confidence in the interpreted results.
- Use clean, de-aerated water for stable signals.
- Mark tube IDs and a fixed north reference.
- Seal tube bottoms; fit tight, vented caps.
- Record water and ambient temperatures.
Optimizing Acquisition Parameters and Pulse Analysis
Acquisition parameters govern data resolution and repeatability. Choose depth increments and pull rates that resolve anticipated defect sizes while meeting project productivity targets. Verify sampling rate, pulse width, and gain are set per manufacturer guidance and approved specifications; consistent settings simplify cross-comparisons. During logging, monitor waveform quality and signal-to-noise ratio. Capture first arrival time (FAT), amplitude or energy, and waveform shape at each increment. Reversed runs (swapping transmitter and receiver) help identify directional bias or coupling issues. In processing, apply consistent picking methods and normalize results to a baseline segment. Plot FAT and attenuation curves by depth and tube pair to highlight outliers. Robust pulse analysis distinguishes real material changes from artifacts caused by coupling fluctuations, providing the foundation for clear, defensible acceptance decisions.
- Choose scan increments that resolve expected defect size.
- Verify first arrival picking consistency.
- Keep pull rates steady and documented.
- Repeat scans when SNR drops.
Anomaly Mapping and Acceptance Decisions
Turning signals into decisions requires clear mapping and criteria. After identifying deviations, group them by depth continuity and recurrence across multiple tube pairs. Use tube geometry and the marked north reference to place anomalies circumferentially in plan and section views. Align findings with construction logs—cage splices, tremie interruptions, or water inflow events—to support root-cause assessment. Categorize outcomes as Accept, Conditional (monitor or investigate), or Reject per approved project specifications and authority requirements. Package results with raw data, calibration records, plots, and an anomaly register. A QR-secured report links field evidence to the final decision, supporting transparent communication with the owner and smoother closeout.
- Plot delta FAT and amplitude by depth.
- Correlate anomalies across multiple tube pairs.
- Produce plan-view maps with tube angles.
- Document acceptance with signatures and QR.
How to Use This Interactive CSL Checklist
- Preparation: Assemble calibrated CSL probes, depth encoder, clean water, approved wetting agent (if allowed), thermometer, borescope/mandrel, PPE, and reporting templates. Confirm access tube layout and curing window per approved project specifications and authority requirements.
- Start Interactive Mode: Open the checklist on your device, select the shaft ID, and enable tick boxes. For each step, capture photos, screenshots, and readings directly within the corresponding item.
- Comment and Collaborate: Use the comment field to note anomalies, parameter changes, or coupling fixes. Mention team members to resolve issues in real time and maintain an auditable conversation.
- Review and Export: Verify all mandatory items are ticked and evidence attached. Generate plots and attach calibration records, then export as PDF/Excel. The system embeds a QR code for authentication.
- Sign-Off and Archive: Capture digital signatures from contractor, inspector, and owner’s representative. Distribute the export to stakeholders and archive the QR-authenticated package in the project records.
Call to Action
- Start Checklist Tick off tasks, leave comments on items or the whole form, and export your completed report to PDF or Excel—with a built-in QR code for authenticity.
- Download Excel - Crosshole Sonic Logging (CSL) Checklist
- Download PDF - Crosshole Sonic Logging (CSL) Checklist
- View Image - Crosshole Sonic Logging (CSL) Checklist
Cite & Embed
“Crosshole Sonic Logging (CSL) Checklist by Quollnet”
with a link to
this source page.
FAQ
Question: When should CSL be performed on a drilled shaft?
Question: How do I distinguish a true defect from poor coupling?
Question: What data must be included in a CSL report?
Question: Can I use CSL results to approve or reject a shaft directly?
Question: How many access tube pairs should be logged?
Related Articles
Broader reading and guidance connected to this checklist topic.


Is It Important To Customize Your Qr Code And How To Do It?
Related Checklists
Keep the workflow moving with nearby templates chosen from similar checklist content.
