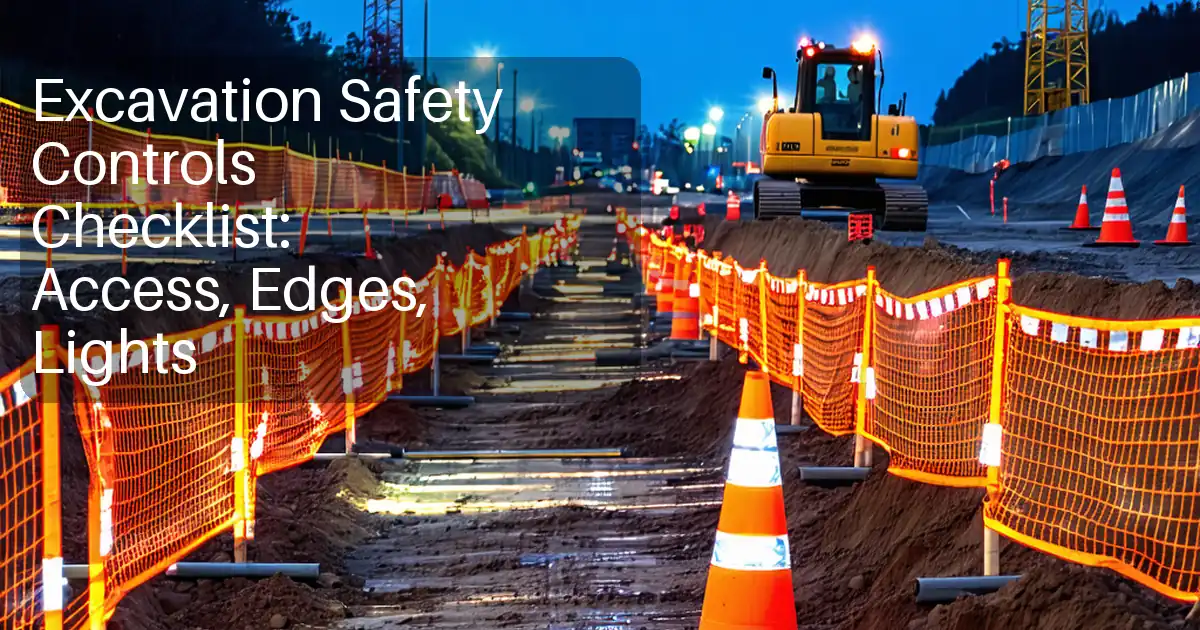
Traffic Management Near Excavation: Implementation Checklist
Definition: Traffic Management Near Excavation checklist guiding site supervisors to implement plan-approved barriers, lighting, flagging, and detours around digs, excluding public road redesign or permanent roadway changes.
- Verify barriers, lighting, flagging, and detours match the approved plan.
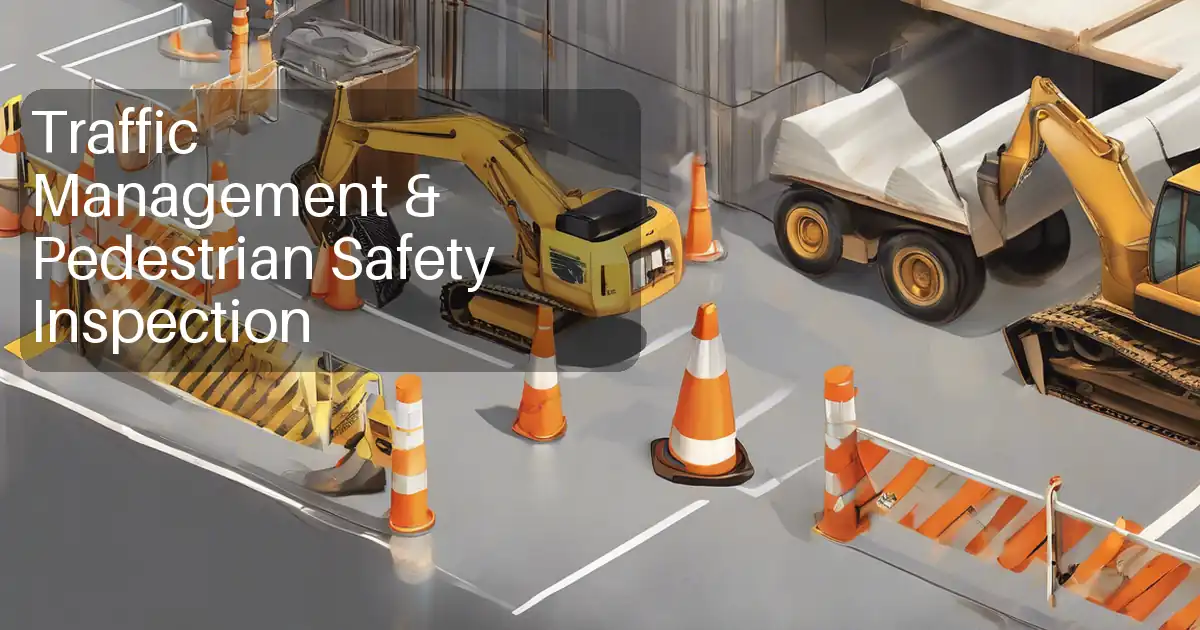
- Reduce vehicle-pedestrian conflicts and excavation edge strikes with controls.
- Measure placements, illuminance, and sight distances; capture photo evidence daily.
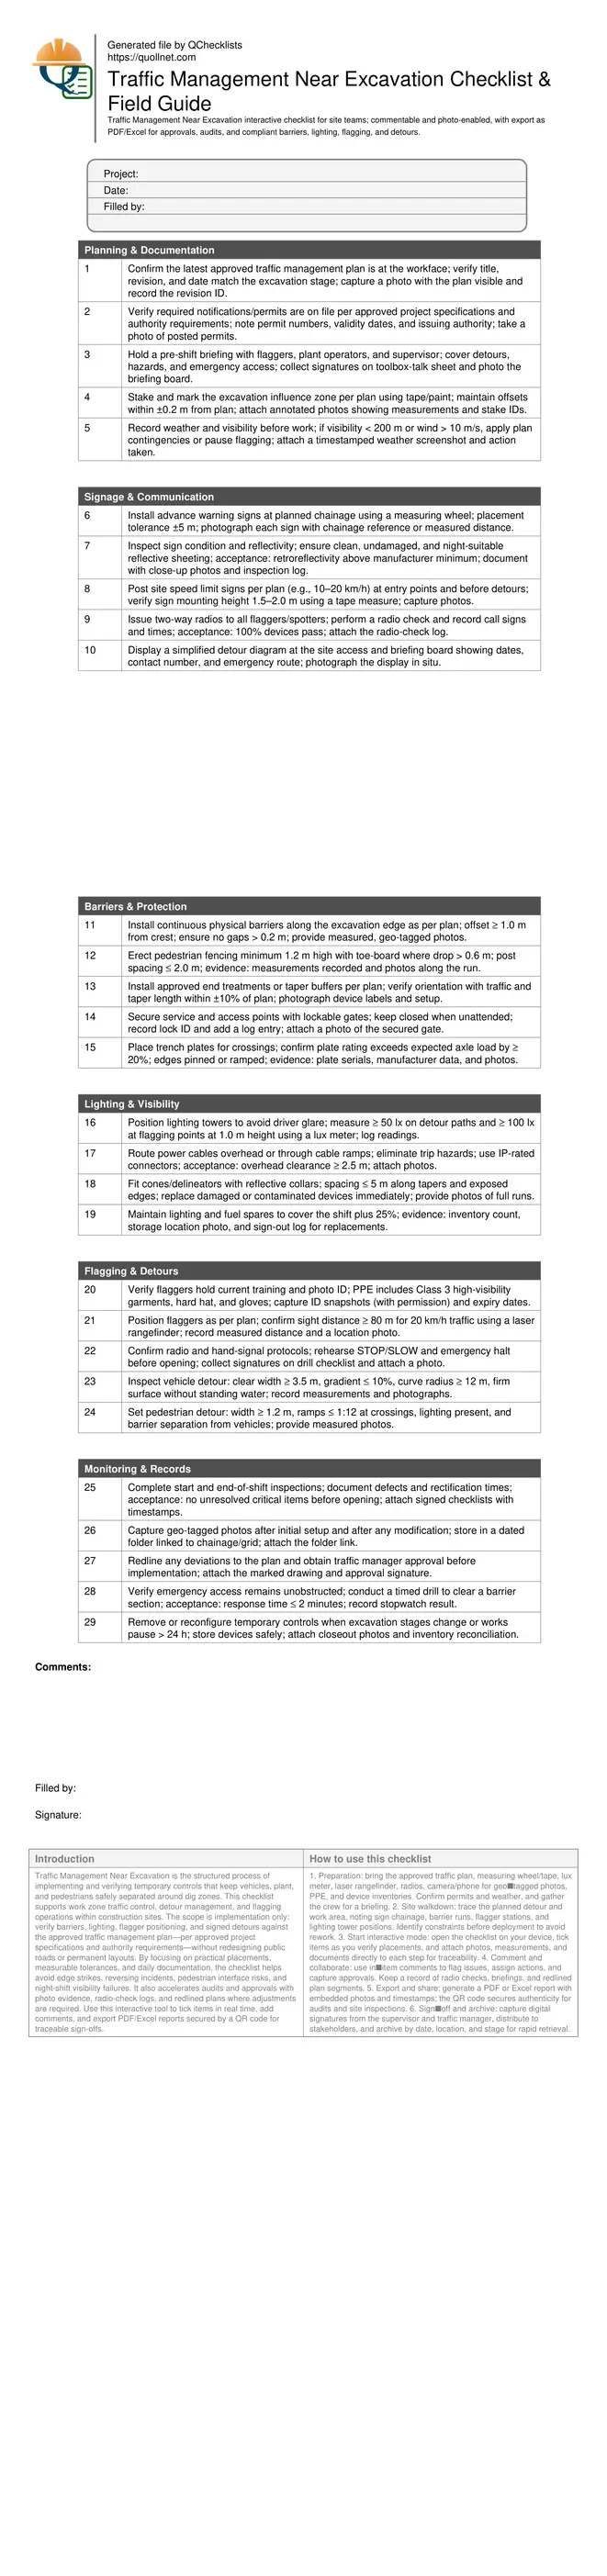
- Interactive, commentable checklist with export and QR code authentication.
Traffic Management Near Excavation is the structured process of implementing and verifying temporary controls that keep vehicles, plant, and pedestrians safely separated around dig zones. This checklist supports work zone traffic control, detour management, and flagging operations within construction sites. The scope is implementation only: verify barriers, lighting, flagger positioning, and signed detours against the approved traffic management plan—per approved project specifications and authority requirements—without redesigning public roads or permanent layouts. By focusing on practical placements, measurable tolerances, and daily documentation, the checklist helps avoid edge strikes, reversing incidents, pedestrian interface risks, and night-shift visibility failures. It also accelerates audits and approvals with photo evidence, radio-check logs, and redlined plans where adjustments are required. Use this interactive tool to tick items in real time, add comments, and export PDF/Excel reports secured by a QR code for traceable sign-offs.
- Ensure safe, plan-compliant temporary traffic controls around excavation areas using measurable tolerances for barrier continuity, signage chainage, lighting levels, and flagger sight distances. The checklist drives consistent implementation without overreaching into public road redesign.
- Interactive online checklist with tick, comment, and export features secured by QR code.
- Boost night-shift safety and audit readiness with lux-meter readings, geo-tagged photos, radio-check logs, and approval records. The structure helps teams preempt gaps, replace missing devices quickly, and document corrections before opening works to traffic.
- Improve coordination between site supervisors, flaggers, and plant operators through briefings, clear detour diagrams, and change control. Records demonstrate compliance with approved project specifications and authority requirements, supporting inspections and closeout.
Planning & Documentation
Signage & Communication
Barriers & Protection
Lighting & Visibility
Flagging & Detours
Monitoring & Records
Why robust controls around excavations matter
Excavations create abrupt level changes, sightline interruptions, and constrained pathways that can surprise drivers and pedestrians. Without disciplined traffic controls, minor errors escalate quickly: a missing taper device draws vehicles too close to the edge, a dark zone hides a pedestrian, or an unclear detour forces last‑second maneuvers. This checklist organizes those risks into verifiable steps: barriers and fencing create physical separation; signage and radios provide predictable cues; lighting restores visibility during low‑light conditions; and flagging coordinates movement when geometry or operations change. The goal is safety through repeatable process, not improvisation. We focus strictly on implementing the approved temporary traffic plan around the excavation—no public road redesign, no permanent layouts. Success looks like continuity (no barrier gaps), visibility (measured illuminance), and clarity (consistent signals). Each item requests tangible evidence: measurements, photos, or signatures, ensuring that controls are not just placed, but verified and documented.
- Prevent edge strikes and pedestrian conflicts with physical separation.
- Use measured tolerances to verify positions and lighting levels.
- Keep flagger actions predictable with radios and rehearsed signals.
- Stay within scope: implement the approved temporary plan only.
Field methods, tolerances, and acceptance cues
Practical verification beats assumptions. Use a measuring wheel to locate advance signs within ±5 m of planned chainage. For barriers, maintain a minimum 1.0 m offset from the excavation crest and eliminate gaps over 0.2 m—photograph joints and end treatments. A lux meter confirms ≥50 lx on detours and ≥100 lx at flagging points measured at 1.0 m height; reposition light towers to reduce glare. Rangefinders help ensure flagger sight distances (e.g., ≥80 m for 20 km/h). Detours must physically accommodate the largest plant: ≥3.5 m clear width, gradients ≤10%, curves ≥12 m radius, and a firm, drained surface. Trench plates require capacity greater than the heaviest expected axle load by at least 20%; record serials and manufacturer data. Acceptance is evidence-based: geo-tagged photos, measurement logs, and sign-offs. If conditions change—wind, rain, or staging—apply contingencies specified in the plan and record any redlines with approvals before implementation.
- Measure, photograph, and log—assume nothing.
- Control glare; verify illuminance with a lux meter.
- Check detour geometry with width, gradient, and radius.
- Document device ratings and serial numbers.
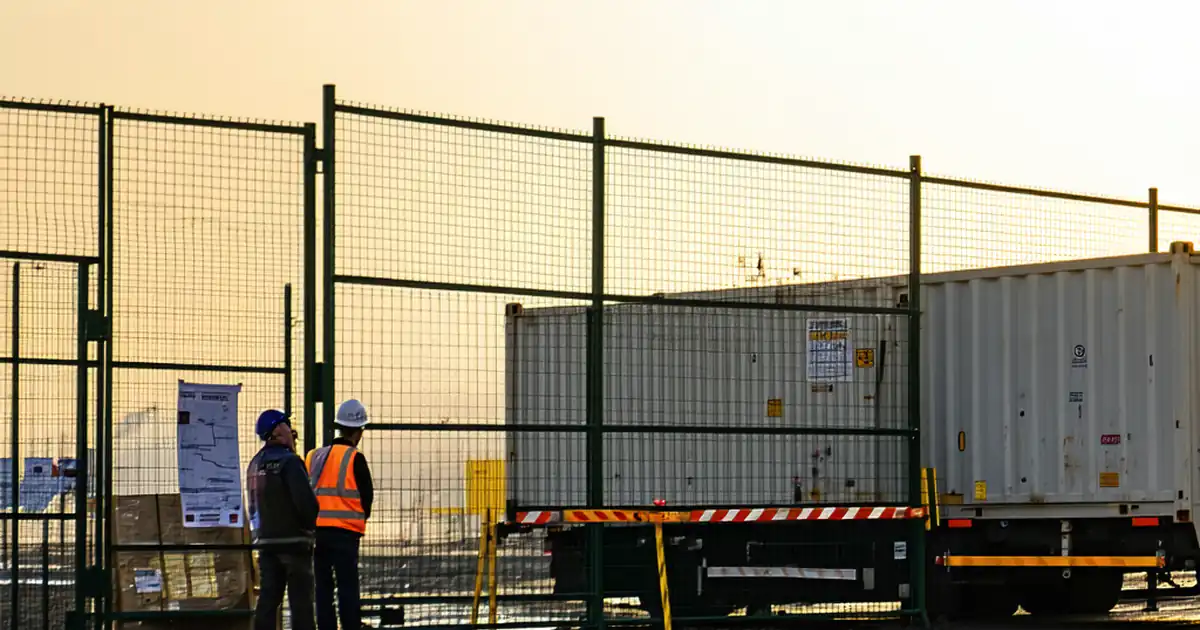
Documentation, communication, and change control
Controls work only when people understand them. Start with a toolbox briefing covering detour routes, interface points, and emergency access. Post a simple diagram at the gate for delivery drivers and visitors. Radios must be issued, tested, and logged so flaggers can coordinate stops and releases. Maintain a shared folder of geo-tagged setup photos, lux readings, and daily checklists; this forms an auditable trail that supports inspections and closeout. When field constraints require adjustments, mark up the plan and obtain the traffic manager’s approval prior to changes—no ad‑hoc reconfigurations. At handover or shift end, verify critical items are resolved and remove redundant devices to prevent confusion. Throughout, cite compliance as “per approved project specifications and authority requirements,” avoiding guesswork about specific clauses. Proper records not only demonstrate due diligence; they also make repeat setups faster and more consistent across shifts and stages.
- Brief, test radios, and log attendees.
- Keep a photo and measurement evidence trail.
- Approve and record all deviations before changes.
- Close out and remove redundant devices.
How to Use This Traffic Management Near Excavation Checklist
- Preparation: bring the approved traffic plan, measuring wheel/tape, lux meter, laser rangefinder, radios, camera/phone for geo‑tagged photos, PPE, and device inventories. Confirm permits and weather, and gather the crew for a briefing.
- Site walkdown: trace the planned detour and work area, noting sign chainage, barrier runs, flagger stations, and lighting tower positions. Identify constraints before deployment to avoid rework.
- Start interactive mode: open the checklist on your device, tick items as you verify placements, and attach photos, measurements, and documents directly to each step for traceability.
- Comment and collaborate: use in‑item comments to flag issues, assign actions, and capture approvals. Keep a record of radio checks, briefings, and redlined plan segments.
- Export and share: generate a PDF or Excel report with embedded photos and timestamps; the QR code secures authenticity for audits and site inspections.
- Sign‑off and archive: capture digital signatures from the supervisor and traffic manager, distribute to stakeholders, and archive by date, location, and stage for rapid retrieval.
Call to Action
- Start Checklist Tick off tasks, leave comments on items or the whole form, and export your completed report to PDF or Excel—with a built-in QR code for authenticity.
- Download Excel - Traffic Management Near Excavation Checklist
- Download PDF - Traffic Management Near Excavation Checklist
- View Image - Traffic Management Near Excavation Checklist
Cite & Embed
“Traffic Management Near Excavation Checklist by Quollnet”
with a link to
this source page.

FAQ
Question: What if site conditions differ from the approved traffic plan during excavation?
Question: How much lighting is required for safe detours and flagging at night?
Question: When should flaggers be used instead of temporary signals near excavations?
Question: How do I verify a detour accommodates large site vehicles?
Related Articles
Broader reading and guidance connected to this checklist topic.


Related Checklists
Keep the workflow moving with nearby templates chosen from similar checklist content.