Terminate Waterproofing at Pile Heads: Prime, Fillet, Seal & Protect
Definition: Terminate waterproofing at pile heads is a field guide for site supervisors and inspectors, covering priming, fillets, sealant terminations, and protection at pile head interfaces only.
- Defines prime, fillet, seal, and protect sequence at pile heads.
- Prevents leaks, corrosion, and concrete deterioration at critical interfaces.
- Uses compatible primers, sealants, and protection with measurable acceptances.
- Interactive, commentable checklist with export and QR code verification.
Terminate waterproofing at pile heads is a focused activity ensuring clean, primed, filleted, sealed, and protected terminations at each pile interface. This checklist zeroes in on pile head waterproofing termination details, including primer selection, cove fillets, termination bars, and protective measures, while explicitly excluding installation of general membranes. Executed correctly, it prevents water ingress, freeze–thaw damage, steel corrosion, and premature deterioration at the slab–pile junction. You will confirm substrate condition, apply compatible primer, form a consistent fillet, install a robust sealant band or termination bar detail, and protect the termination from construction traffic and backfill. Outcomes include durable, inspectable terminations with photo evidence, logged batch numbers, and traceable approvals per approved project specifications and authority requirements. Use this interactive checklist on mobile or tablet: tick items as completed, leave comments for issues, attach photos for verification, and export your record as PDF/Excel with a secured QR for sign-off.
- Deliver leak-tight, durable terminations at pile heads by sequencing substrate preparation, primer, fillet, sealant or termination bar, and protection. The checklist guides acceptance cues like moisture limits, fillet radius, sealant thickness, and fastener spacing with photo and batch traceability.
- Reduce rework and latent defects by specifying compatible materials and measurable criteria for each pile head termination. Clear evidence requests—photos, readings, batch numbers, torque values, and signatures—enable quick inspections and auditable records across multiple work fronts.
- Interactive online checklist with tick, comment, and export features secured by QR code. Supervisors can assign actions, attach close-up photos, and generate a PDF/Excel pack instantly for stakeholders and archiving, improving compliance and closeout quality on substructure works.
Pre-Work Checks
Surface Preparation
Priming
Fillet/Cove Formation
Sealant Termination
Protection and Cover
Inspection & Documentation
Scope, Interfaces, and Material Compatibility
This checklist covers the specific termination of waterproofing at pile heads: priming, forming a cove fillet, sealing the interface, and protecting the termination. It excludes installation of general membranes or broad-area waterproofing. The goal is a continuous, inspectable barrier at the slab–pile junction that tolerates minor movement and resists water ingress. Compatibility is critical—primer, fillet compound, sealant, and termination bar must be mutually compatible and suited to the substrate (concrete or steel). Environmental controls matter: substrate temperature should stay several degrees above dew point, and moisture must be within manufacturer limits before priming or sealing. Typical acceptance cues include a uniform primer film, a smooth 20–30 mm radius fillet, a 2–3 mm thick elastomeric sealant band, and, where required, a well-fixed termination bar. Document batch numbers, curing times, and photographs to provide traceable evidence and reduce rework.
- Exclude general membranes; focus solely on pile head terminations.
- Confirm material compatibility and approvals before work starts.
- Maintain substrate temperature above dew point to avoid blushing.
- Target 20–30 mm fillet radius; smooth and void-free.
- Sealant band 2–3 mm thick, continuous and pinhole-free.
Workmanship, Tolerances, and On-Site Techniques
Success begins with thorough surface preparation. Mechanically remove laitance and contamination, vacuum, and solvent-wipe with a compatible cleaner. Check moisture with a meter; most systems need ≤ 5% or as specified. Prime evenly without puddling and allow the recommended tack-free interval. Form a consistent 45° fillet using non-shrink mortar or epoxy mastic; verify radius with a gauge and repair any voids over 2 mm. Apply masking for clean sealant edges; gun and tool a 25–40 mm band at 2–3 mm thickness. If a termination bar is specified, use corrosion-resistant fixings at about 150 mm centres and verify torque. Protect fresh work from traffic and backfill until fully cured. Acceptance relies on visible continuity, measured dimensions, recorded conditions, and clear photos with scale and labels.
- Measure moisture and temperature; record readings with photos.
- Even primer coat; no puddles or dry patches.
- Termination bar fixings at consistent centres with correct torque.
- Cure times respected before loading or backfilling.
- Photograph overall and close-up details with scale.
Quality Records, Risks, and Practical Jobsite Tips
Common risks include sealing onto dusty or damp concrete, undersized fillets that concentrate stress, and interrupted sealant bands. Avoid these by sequencing work: prep, prime, fillet, seal, then protect. Log product batches and weather to support warranty and traceability. Simple adhesion checks at an expendable edge can flag early problems without damaging finished work. Use contrasting primer or masking to improve visibility of coverage and edge lines. Coordinate with adjacent trades to keep the termination unobstructed; agree hold points for inspection before backfill or casting around the pile head. Store all photos, readings, and signatures in a single export so the as-built record can be verified later.
- Sequence work to prevent contamination between steps.
- Use masking for straight, inspectable sealant edges.
- Perform non-destructive adhesion checks at edges.
- Set inspection hold points before covering work.
- Consolidate records for warranty and handover.
How to Use This Interactive Pile Head Termination Checklist
- Preparation: Gather primer, fillet compound, compatible sealant, termination bar, fixings, grinder, vacuum, moisture meter, masking, PPE, and a camera. Brief the crew on sequence and hold points; set up safe access and lighting.
- Open the checklist on your device, scan the QR for the work area, and create a new entry per pile ID. Add drawings, manufacturer details, and any method statements as attachments.
- Using the Interactive Checklist: Progress item by item, ticking when complete. Enter readings (moisture, temperature), upload photos, and log batch numbers. Use comments to flag defects and assign actions with due dates.
- Tag evidence: Label photos with pile ID and measurement scales. Use the app’s annotation to highlight fillet radius, sealant width, and fastener spacing for quick acceptance by inspectors.
- Export: Generate an export as PDF/Excel including checkmarks, comments, photos, and timestamps. Share with the site engineer, waterproofing specialist, and quality manager for review.
- Sign-Off: Capture digital signatures from the supervisor and inspector. Archive the QR-authenticated export in the project document control system and update the register to release the area for covering.

Call to Action
- Start Checklist Tick off tasks, leave comments on items or the whole form, and export your completed report to PDF or Excel—with a built-in QR code for authenticity.
- Download Excel - Pile Head Waterproofing Termination
- Download PDF - Pile Head Waterproofing Termination
- View Image - Pile Head Waterproofing Termination
Cite & Embed
“Pile Head Waterproofing Termination by Quollnet”
with a link to
this source page.
FAQ
Question: What primer should I use for terminating waterproofing at pile heads?
Question: How big should the fillet be at the slab–pile junction?
Question: Do I need a termination bar, or is a sealant band enough?
Question: How can I verify adhesion without damaging the finished termination?
Question: When can I allow traffic or backfill around the pile head?
Related Articles
Broader reading and guidance connected to this checklist topic.
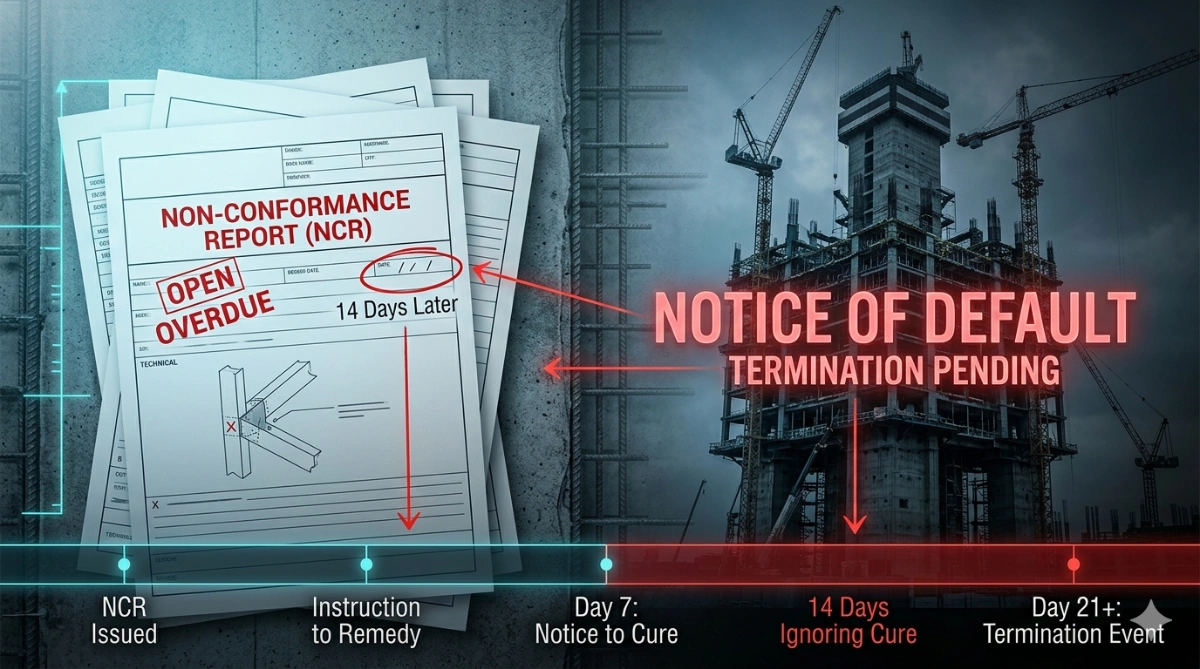
Can An Ncr Lead To Termination? Hidden Risk Behind “notice To Correct”


Open Ncrs At Taking-over / Dlp: What Happens At Handover And How To Escalate

Is It Important To Customize Your Qr Code And How To Do It?

Related Checklists
Keep the workflow moving with nearby templates chosen from similar checklist content.