Subgrade Stabilization with Lime/Cement Checklist
Definition: Subgrade Stabilization with Lime/Cement is a field-ready checklist for inspectors and foremen verifying mix design, spread rate, moisture, mixing, compaction, and curing to achieve specified strength outcomes.
- Confirms binder type, spread rate, and uniform mixing depth.
- Controls moisture to OMC range and documents density achievement.
- Validates curing and laboratory strength against approved targets.
- Interactive, commentable, export-ready checklist with QR code authentication.
Subgrade Stabilization with Lime/Cement sets a clear, auditable process for verifying lime-treated and cement-stabilized subgrades from batching through compaction and curing. This checklist focuses on binder verification, spread rate control, moisture conditioning, thorough mixing, compaction to density, and confirmation of target unconfined compressive strength—without addressing pavement design. By aligning field activity with the approved mix design and practical acceptance tolerances, you reduce variability, avoid soft spots, mitigate shrink-swell soils, and achieve durable support for overlying layers. It covers pozzolanic reactions in lime treatment, cement stabilization behavior, optimum moisture content management, pulverization criteria, density testing, and curing protection. Use it to capture photos, readings, COAs, nuclear gauge outputs, and lab results while maintaining traceable approvals per approved project specifications and authority requirements. Start in interactive mode to tick items, add comments for non-conformances, and export records to PDF/Excel with a QR code for authentication.
- Control binder selection, spread calibration, and mixing depth to ensure uniform treatment. Moisture is conditioned to the optimum range, pulverization is verified, and compaction achieves the required density, delivering consistent bearing support and reduced post-construction movement.
- Quality assurance emphasizes measurable checks: calibrated application trials, moisture tests, pH confirmation for lime, density verification, and lab strength testing. Evidence includes photos, signatures, lot numbers, gauge readings, and survey shots attached directly to each task.
- Interactive online checklist with tick, comment, and export features secured by QR code.
- The workflow minimizes rework and delays by sequencing documentation, placement, testing, and curing protection. Clear tolerances guide acceptance on spread uniformity, moisture ranges, pulverization, straightedge, and density, keeping crews aligned with approved project specifications.
Pre-Work Documentation
Materials Verification
Spreading and Mixing
Moisture Conditioning
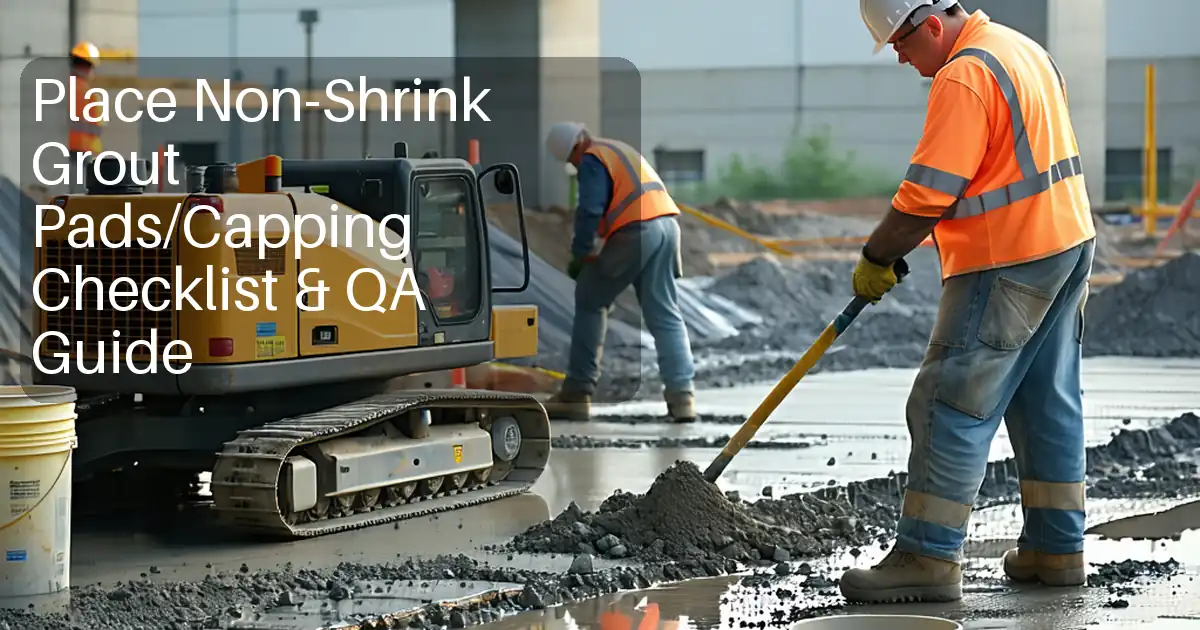
Compaction and Finishing
Quality Control Testing
Mix Design Control and Binder Application
Successful stabilization begins with a verified mix design and tight control of binder placement. Confirm the lime or cement type, the target percentage by dry soil mass, treatment depth, and the target strength age per approved project specifications and authority requirements. Ensure the reclaimer can consistently achieve full-depth mixing without leaving untreated seams. Calibrate the spreader using a weighbridge and pan catches so the application rate stays within ±5% of the target. For lime, a planned mellowing interval promotes the pozzolanic reaction and improves workability, but surface drying must be prevented. Use the latest modified Proctor data to anchor all moisture and density decisions. Well-documented lot numbers, COAs, and equipment calibration records safeguard traceability and reduce disputes. Uniformity is the goal: consistent dosage and depth are the foundation for reliable strength gain and stiffness development across the entire treated platform.
- Use weighbridge and pan catches to calibrate spread.
- Record binder lots, tickets, and COAs with photos.
- Target uniform mixing depth across the treatment width.
- Plan and manage mellowing for lime treatments.
- Tie field targets to current Proctor data.
Moisture, Pulverization, and Compaction to Density
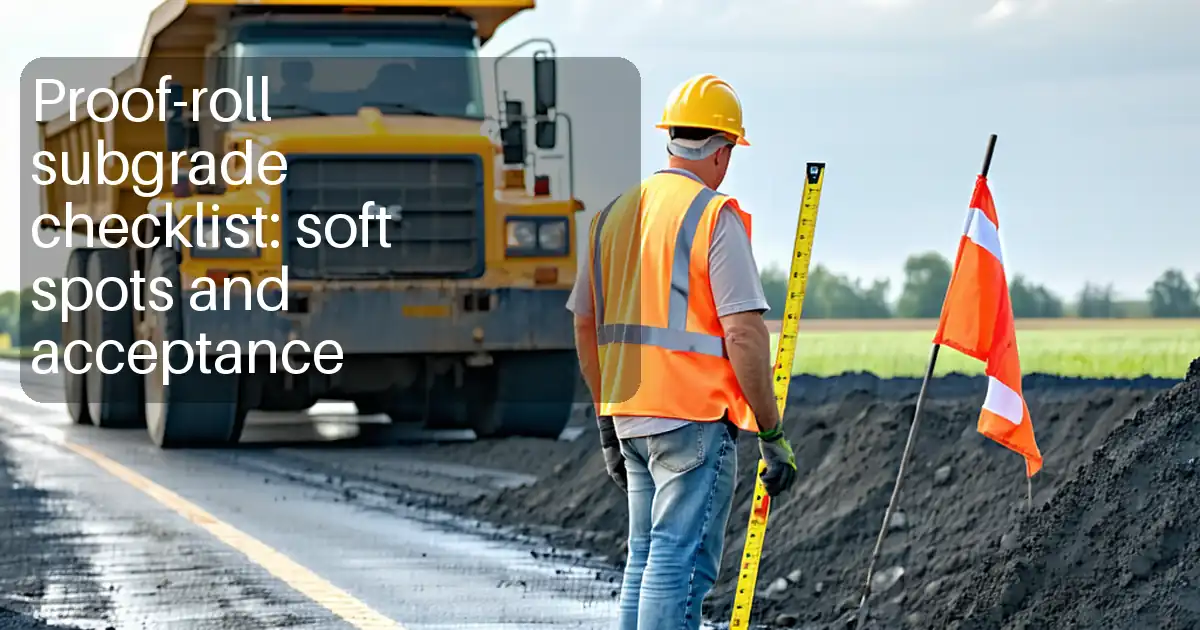
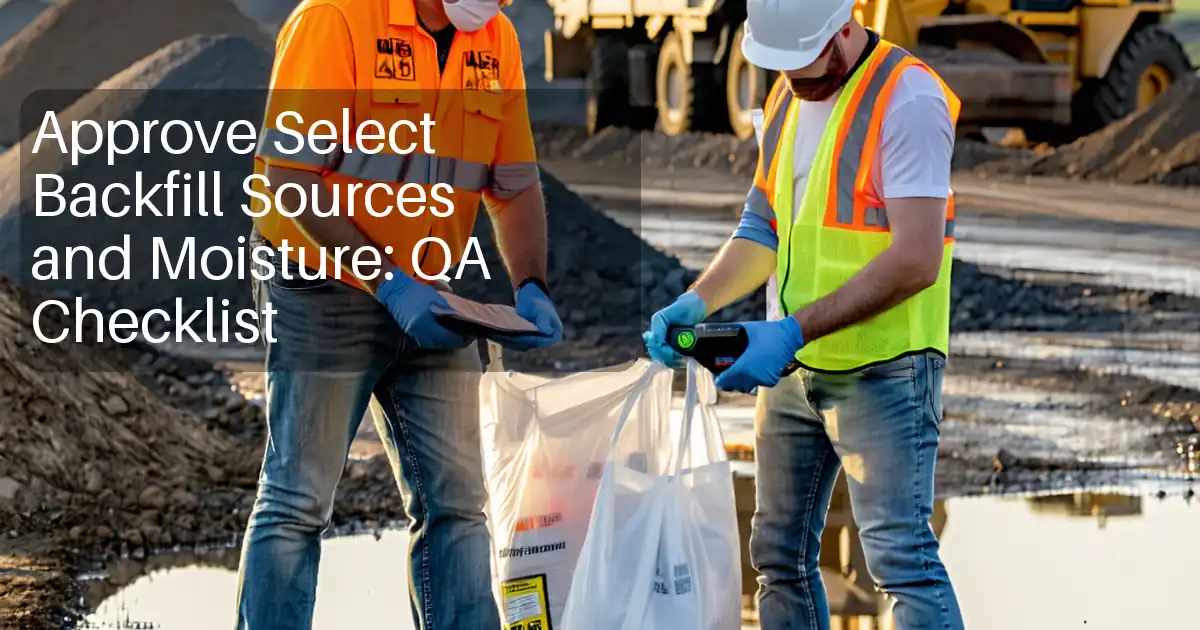
Moisture management drives both reactivity and compaction success. After mixing, test moisture with an oven or speedy tester; aim for OMC −1% to +2% before compaction. Correct with controlled spray bars, then re-mix and re-test. Confirm pulverization so binder can react and coat fines: use a field sieve to verify 100% passing 25 mm and at least 60% passing 4.75 mm. Compact with the specified rollers, tracking passes, ballast, and vibration settings. Confirm density with nuclear gauge testing at least once per 400 m² per lift to achieve ≥95% of MDD, reworking weak zones immediately. Maintain surface planarity before and after compaction; straightedge and level checks prevent thin pavement risks later. Document all readings and upload photos of gauges and test pits to create an auditable record.
- Moisture within OMC range before compaction.
- Verify pulverization with field sieve checks.
- Achieve ≥95% MDD across each test lot.
- Rework and re-test failing areas promptly.
- Maintain straightedge tolerances throughout.
Curing, Protection, and Strength Verification
After compaction, protect the treated layer from drying and carbonation. Apply light water sprays or an approved curing seal to maintain moisture. Limit traffic until curing is complete and the surface shows no rutting or disturbance. For lime-treated soils, a quick field pH check (≥12) indicates adequate lime availability; for both binders, submit laboratory unconfined compressive strength results at the specified age to confirm performance. When quicklime is used, monitor the exothermic reaction with an infrared thermometer to verify active hydration. Keep all evidence linked: curing logs, traffic control photos, lab reports, and sign-offs. This disciplined close-out prevents early surface degradation and ensures the stabilized subgrade delivers the target stiffness and bearing capacity for subsequent layers, without venturing into pavement design decisions.
- Maintain moisture with spray or curing seal.
- Control traffic to prevent rutting during cure.
- Verify pH for lime and UCS in the lab.
- Log infrared temperature for quicklime reaction.
- Archive reports with traceable sign-offs.
How to Use This Interactive Checklist
- Preparation: Gather approved mix design, Proctor data, COAs, calibrated scale records, nuclear gauge, moisture tester, pH meter, infrared thermometer, sieve kit, straightedge, survey gear, cameras, PPE, and traffic control materials.
- Create a project session: enter location, lot boundaries, design depth, target binder percentage, and required density/strength; assign inspectors and contractors with notification permissions.
- Using the Interactive Checklist: start interactive mode, tick items as completed, attach photos, readings, and files; @mention responsible parties to resolve comments in real time.
- Capture evidence in context: log spreader calibration, pan catches, moisture tests, density results, pH readings, and curing logs; use time-stamped photos and GPS-tagged entries.
- Monitor progress: filter by group (documentation, materials, mixing, moisture, compaction, testing) and track status to close open non-conformances before work advances.
- Export and share: generate commentable reports and export as PDF/Excel; the QR code on each export links back to the authenticated record set.
- Sign-Off: collect digital signatures from contractor, inspector, and owner’s representative; lock the record and archive with version control for future audits.

Call to Action
- Start Checklist Tick off tasks, leave comments on items or the whole form, and export your completed report to PDF or Excel—with a built-in QR code for authenticity.
- Download Excel - Subgrade Stabilization with Lime/Cement
- Download PDF - Subgrade Stabilization with Lime/Cement
- View Image - Subgrade Stabilization with Lime/Cement
Cite & Embed
“Subgrade Stabilization with Lime/Cement by Quollnet”
with a link to
this source page.

FAQ
Question: How do I choose between lime and cement for subgrade stabilization?
Question: What weather limits apply when stabilizing with lime or cement?
Question: Why is moisture so critical, and what range should I target?
Question: What field checks confirm lime treatment is reacting as intended?
Question: How soon can I allow traffic on the stabilized layer?
Related Articles
Broader reading and guidance connected to this checklist topic.


Is It Important To Customize Your Qr Code And How To Do It?

Master Construction Project Cashflow With Cashflowpot

Related Checklists
Keep the workflow moving with nearby templates chosen from similar checklist content.