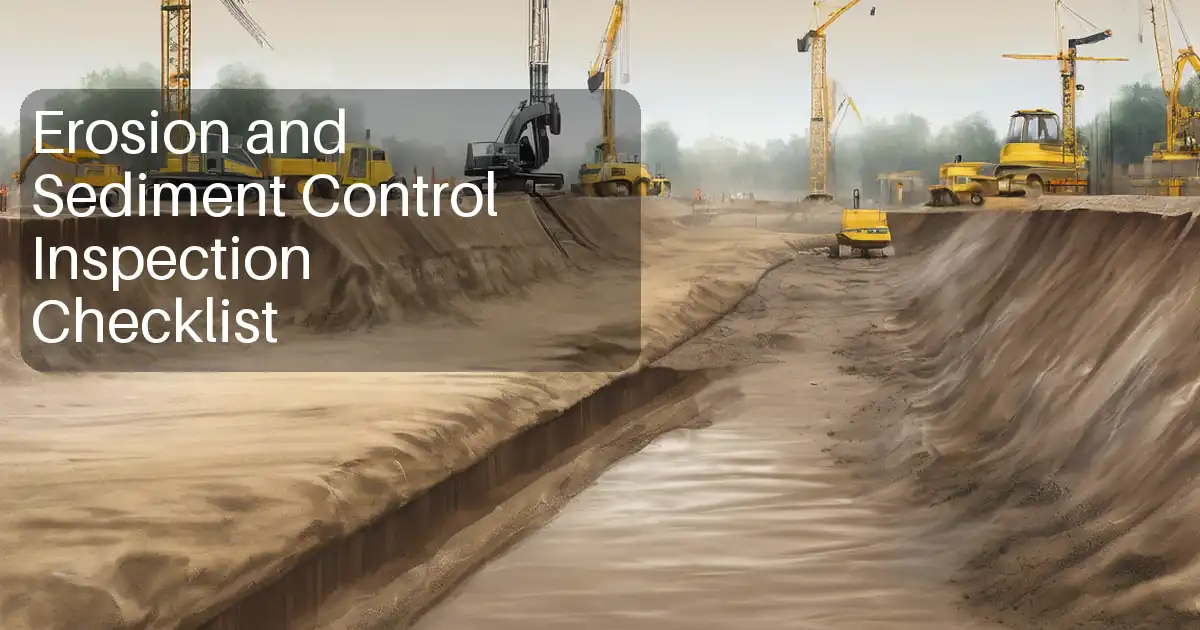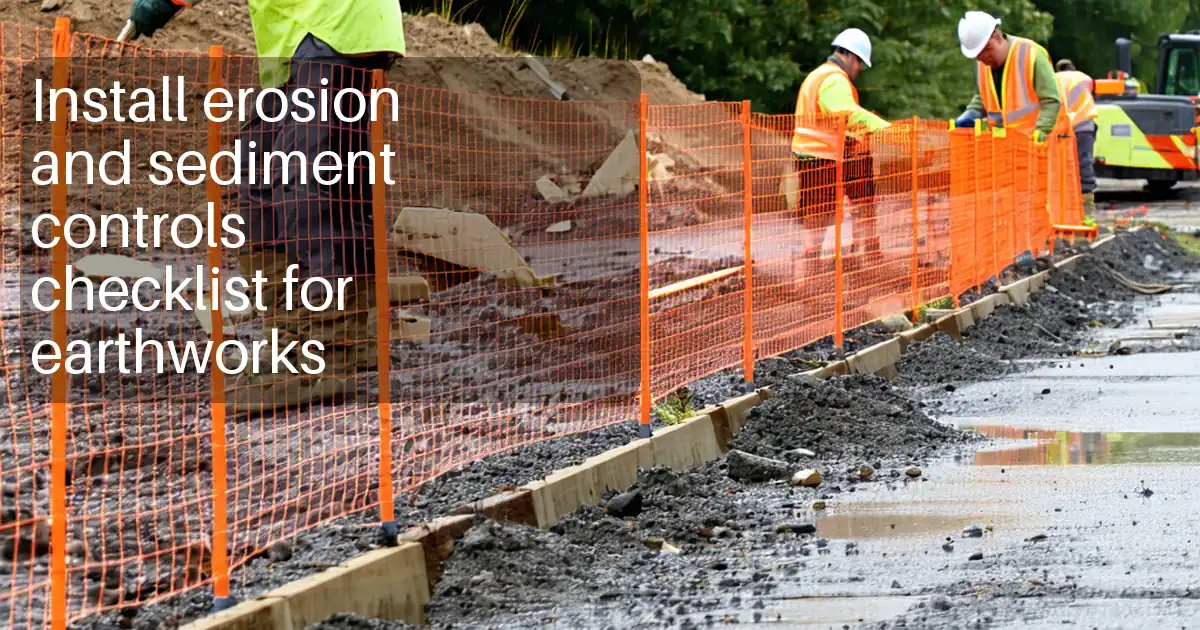
Install erosion and sediment controls for earthworks supervisors and crews, detailing silt fence, inlet protection, sediment traps, runoff diversion, and maintenance to minimize sediment discharge during active site grading.
- Pre-plan, install, and verify silt fence, inlet protection, sediment traps.
- Reduce offsite sedimentation, protect drainage assets, and meet authority requirements.
- Step-by-step methods with measurements, photos, and acceptance evidence checklists.
- Interactive, commentable, export to PDF/Excel, secured via unique QR code.
The checklist
Pre-Installation Planning and Layout
- Review approved drawings to identify catchments, flow paths, sensitive receptors, and control locations; mark on a site plan and verify onsite with walkover.
- Stake control alignments using stringline and coloured flags; record GPS points at changes in direction; tolerance for placement ±0.1 m from plan.
- Calculate disturbed area and upslope length to confirm control sizing per approved project specifications; upload calculation sheet and mark-ups.
- Verify materials onsite: geotextile ratings, silt fence fabric, posts, aggregate sizes, inlet socks; photograph labels and delivery dockets for traceability.
- Check 72-hour weather forecast; if heavy rain (>20 mm/day) likely, sequence works to install controls first; attach forecast screenshot.
Silt Fence Installation
- Excavate trench 150 mm deep × 150 mm wide along staked alignment; verify depth with tape measure; photo before placing fabric.
- Drive posts to ≥600 mm embedment at ≤2.0 m spacing (≤1.0 m on curves); confirm with depth marks; photo each 10 m.
- Place fabric on upslope side of posts; key-in 150 mm into trench; backfill and compact with hand tamper; no gaps; photo after compaction.
- Install end returns upslope ≥1.0 m every 10–20 m and at low points to prevent bypass; mark locations on plan and photograph.
- Where higher velocities are expected, add wire mesh support fence; secure with ties at 300 mm spacing; document supported lengths.
Inlet Protection Installation
- For curb inlets, install weighted inlet socks 200–300 mm diameter; leave a 50 mm weep gap at the lowest point; photo of gap.
- For drop inlets, clamp non-woven geotextile under grate; test overflow path remains free; video or photo demonstrating unobstructed bypass.
- Construct stone ring around drop inlet using 50–100 mm washed aggregate, ~300 mm high, 150 mm offset from grate; photo with scale.
- Anchor inlet socks/bags with timber stakes at ≤1.0 m spacing; perform tug test to confirm stability; record stake spacing measurements.
- Position sediment bags on hoses during dewatering near inlets; discharge to stable surface; verify no visible plume extends beyond 5 m; photo.
Sediment Trap Installation
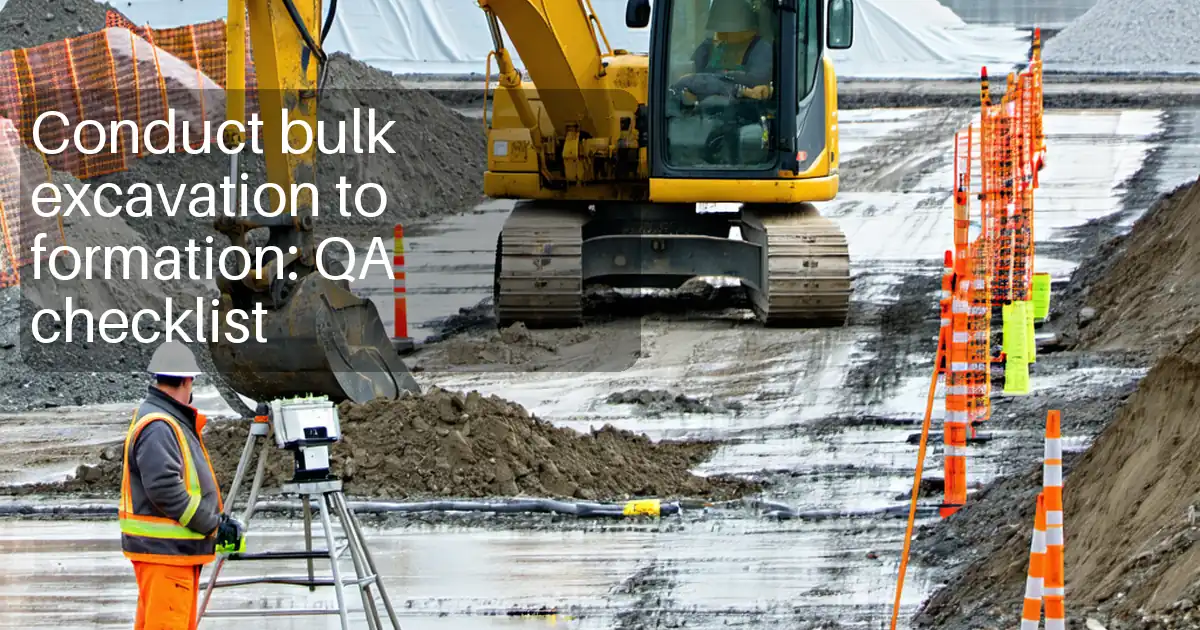
- Excavate trap per approved drawings; confirm base area and depth with staff and tape; record as-built dimensions and location photo.
- Form embankment side slopes ≥2H:1V; compact in ≤150 mm lifts; verify with level and compaction passes; photo each lift.
- Install armored spillway: geotextile underlayment and 100–150 mm rock; set crest level per design; check with laser level ±10 mm.
- Place outlet rock apron ≥3 m long, ≥200 mm thick using 100–150 mm rock; confirm thickness at three points; photo overview.
- During excavation, install upstream silt curtain or straw bales to limit turbidity; remove after trap stabilizes; before/after photos.
Runoff and Access Control
- Construct stabilized construction entrance ≥10 m long, ≥3 m wide with 50–75 mm aggregate over geotextile; thickness ≥150 mm; photo with scale.
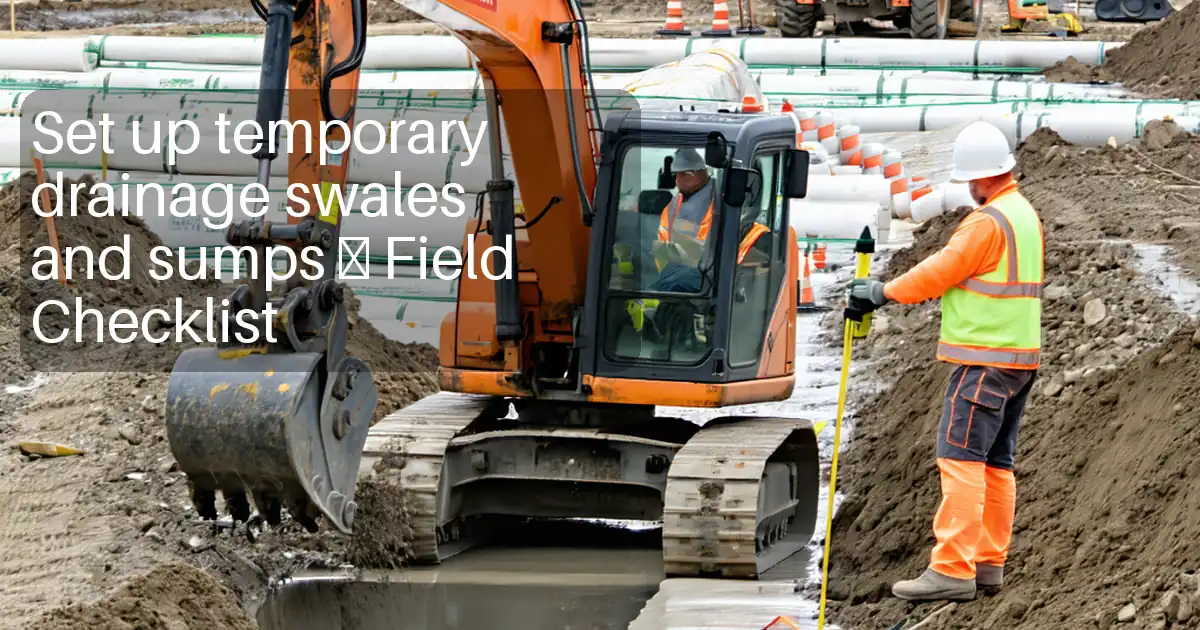
- Install diversion berms/swales upslope to route clean water around work area; gradient 1–2%; verify with spot levels every 10 m; photos.
- Cover stockpiles or surround with fiber rolls; maintain ≥2 m setback from drains and waterways; photo and location markup.
- Discharge pumps through sediment filter bag (100–150 μm rating) onto level vegetated area with energy dissipation; verify no scour; photo after 10 min.
Maintenance, Inspection, and Documentation
- Inspect controls daily during active earthworks and within 24 h after ≥10 mm rainfall; log findings with photos and corrective actions.
- Remove sediment at silt fence when deposits reach 150 mm depth or 50% height; record removal volumes and disposal location.
- Repair damaged fabric, posts, inlets, or trap armoring within 24 h; capture before/after photos and supervisor sign-off.
- Decommission after stabilization (≥70% vegetative cover or surface sealed); remove materials, backfill trenches, grade smooth; final photos and as-built sketch.
Preview the printable checklist
Preview page one below. Open the image or download the PDF for all pages.

At a glance
- Comprehensive installation flow from planning and layout to device-specific methods for silt fence, inlet protection, and temporary sediment traps, enabling proactive runoff control and minimizing earthworks-related sediment movement to adjacent properties and waterways.
- Evidence-first approach requiring photos, measurements, and sign-offs, so teams can demonstrate conformance with approved drawings and authority requirements while detecting common issues early, such as inadequate embedment, blocked overflows, or unprotected discharge points.
- Adaptive maintenance plan keyed to rainfall triggers and activity levels, including thresholds for sediment removal, repair timelines, and decommissioning conditions to ensure controls remain effective throughout grading and construction phases.
- Interactive online checklist with tick, comment, and export features secured by QR code.
How to Use This Interactive Erosion and Sediment Controls Checklist
- Preparation: Review approved drawings, erosion control plan, and forecast. Gather silt fence fabric, posts, geotextiles, inlet socks, washed aggregate, stakes, filter bags, stringline, tape, laser level, hand tamper, camera, PPE.
- Preparation: Brief the crew on sequencing and hold points; assign responsibilities for installation, inspection, and documentation; set up a shared photo folder or app workspace.
- Start Interactive Mode: Open this checklist, create a project instance, and invite team members with appropriate permissions.
- Tick and Comment: Work through items, add comments, attach photos, GPS pins, and measurements to each task as evidence.
- Resolve Issues: Mention stakeholders in comments to clarify nonconformances and record corrective actions and retest evidence.
- Export Records: When complete or at milestones, export to PDF/Excel with the embedded QR code for verification.
- Sign-Off: Capture digital signatures from the contractor’s supervisor, site engineer, and environmental representative.
- Archive and Share: Distribute the signed file to stakeholders and store in your project document control system.
Plan Controls Around Flow Paths and Construction Sequencing
Effective erosion and sediment controls begin with mapping catchments, flow routes, and discharge points before earthworks commence. Walk the site to confirm where clean water can be diverted and where dirty water must be detained or filtered. Stake alignments for silt fence and diversion berms using stringline and GPS points so crews install in the right place the first time. Prioritize installing upstream controls ahead of excavation and stockpiling. Check a 72-hour forecast and establish hold points when heavy rain is likely. Verify materials suit the soil and expected velocities—fabric strength, post length, aggregate size, and geotextile type. Record all planning decisions, photos, and mark-ups so the team shares one source of truth and can demonstrate due diligence during inspections.
- Stake alignments and record GPS points for traceability.
- Install upstream controls before bulk cuts and stockpiles.
- Set weather-triggered hold points for high rainfall.
- Verify materials match design velocities and soils.
Silt Fence and Inlet Protection That Actually Works
Silt fence must be trenched-in and compacted to stop underflow. Posts should be embedded deep enough and spaced closer on curves to resist loads. Add end returns to prevent bypass and wire mesh where velocities demand extra support. For inlets, use weighted socks with a small weep gap at the low point, and secure drop-inlet protection so emergency overflow stays clear. Stone rings around drop inlets need washed rock and a consistent offset to avoid choking the grate. Always keep fabric on the upslope side of posts and never place silt fence across concentrated flow channels. Take photos that show dimensions, embedment, and free overflows—these are the details inspectors look for.
- Key-in fabric 150 mm and compact backfill.
- Posts embedded ≥600 mm; tighter spacing on curves.
- Maintain a visible weep gap at curb inlets.
- Do not obstruct emergency overflow paths.
Build and Maintain Sediment Traps and Runoff Controls
Temporary sediment traps need correct storage volume, stable side slopes, and a well-leveled armored spillway to avoid blowouts. Verify dimensions with a level staff and document as-builts. Install outlet aprons to dissipate energy and avoid scour. Stabilized entrances reduce trackout; combine with diversion swales that keep clean water out of disturbed areas. When pumping, discharge through a filter bag onto a stable surface and confirm no visible plume travels far downstream. Keep a maintenance rhythm: inspect daily during earthworks and after rain, empty controls at 50% capacity, and repair damage within 24 hours. Decommission when surfaces are stabilized and vegetation is established.
- Level spillways within ±10 mm to prevent overtopping.
- Use 100–150 mm rock for armoring and aprons.
- Track inspections and photo evidence after rainfall.
- Remove sediment at 50% capacity threshold.