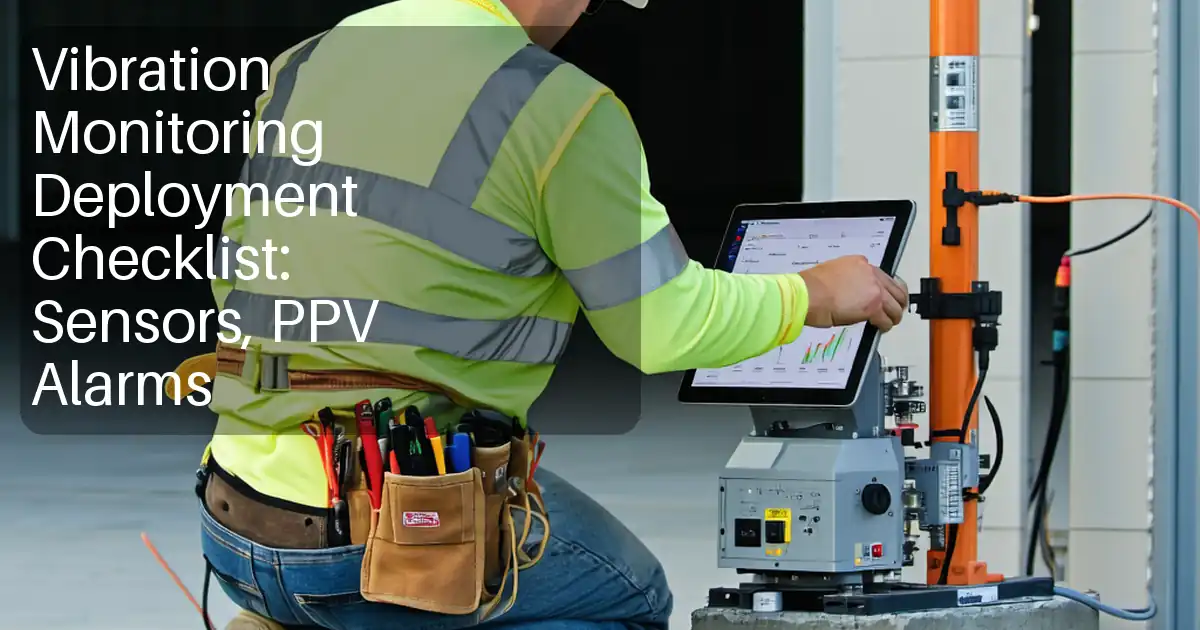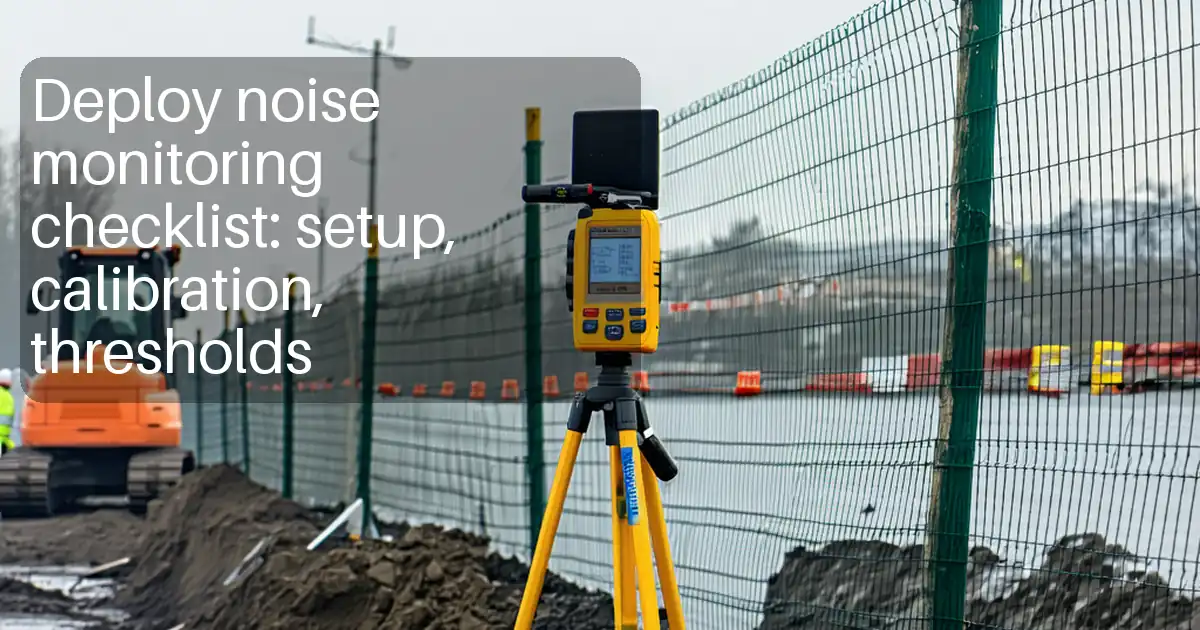
Deploy noise monitoring on construction sites by calibrating meters, setting thresholds and logging intervals, and documenting exceedance responses for supervisors, engineers, and site managers.
- Verify class and calibration, then configure metrics, thresholds, and clock.
- Place microphones correctly, protect from wind and rain, secure stable power.
- Automate alarms, document exceedances, and implement prompt mitigation actions.
- Use interactive, commentable checklist with export and QR code verification.
The checklist
Pre-Deployment Planning
- Confirm scope, roles, equipment, and documentation before any meter is placed.
- Define monitoring objectives and periods; list activities and sensitive receptors; upload plan signed by site manager as evidence.
- Inventory meters, microphones, windscreens, tripods, weather shields, power supplies; record serial numbers and take photos for traceability.
- Confirm exceedance contact tree and response times; upload names, phone numbers, and escalation steps per approved project specifications and authority requirements.
Meter Calibration and Verification
- Verify acoustic calibrator is in date and traceable; photograph certificate and record serial/expiry per approved project specifications and authority requirements.
- Fit clean windscreen; inspect microphone and cable for damage; capture close-up photos showing good condition and correct seating.
- Field-calibrate each meter at 94 dB, 1 kHz; accept within ±0.5 dB; save before reading, after adjustment, and photo of display.
- Set meter to A-weighting, fast time-weighting for LAFmax, and logging of LAeq; attach screenshot of configuration.
Site Installation and Placement
- Select locations representative of receptors; mark on site plan; upload annotated map and site photos showing context.
- Position microphone ≥3 m from large reflective surfaces and 1.5 m above ground; photo with tape measure confirming distances.
- Mount microphone vertically with windscreen and weather hood; secure tripod/guy lines; record photo showing stable installation.
- Provide power for full monitoring period plus 25% reserve; record battery capacity or mains backup and upload photo.
Thresholds and Logging Configuration
- Set project thresholds for daytime and night-time LAeq and LAFmax per approved project specifications and authority requirements; upload threshold table.
- Configure logging interval (e.g., 1 min) with internal sampling ≥1 s; attach configuration screenshot as evidence.
- Synchronize meter clock to UTC with correct local offset; accept time error ≤1 s; upload time-sync screenshot.
- Enable alarms for exceedances via SMS/email; test alarm to contact list and save test message evidence.
Data Management and Evidence Capture
- Apply naming convention: YYYYMMDD_SiteID_MeterID_LogInt; create folders for raw, reports, photos; upload structure screenshot.
- Start logging with job ID and location label; capture first-minute record screenshot and photo of live display.
- Review data daily for gaps, dropouts, or clipping; note anomalies and reasons; attach 24 h trend screenshot.
- Back up raw data daily to cloud and external drive; record checksum (e.g., SHA-256) and upload verification.
Exceedance Response and Reporting
- On alarm, verify reading with handheld meter near logger; accept difference ≤1 dB; upload photo of both displays.
- Identify source and apply controls (rescheduling, barriers, equipment maintenance); record actions, times, and before/after LAeq screenshots.
- Notify stakeholders within 30 minutes; log recipients and time sent; attach email/SMS evidence.
- Post-calibrate after retrieval; accept within ±0.5 dB of pre-check; document reading and photo as closure evidence.
Preview the printable checklist
Preview page one below. Open the image or download the PDF for all pages.

At a glance
- This checklist standardizes meter selection, field calibration, placement, and configuration so logs are defensible, clocks are synchronized, and thresholds reflect project needs. It enables consistent noise trend tracking and quick root-cause analysis when exceedances occur during critical activities.
- Procedures include establishing LAeq, LAFmax, and percentile metrics, setting practical logging intervals, testing alarms, and defining response actions. Evidence capture—photos, screenshots, serial numbers, and signatures—ensures traceable records suitable for audits and stakeholder reporting on construction sites.
- Interactive online checklist with tick, comment, and export features secured by QR code. It streamlines collaboration across shifts, preserves context in comments, and provides authenticated outputs for toolbox talks, daily reports, and weekly dashboards without relying on separate note-taking tools.
- Daily data reviews, backups, and pre/post calibration checks maintain data integrity, while location and mounting guidance reduce reflective bias and wind artefacts. Standardized naming conventions and checksum verification reduce errors during transfers and facilitate rapid retrieval for investigations.
How to use this interactive noise monitoring deployment checklist
- Preparation: Gather meters, calibrators, windscreens, tripods, weather hoods, power supplies, and a handheld meter. Confirm site plan, thresholds, logging interval, and contact list per approved project specifications and authority requirements.
- Using the Interactive Checklist: Open interactive mode, assign the checklist to the shift lead, and tick items as completed. Add comments with readings, photos, and serial numbers at each step.
- Export and Share: At milestones or end of shift, export the checklist and attachments as PDF/Excel. The export includes a QR code for authentication and quick retrieval.
- Sign-Off: Capture digital signatures from the supervisor and quality representative. Distribute the signed report to stakeholders and archive it under the project’s data structure.
- Post-Deployment: Review exceedances, update lessons learned, and schedule calibrator recertification if due. Link follow-up actions to the checklist via the embedded QR code.
Calibration and traceability that stand up to scrutiny
Reliable results start with fit-for-purpose equipment and traceable calibration. Field calibration before and after each deployment confirms the meter remained stable, while clear photos and serial logs make your evidence audit-ready. Keep windscreens clean and intact to avoid high-frequency bias, and always photograph the display during calibration to capture the indicated level, weighting, and time. Synchronize the meter clock to a trusted time source and document the offset, because even small time errors complicate correlation with site diaries and complaints. Avoid battery-induced shutdowns by confirming capacity for the planned duration with a 25% margin. When questions arise, pairing pre/post checks with stable time records helps you defend the dataset and isolate instrument faults versus genuine site conditions.
- Calibrate before and after; accept within ±0.5 dB.
- Photograph certificates, displays, and serial numbers.
- Use clean windscreens and secure microphones.
- Synchronize clock; accept ≤1 s error.
- Confirm power plus 25% reserve.
Placement, configuration, and thresholds that reflect reality
Meter placement shapes data quality. Install microphones away from large reflective surfaces and at a consistent height that represents receptor ear-level. Secure tripods to avoid vibration artefacts and weather-shield the capsule without blocking acoustics. Configure essential metrics—LAeq for energy average, LAFmax for peaks, and percentile metrics if specified. Set logging intervals that match site needs; 1-minute logs balance resolution and file size. Time-synchronized alarms routed to responsible staff turn thresholds into action. Always attach a screenshot of the setup so reviewers can confirm weightings, intervals, and alarms. Calibrated, well-placed, consistently configured meters produce comparable datasets across shifts and subcontractors, enabling fair assessment of mitigation effectiveness and transparent communication with stakeholders.
- Keep ≥3 m from reflective façades.
- Set A-weighting and fast time-weighting.
- Use 1-minute logging for trends.
- Secure tripods and weather protection.
- Attach configuration screenshots.
Exceedance response and data integrity in daily operations
When an alarm triggers, speed and documentation matter. Verify the exceedance using a handheld meter near the logger to rule out instrument error, then locate the source and apply controls such as rescheduling, barriers, or maintenance. Record exactly what changed and capture before/after trends to show improvement. Review logs daily to find gaps or clipping; annotate reasons like wind, heavy rain, or generator refueling. Back up raw data to two locations and verify file integrity with checksums so you can restore data quickly if challenged. These habits keep your records defensible and help teams learn which mitigations consistently work during high-noise tasks like concrete breaking or steel cutting.
- Verify alarms with a handheld meter.
- Record actions and times taken.
- Upload before/after trend screenshots.
- Review logs daily for gaps.
- Back up with checksum verification.